How to Sharpen Kitchen Knives in 5 Easy Steps
Dull kitchen knives can make even simple meal prep frustrating, and many people struggle to sharpen them without damaging the blade. The right whetstone can make the process easier. In this guide to how to sharpen kitchen knives, we’ll look at a few helpful refinements.
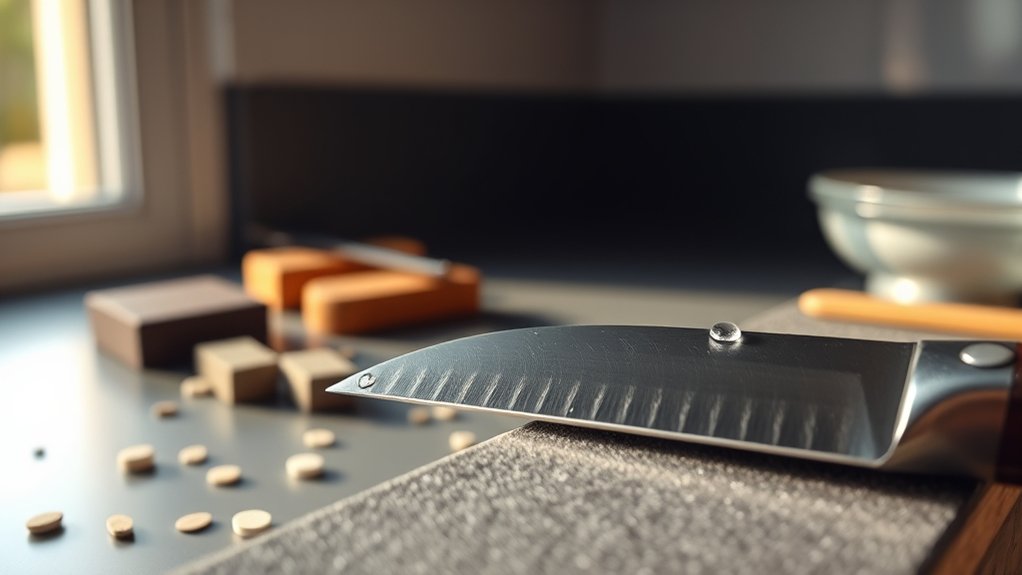
Choose a whetstone that matches your blade: medium grit for routine sharpening, coarse for very dull knives, and fine for finishing. Wet the stone, then hold the knife at about 15–20 degrees and keep that angle steady. Sharpen each side with even strokes, switching regularly.
Hone the edge with a rod, then test it on paper or a tomato. Avoid heavy pressure, skipped grits, and dry stones, and you’ll pick up a few helpful refinements along the way.
Key Takeaways
- Choose the right whetstone grit, and soak or wet it according to the stone type before sharpening.
- Hold the knife at a steady 15–20 degree angle for the entire stroke.
- Sharpen one side, then the other, using even pressure and consistent passes.
- Remove the burr, then hone the edge with a rod or fine ceramic sharpener.
- Test the blade on paper or produce, and avoid excessive pressure or skipping grits.
Choose a Whetstone and Prep It With Water
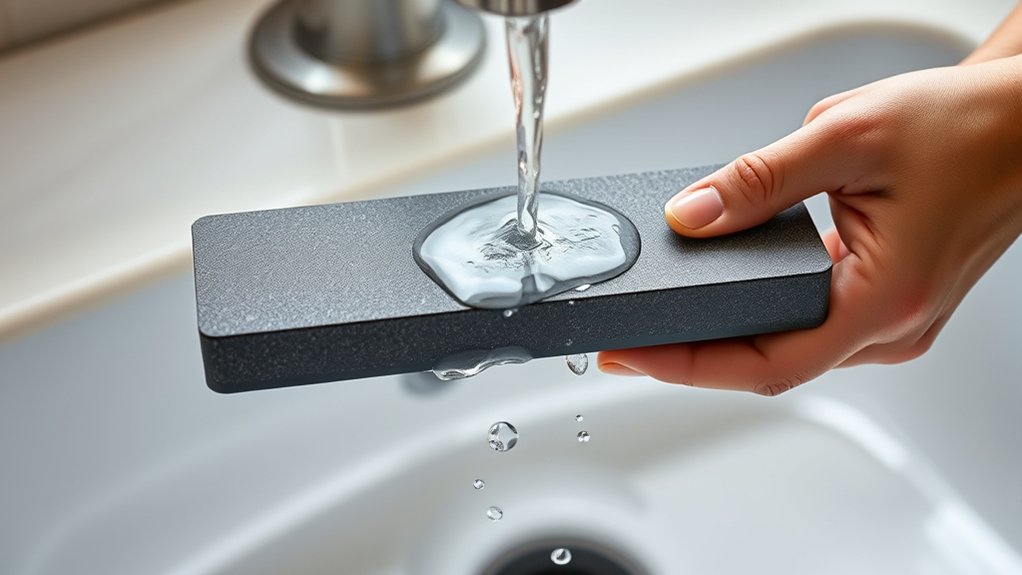
Which whetstone should you choose? Start with a medium-grit stone if your knife just needs routine care, or pick a coarse one for dull edges. For finer finishing, add a higher-grit stone later. Smart whetstone selection depends on how much wear your blade has and how comfortable you are with the stone’s size. A longer stone gives you more room to move the knife, while a stable base helps you work safely.
Next, handle water preparation. If you use a soaking stone, submerge it until bubbles stop rising, then let it sit as directed. If you use a splash-and-go stone, wet the surface thoroughly instead of soaking it. Keep a bowl of clean water nearby so you can rewet the stone as needed. Before you begin sharpening, wipe off excess grit and check that the surface feels evenly damp, not muddy, so the stone can cut efficiently.
Set the Right Angle for Kitchen Knives

Now, hold the knife at the correct sharpening angle—usually about 15 to 20 degrees for most kitchen knives. Keep that angle steady as you move the blade across the whetstone, because even small shifts can dull your results.
If you’re unsure, start a little higher for harder blade materials and a little lower for softer ones, then stay consistent. Your sharpening frequency matters too: if you sharpen often, you’ll remove less metal and keep the edge easier to control.
Grip the handle firmly with one hand and guide the blade with the other, using your fingertips to feel the angle near the spine. Watch the bevel, not just the edge, so you can maintain the same tilt from heel to tip.
Practice slowly at first, then build confidence. A stable angle gives you a cleaner edge, better cutting performance, and less work later on.
Sharpen Kitchen Knives on Both Sides

After you’ve set the angle, sharpen one side of the blade with smooth, even strokes, then switch to the other side to keep the edge balanced. Use the same pressure on each pass, and let the stone or sharpener do the work instead of forcing the edge.
Sharpen one side, then the other, using smooth, even strokes to keep the edge balanced.
If your knife has harder steel, you may need fewer strokes; softer blade materials often remove metal faster, so stay light and consistent. Count your passes so you don’t overwork one side, and keep the motion steady from heel to tip.
Alternate sides regularly to preserve symmetry and avoid a lopsided edge. Wipe away metal buildup as needed so the surface stays effective.
Good storage techniques also matter, because a knife that’s protected in a sheath or block holds its sharpened edge longer than one tossed in a drawer. Repeat the same pattern until both sides feel even and the bevel looks uniform.
Hone the Edge and Test the Blade
Once both sides are sharpened evenly, hone the edge with a honing rod or fine ceramic rod to realign the blade and refine the edge. Hold the rod upright on a stable surface and draw the knife down at the same angle you used for sharpening, using light, controlled strokes.
Repeat on both sides until the edge feels smoother. Your knife material affects how quickly it responds: harder steels may need fewer passes, while softer blades may benefit from a gentler touch.
After honing, test the blade carefully. Slice a sheet of paper, a ripe tomato, or an onion skin to check for clean cutting and even contact along the edge.
If the knife drags or tears, give it a few more passes and retest. Match your sharpening frequency to how often you cook and how the blade performs, so you keep it sharp without wearing it down too fast.
Avoid These Knife Sharpening Mistakes
Even careful sharpening can go wrong if you rush or use too much pressure, so avoid forcing the blade against the stone or changing angles mid-stroke. You’ll also want to match your technique to the blade material, since softer steel needs a gentler touch than harder alloys.
Even careful sharpening can go wrong if you rush or press too hard; keep your angle steady and your touch light.
Don’t skip grit progression or jump straight from a coarse stone to polishing; each step removes the scratches from the last one and keeps the edge even. Keep the stone wet or clean, because clogged surfaces drag the knife and waste effort.
Check your sharpening frequency, too: if you wait until the edge is badly dull, you’ll need more passes and risk removing extra metal. Finally, don’t ignore burrs or assume one side is finished first. Alternate strokes, test carefully, and stop once the edge slices smoothly.
Consistency matters more than speed, and small corrections now will save you from bigger repairs later.
Frequently Asked Questions
How Often Should I Sharpen Kitchen Knives?
You should sharpen your kitchen knives every 3 to 6 months, depending on how often you use them. If you cook daily, you may need it more often. You can extend blade life with regular Knife maintenance, like hand-washing and proper storage. Use Sharpening techniques when the edge feels dull, drags on food, or slips while cutting. Hone weekly to keep the edge aligned and delay full sharpening.
Can I Sharpen Serrated Kitchen Knives With a Whetstone?
No, you shouldn’t use a whetstone on most serrated knives. You could damage the teeth and ruin the cut. Instead, you’ll get better results with a tapered sharpener or a honing rod made for a serrated edge.
If you must use a whetstone, work each gullet carefully and gently, but keep in mind that it’s slow and tricky. You’ll usually do better by sharpening only the flat side and preserving the serrations.
What Grit Whetstone Is Best for Dull Knives?
For dull knives, you’ll want a medium Whetstone grit around 1000 to 3000. It removes enough metal to restore the edge without grinding away too much steel. If your blade is really damaged, start lower, around 400 to 800, then move up for refining. Good Knife maintenance means finishing with a finer grit to polish the edge and keep your knife cutting smoothly and safely.
Should I Clean Knives Before Sharpening Them?
Yes—you should clean your knives before sharpening them; it’s the difference between a tiny task and an absolute mountain of trouble. Wipe off food, grease, and grit so your sharpening tools work properly and your edge stays consistent. Clean blades also improve knife safety by reducing slips and helping you handle them confidently. Dry the knife well before you start, then sharpen with steady strokes for better results.
How Do I Store Knives After Sharpening?
You should dry each blade completely, then store it in a knife block, magnetic strip, or sheath for safe knife storage. Keep edges from touching other utensils so they stay sharp longer.
Follow safety precautions by placing knives out of children’s reach and never tossing them loose in a drawer. If you use a drawer insert, make sure each knife fits snugly and won’t slide around.
Conclusion
When you finish sharpening, your knife should gleam like a fresh line of silver in the light. Run it through a tomato, and it should slip cleanly through the skin, smooth as a breeze.
That sharp edge is more than a tool. It’s control, safety, and confidence in your hand. Keep it honed, store it carefully, and you’ll always be ready to use these knife-sharpening tips to slice with precision, not struggle, in your kitchen.