How to Organize Kitchen Pantry in 5 Easy Steps
A cluttered pantry can make even simple meal prep feel frustrating, and you’re not alone—many people struggle to keep their shelves tidy and easy to use. If you’re looking for how to organize a kitchen pantry in 5 easy steps, these practical tips and helpful storage ideas can make the task feel much more manageable.
Start by emptying your pantry completely so you can see every shelf, corner, and expired item. Next, sort everything into categories like baking supplies, snacks, grains, and canned goods, then toss duplicates and spoiled food.
Choose storage that fits each group, such as clear bins, canisters, and baskets. Then place everyday items at eye level and keep backups higher or lower.
Finally, wipe shelves weekly and rotate items so your pantry stays organized, and you’ll see how simple it gets.
Key Takeaways
- Empty the pantry completely and wipe down all shelves, corners, and floors before reorganizing.
- Sort all items by category, and discard expired, spoiled, or duplicate products.
- Choose clear, labeled containers and bins that fit your pantry space and storage needs.
- Place frequently used items at eye level, with similar foods grouped together for easy access.
- Maintain the system by checking expiration dates, restocking, and tidying shelves weekly.
Empty Your Pantry First

Before you sort, label, or buy organizers, empty your pantry completely so you can see exactly what you’re working with. Take every item off the shelves and place it on a counter or table.
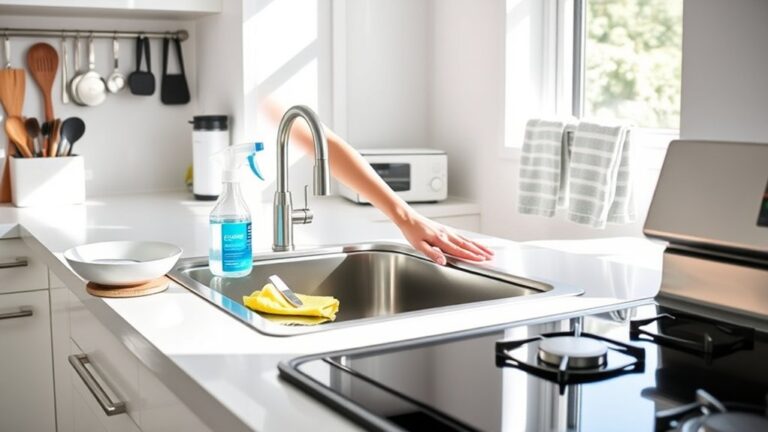
This step makes Pantry cleaning faster because you can wipe away crumbs, spills, and dust without working around boxes and cans. It also supports clutter removal, since you’ll spot forgotten items, duplicates, and anything damaged or expired.
As you clear each shelf, check corners, door racks, and the floor for loose packets or sticky spots. Don’t rush this part; a full empty-out gives you a clean slate and helps you see the space’s true size.
If you use a bin or basket to hold everything temporarily, keep it nearby so the process stays orderly. Once the pantry is bare, you’re ready to plan the next steps with less stress and better focus.
Sort Pantry Items by Category
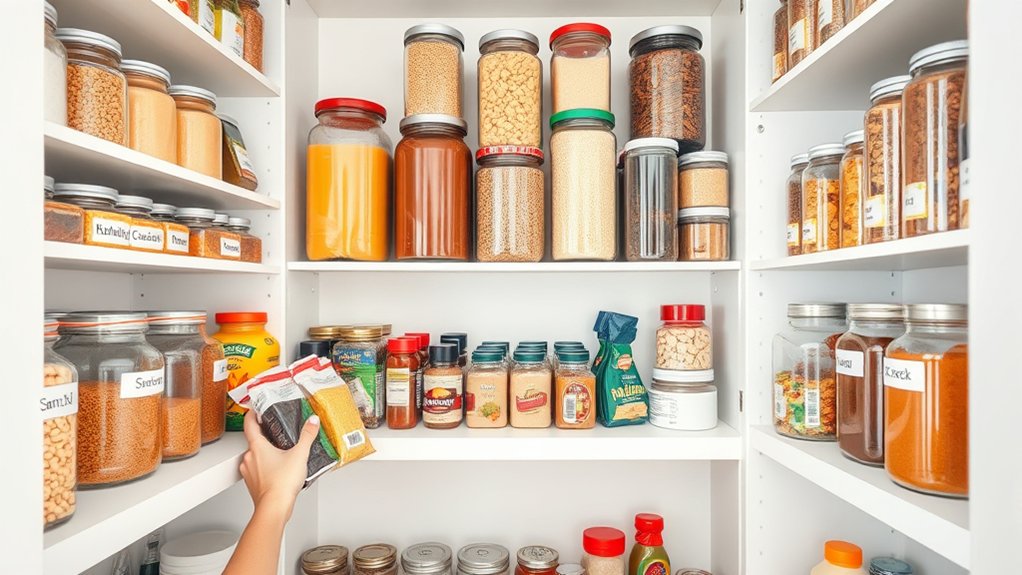
Now that your pantry is empty, sort everything into clear categories so you can see what you have and how much space each group needs. Gather similar items together: baking supplies, grains, pasta, snacks, breakfast foods, canned goods, spices, and drinks.
As you build each pile, check expiration dates and toss anything stale, spoiled, or duplicate. Grouping items this way helps you spot what you buy too often and what you rarely use.
Keep frequently used foods in one place so they’re easy to access later. If a category feels too large, split it into smaller groups, like sweet and savory snacks or dry and canned beans.
Use this stage to plan simple zones before anything goes back. Labeling containers will be easier once every category is defined, and installing shelving can better support the size and weight of each group.
When you finish sorting, you’ll know exactly what belongs together and what needs a home.
Choose Storage for Each Category
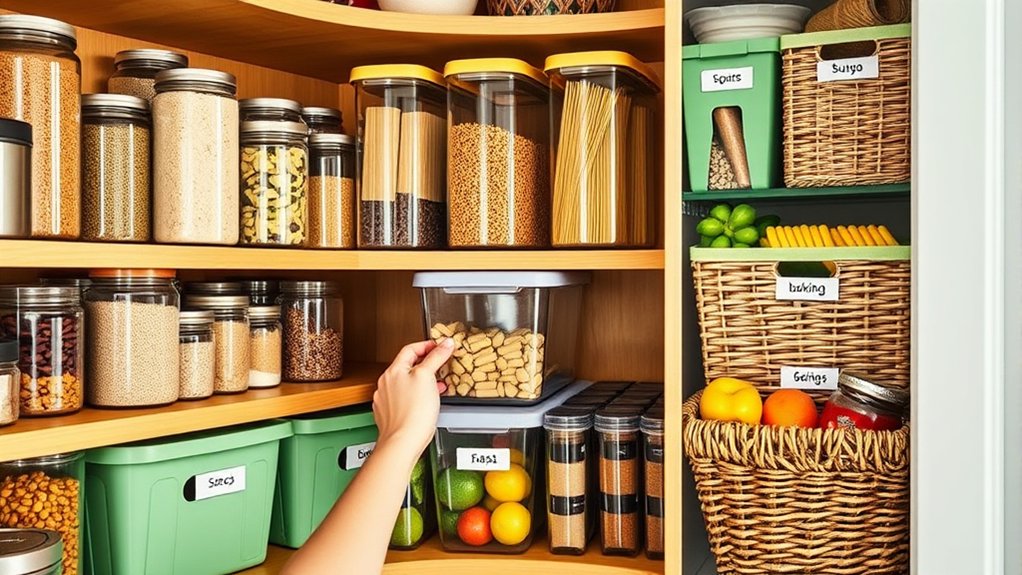
With your pantry categories sorted, choose containers and storage tools that fit each group’s size, shape, and frequency of use. Use clear bins for snacks, tall canisters for pasta and grains, and shallow baskets for packets or bars.
Keep heavy items in sturdy, low containers so you can lift them easily, and place lightweight goods in stackable organizers to save space. Labeling containers helps you spot ingredients fast and keeps similar foods together without guessing.
Keep heavy items in sturdy, low containers and label everything so ingredients are easy to spot and store.
For small baking supplies, use divided trays or lidded jars to prevent clutter. If you like style, try Incorporating decorative storage with woven baskets, glass jars, or matching tins that still work hard.
Choose tools that protect food, reduce mess, and make refills simple. When every category has a container that suits it, your pantry looks cleaner, works better, and stays easier to maintain day after day.
Arrange Pantry Items by Use
Place the items you use most often at eye level and within easy reach, so meal prep feels quicker and less frustrating. Put breakfast foods, cooking oils, and everyday spices in front, then move baking supplies, snacks, and backup staples to higher or lower shelves.
You’ll save time when you follow this simple order because your hands go straight to what you need. Group similar items together, and keep cooking tips in mind: store pasta near sauces, rice near beans, and broths near grains for faster dinner decisions.
Shelf labeling also helps you spot each zone at a glance, especially if several people use the pantry. Use clear containers or bins to separate items by use, like lunch-making, baking, or quick dinners.
When everything sits where you reach for it most, your pantry supports smoother cooking and easier choices every day.
Maintain an Organized Pantry
To keep your pantry organized, make it part of your regular routine. Set aside a few minutes each week to scan shelves, wipe spills, and return stray items to their spots. You’ll prevent clutter before it grows, and your system will stay simple to manage.
Use clear labeling techniques so everyone knows where food belongs, and update labels whenever you swap containers or buy new staples. During meal prep, pull ingredients forward and place soon-to-expire items where you can see them easily. That habit reduces waste and speeds up cooking.
Use clear labels and rotate ingredients forward so your pantry stays organized, reduces waste, and makes meal prep faster.
- Check dates and toss expired food
- Refill containers before they run empty
- Group backups with the items they support
- Reset shelves after grocery shopping
When you keep up with these small tasks, your pantry stays functional, tidy, and ready for busy days.
Frequently Asked Questions
How Do I Organize a Small Pantry With Limited Shelves?
You can organize your small pantry by prioritizing shelf arrangement and space maximization. Put tall items on the top shelf, everyday foods at eye level, and heavy goods low.
Use clear bins to group snacks, baking items, and cans, so you can grab things fast. Add risers, stackable containers, and door racks to double storage.
Keep labels visible, and rotate older items forward so you waste less food.
What Containers Work Best for Keeping Pantry Food Fresh?
Airtight glass or BPA-free plastic containers keep your pantry food fresher than a treasure vault. You’ll want stackable, clear food storage solutions for flour, pasta, cereal, and snacks because they block moisture and let you see contents fast. Choose silicone-sealed lids for best results. For container maintenance, wash and dry them completely before refilling, and label everything so you won’t confuse ingredients or waste food.
How Can I Prevent Pantry Pests and Bugs?
You can prevent pantry pests and bugs by sealing dry foods in airtight containers, cleaning crumbs right away, and checking new groceries before storing them. Practice pest prevention by rotating stock and tossing expired items.
For stronger bug control, vacuum shelves, wipe spills with vinegar, and keep the pantry dry. If you spot insects, remove affected food fast and trap stragglers before they spread to other packages.
Should I Label Pantry Items by Expiration Date?
Yes, you should label pantry items by expiration date. You’ll make expiration tracking easier, reduce waste, and spot old food fast. Use a simple labeling system with a marker or printed tags, and put the date where you can see it right away. You’ll also rotate newer items behind older ones, so nothing gets forgotten. This habit helps you stay organized, save money, and keep your pantry safer every day.
How Do I Organize Pantry Snacks for Children?
You can sort pantry snacks for children like a knightly scribe with modern flair. Put healthy snack options at eye level, and keep kid friendly storage solutions in clear, labeled bins or drawers.
Use small baskets for portions, and group items by type, like crackers, fruit, and bars. Rotate snacks weekly, so they don’t forget favorites.
Let kids choose from two or three bins, and you’ll keep things tidy.
Conclusion
Now that you’ve emptied, sorted, stored, and arranged your pantry, you’re ready to keep it working for you. Think of it like a library: when every book has a clear shelf, finding what you need is effortless.
I once watched a friend cut dinner prep time in half just by labeling her snacks and grains. Keep returning items to their spots, and you’ll enjoy a pantry that stays tidy, simple, and stress-free.
Following these five easy steps to organize your kitchen pantry can help keep it that way.