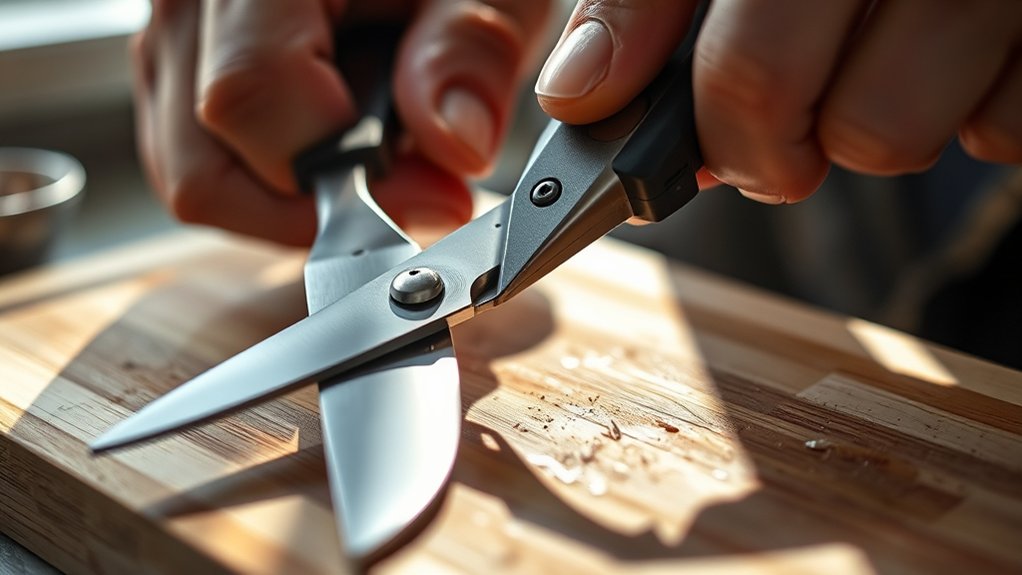
How to Sharpen Kitchen Shears in 3 Simple Steps
Dull kitchen shears can make simple prep frustrating, leaving you with ragged cuts and sore hands. You’re not alone—many people struggle to keep their shears sharp. The good news is that learning how to sharpen kitchen shears is simple, and the right tools can make all the difference.
To sharpen kitchen shears in 3 simple steps, first gather a sharpening rod or stone, a cloth, and a stable workspace, then inspect the blades and tighten any loose pivot screw.
Next, open the shears and draw each blade along the rod from pivot to tip with light pressure, matching the original angle.
Finally, snip paper or herbs to test the edge, wipe away filings, oil the pivot, and you’ll be cutting cleanly again with a few extra tricks ahead.
Key Takeaways
- Gather a sharpening rod, cloth, and stable workspace, then inspect the shears for damage and alignment.
- Open the shears fully and draw one blade along the rod from pivot to tip with light pressure.
- Repeat on the second blade, keeping the same angle for an even edge.
- Test the cut with paper or herbs, then tighten the pivot screw if the blades wobble.
- Wipe the blades clean, add a drop of oil to the pivot, and store the shears dry and open.
Tools You’ll Need
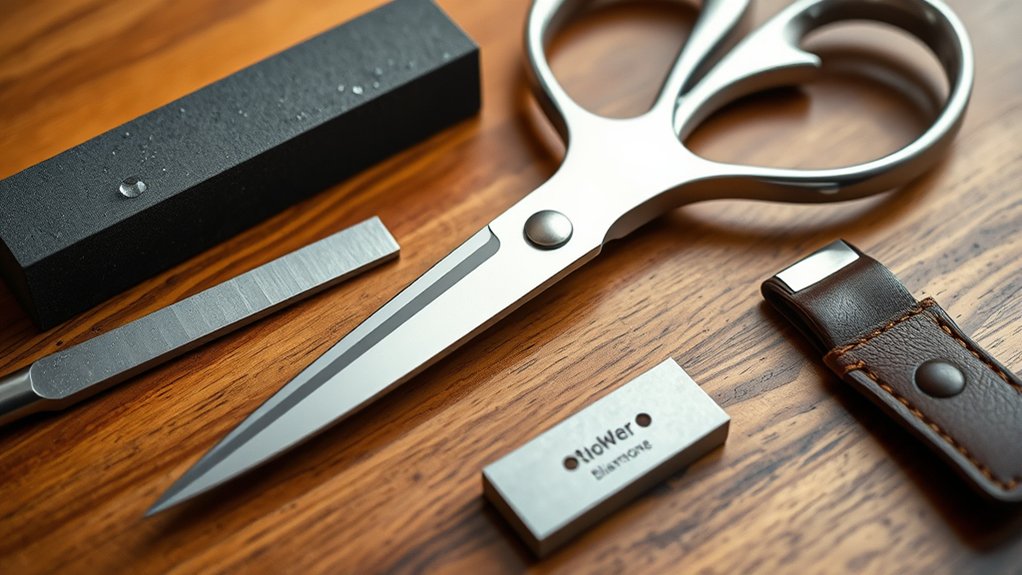
Before you start sharpening kitchen shears, gather a few simple tools: a sharpening stone or honing rod, a clean cloth, a small brush, and some water or honing oil if your sharpener calls for it. You’ll also want a stable work surface and good lighting so you can inspect the blades clearly.
A screwdriver can help if your shears have a pivot screw you need to adjust later. Keep a pair of gloves nearby if you want extra grip and safety.
Check the handles for cracks and make sure they feel secure in your hand; Handle comfort matters when you control pressure during sharpening. Look at the cutting edges for nicks, rust, or dull spots, and wipe away debris before you begin.
Confirm Blade alignment by closing the shears slowly and seeing whether the blades meet evenly along the full edge. Having everything ready helps you work cleanly, safely, and efficiently.
Sharpen Kitchen Shears With a Rod
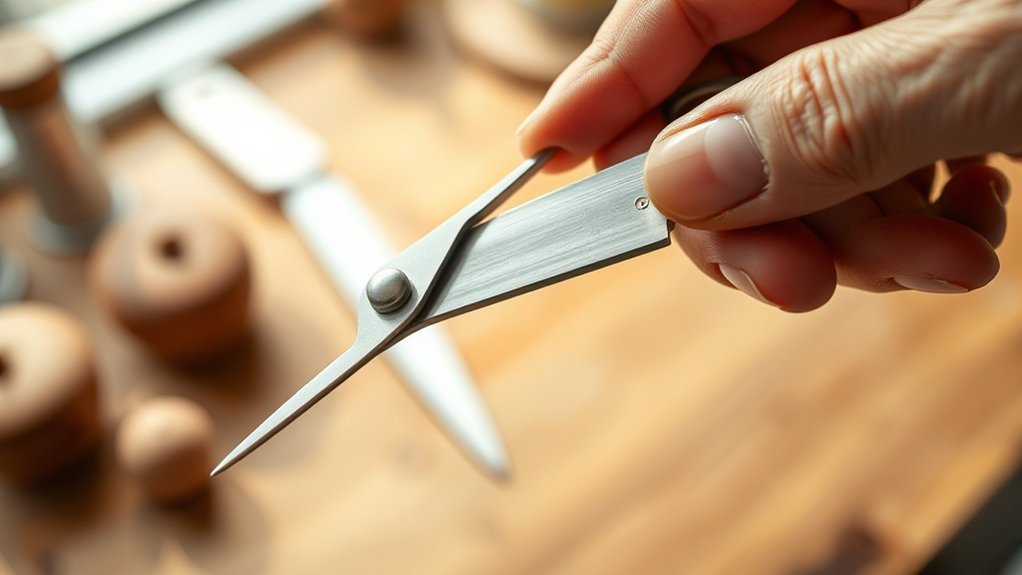
A honing rod can refresh the edges of kitchen shears quickly when the blades are only mildly dull. Open the shears fully, then separate the blades if your model allows it.
Hold the rod upright on a stable surface and keep one blade at its original bevel. Draw the edge along the rod from pivot to tip in one smooth pass, using light pressure.
Repeat on the other blade, matching the same angle so you preserve blade alignment. If the shears don’t come apart, work carefully with the closed tool and focus on one edge at a time.
Wipe away metal filings as you go, and keep your free hand clear for shear safety. A few controlled strokes usually do the job better than force.
When the edges feel even, reassemble the shears if needed and close them gently.
Test the Edge and Maintain It
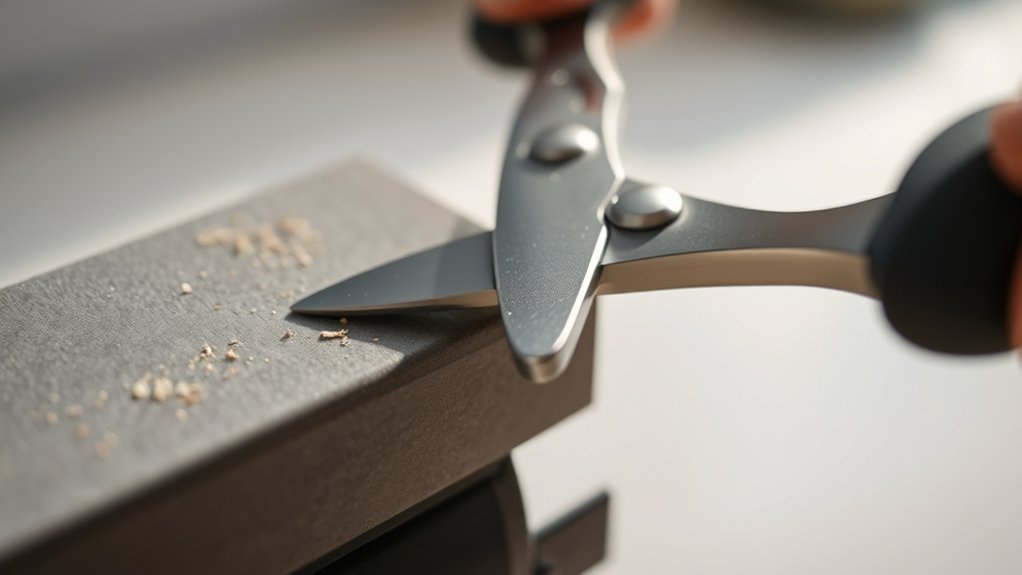
Snip a scrap of paper, herbs, or thin cardboard to check whether the blades cut cleanly from heel to tip. If the cut drags, skips, or folds the material, inspect blade alignment before you keep using the shears. Tighten the pivot screw if the blades wobble, and make sure both edges meet evenly when you close them. Wipe away metal dust, then add a drop of food-safe oil to the pivot so the action stays smooth.
After each use, rinse, dry, and store the shears open only long enough to prevent trapped moisture. Don’t cut bone, wire, or frozen food, because rough tasks dull the edge fast. Watch sharpening frequency by how often you use the shears and how quickly they lose bite; a quick touch-up now can save a full sharpening later.
With simple checks and regular care, you’ll keep the blades sharp, safe, and ready.
Frequently Asked Questions
How Often Should Kitchen Shears Be Sharpened?
You should sharpen kitchen shears whenever they start snagging, crushing herbs, or requiring extra pressure, usually every few months with regular use. For heavier use, you may need sharpening more often, while occasional users can wait longer. Check the blades after each deep cleaning and adjust as needed.
If they’re damaged or badly dull, professional sharpening services can restore them faster and more accurately than home methods.
Can All Kitchen Shears Be Sharpened at Home?
Not all kitchen shears can be sharpened at home. You can usually handle basic blade maintenance on straight, removable blades with simple sharpening techniques, but serrated, coated, or riveted shears may need professional service.
Check the hinge, blade shape, and manufacturer’s instructions first. If you can’t disassemble them safely, don’t force it.
Proper care keeps your shears cutting well, but some designs aren’t meant for DIY sharpening.
What Safety Precautions Should I Follow?
You should treat the blades like tiny, sneaky sabers. Wear Protective gear such as cut-resistant gloves and safety glasses, and keep your fingers clear of the edge. Use a Proper grip on the shears and the sharpening tool, and work on a stable surface. Move slowly, sharpen away from your body, and stop if the blades slip. Clean up metal shavings right away so you don’t get nicked.
Should I Clean Shears Before Sharpening?
Yes, you should clean shears before sharpening. Cleaning removes grease, food bits, and rust that can interfere with sharpening and dull the edge further.
Wash and dry the blades, then inspect them and tighten any loose screw. You’ll get a smoother result and reduce wear on your tool.
If you skip this step, your sharpening stone or file won’t contact the metal evenly, and your shears won’t cut as well.
When Should I Replace Dull Kitchen Shears?
You should replace dull kitchen shears when sharpening can’t restore a clean cut, the blades wobble, or the pivot stays loose after your best Shear maintenance. If you’re wrestling herbs like they’re armored knights, that’s one of the clearest Dullness indicators. Don’t keep pretending they’re “character-building.”
Replace them when rust pits, chips, or bent blades make every snip a small tragedy. Your fingertips deserve better than heroic suffering.
Conclusion
With just a few careful strokes, you’ve brought your kitchen shears back to life. The blades should glide smoothly, ready for snipping herbs, twine, or packaging with ease.
Keep your kitchen shears sharp, and they’ll stay dependable and comfortable to use. A little maintenance now means fewer struggles later and easier snipping every time.