10 Steps to Sharpen Kitchen Knives With a Rod
A dull kitchen knife can make everyday prep frustrating, even when you’re doing everything right. You’re not alone—many home cooks struggle to keep their blades sharp. The right sharpening rod can help restore a smoother edge, and these 10 steps to sharpen kitchen knives with a rod make the process easier to follow.
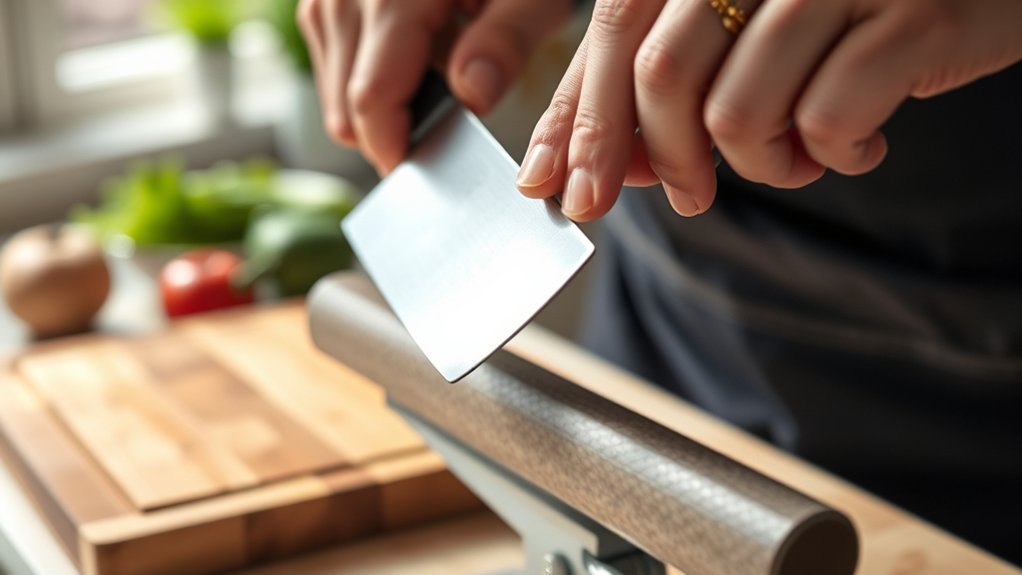
Choose a sharpening rod that fits your knife, then hold it securely with the tip on a towel or board. Set your blade at a steady 15 to 20-degree angle and draw it from heel to tip with light pressure.
Sharpen one side, then switch and match your strokes. Test the edge on paper or a tomato, make a few gentle polishing passes, clean and dry the knife, and store it properly.
There’s more to fine-tuning the finish.
Key Takeaways
- Choose a sharpening rod suited to your knife’s steel, and make sure it’s longer than the blade for smooth passes.
- Hold the rod securely at a stable angle, usually 15 to 20 degrees, to avoid creating a weak or dull edge.
- Draw the knife heel to tip along the rod with light pressure, keeping your wrist steady and movements controlled.
- Alternate sides after several strokes, then use lighter passes to refine, align, and polish the edge evenly.
- Rinse, dry, and store the knife properly after sharpening to prevent damage and maintain sharpness.
Choose the Right Sharpening Rod
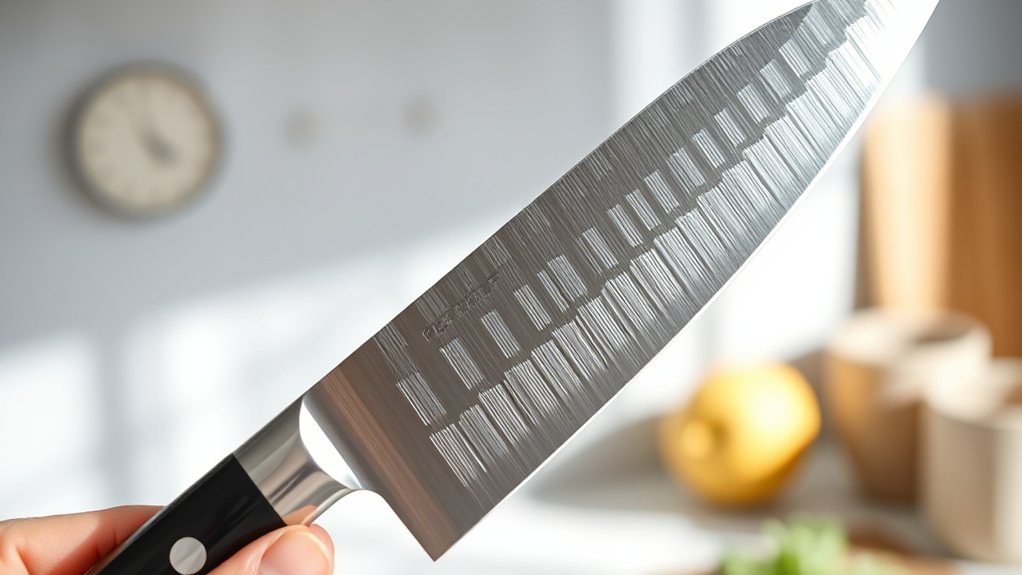
Start by choosing a sharpening rod that matches your knives and your skill level. If you’re new to knife care, pick a steel or ceramic rod that feels comfortable in your hand and offers good control.
A textured grip helps you keep a secure hold while you work, especially when your knife handle gets slick. Look at the rod’s length too; it should be longer than the blade so you can make smooth passes without crowding the edge.
Harder rods remove metal faster, while softer ones maintain an edge with less abrasion. Consider your sharpening frequency: if you sharpen often, a gentler rod may suit you better; if your knives dull quickly, choose one that corrects wear more efficiently.
Match the rod to the knives you use most, and you’ll build confidence while keeping your edges ready for prep tasks.
Set the Blade Angle
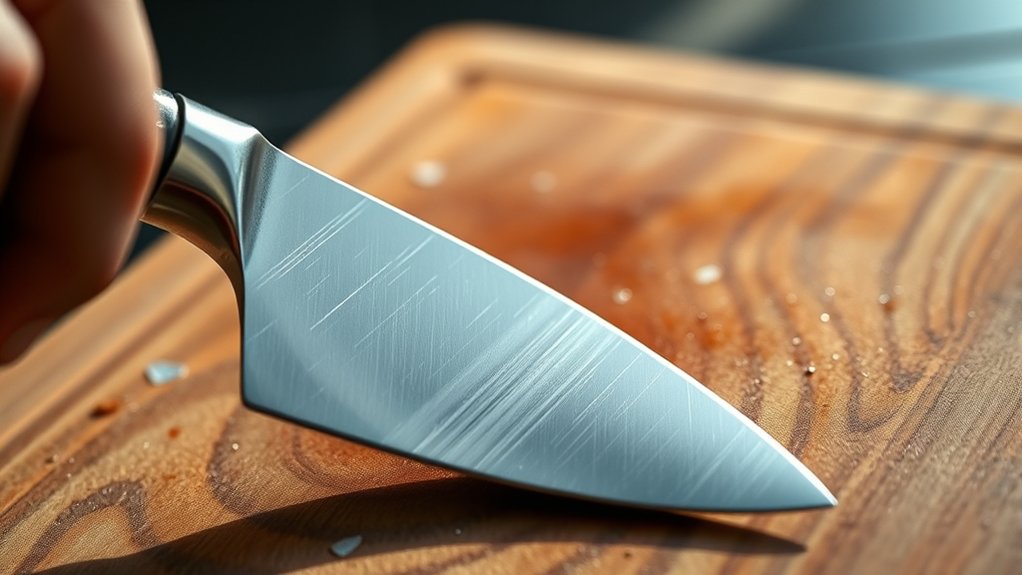
Hold the knife at the proper angle against the rod, because that angle determines how effectively you realign the edge. You’ll usually aim for 15 to 20 degrees, but your knife’s blade material can nudge that target slightly.
Softer steel often needs a wider angle, while harder steel holds a narrower one. Match the angle to your sharpening frequency, too; if you hone often, small corrections keep the edge keen without removing much metal.
Use a consistent angle on both sides, and let the rod guide your hand rather than forcing the motion.
| Angle | Effect | Feeling |
|---|---|---|
| Too low | Weak edge | Frustration |
| Just right | Sharp edge | Relief |
| Too high | Dull edge | Disappointment |
| Consistent | Even wear | Confidence |
Grip the Knife and Rod Safely
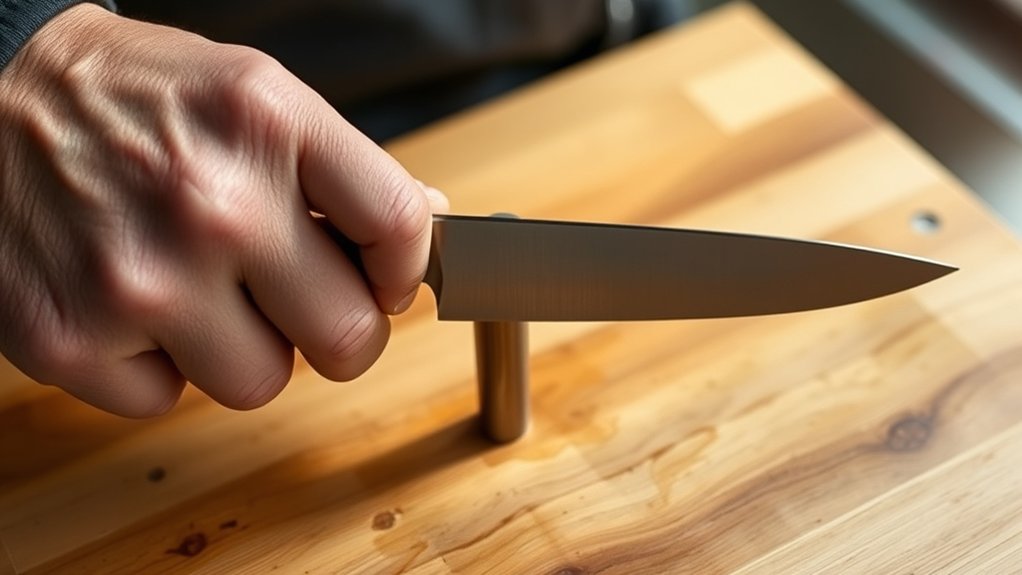
With a firm, relaxed grip, you can keep both the knife and honing rod under control while you work. Hold the rod in your non-dominant hand and plant its tip on a towel or board so it won’t slip.
Wrap your fingers around the handle, keeping your knuckles away from the blade path. Use a proper grip on the knife handle, thumb and forefinger secure but not tense, so you stay steady without squeezing too hard. These safety precautions help you move with confidence instead of fear.
- Feel calm, not rushed, because steady hands protect you.
- Trust your setup, and the work feels safer.
- Keep your focus sharp, and you’ll feel more in control.
If your hands start sweating, pause and wipe them dry. A secure hold gives you confidence, reduces mistakes, and lets you practice safely every time.
Sharpen One Side of the Blade
Angle the blade against the rod at about 15 to 20 degrees, then draw it smoothly from heel to tip along one side only. Keep light pressure so the steel meets the rod, not digs into it.
Use the full length of the edge in one controlled pass, and let your wrist stay steady. Good knife ergonomics matter here, because a relaxed grip helps you guide the blade without wobbling or forcing the angle.
As you repeat the stroke, listen for a faint, even scrape; that tells you your contact stays consistent. A quality rod is one of the most useful sharpening tools, but it works best when you move deliberately and keep each pass clean.
Focus on the same side for several strokes, maintaining speed and rhythm. If the edge feels rough, shorten your motion slightly and reset your angle before continuing.
Switch Sides and Match Your Strokes
Switch to the other side of the blade and keep your strokes even. Use the same number of passes as before to keep both edges balanced and maintain a consistent, sharp edge.
Alternate Knife Sides
After a few strokes on one side of the blade, you’ll need to change sides so the edge stays even. Keep your grip steady, then repeat the same motion on the other side with the same angle and pressure. This balance protects knife safety and helps your sharpening tools work efficiently.
If you rush, you can tilt the edge and feel frustrated when the knife won’t bite cleanly. Stay calm and deliberate.
- You keep control and feel confident.
- You avoid a wobbly, uneven edge.
- You build trust in your technique.
Alternate sides smoothly, and let the rod guide each pass. When both sides get equal attention, your knife feels sharper, safer, and ready for confident prep.
Match Stroke Count
Keep your stroke count balanced by giving each side the same number of passes. When you switch sides, count every sweep so you don’t overwork one edge. This keeps the bevel even and helps you maintain control, which supports knife safety while you sharpen.
If you’re using light pressure, try two or three passes per side, then check the edge before repeating. Matching strokes also makes your sharpening frequency easier to track, since you’ll notice when a knife needs only a few touches instead of a full session.
Stay consistent from heel to tip, and don’t rush the rhythm. Equal strokes produce a cleaner edge, reduce mistakes, and help your knife stay sharp longer without unnecessary metal removal.
Use Light, Controlled Passes
Use light, controlled passes to realign the edge without forcing it. Keep the blade angle steady with each stroke for even, consistent results. Gentle pressure and a steady hand help you sharpen safely and effectively.
Gentle Edge Alignment
With each pass, you’re realigning the edge, not grinding away metal, so light pressure matters. You should let the rod do the work while you guide the knife in smooth, quiet strokes. If your grip feels tense, adjust your knife handle ergonomics so you can relax your wrist and keep control. Different sharpening rod materials can change how the blade feels, but your touch should stay gentle either way. Aim for calm repetition, not force.
- You’ll feel more in control.
- You’ll protect your blade’s life.
- You’ll build confidence fast.
Each easy pass helps the edge settle back into shape, giving you a safer, sharper knife without stressing the steel.
Consistent Blade Angle
A steady angle matters because it keeps each pass consistent and effective. You should match the rod’s angle to the edge, then keep it there as you draw the knife from heel to tip.
Use light, controlled passes; pressing hard can roll the edge or scratch the blade. A smooth rhythm helps you stay accurate and protects kitchen safety by reducing slips.
After each stroke, reset your grip and repeat on the other side with the same angle. If the blade wobbles, slow down and shorten your motion.
Consistency matters more than speed, especially on harder steels. When you finish, wipe the blade dry and return it to proper knife storage so the edge stays protected and ready for the next use.
Test the Edge After Sharpening
Once you’ve finished sharpening, test the edge to make sure it’s truly ready for use. Start with a careful paper slice: a sharp blade should bite immediately and glide cleanly. Then try a ripe tomato or onion; if the skin splits without pressure, you’ve done the job well.
Hold the knife with your usual grip, because knife handle ergonomics can affect how accurately you judge the edge. If you’ve used different steels, remember a steel hardness comparison explains why some blades feel keener longer than others. Trust your senses, not force.
- Feel relief when the cut stays effortless.
- Feel confidence when the blade answers instantly.
- Feel pride when your technique pays off.
If the knife hesitates, stops, or tears, you’ll know it still needs attention. A true test should reassure you before you move on.
Make a Few Final Polishing Passes
Use light pressure for a few final strokes on the rod to smooth the edge without removing too much metal. Alternate sides with each pass to keep the bevel even and the edge centered. When you’re done, check that the edge is straight and consistent.
Light Pressure Strokes
Now that the edge is set, switch to light pressure and make a few final polishing passes along the rod. You’re not grinding; you’re refining the edge so it feels smooth, controlled, and ready for precise prep.
Keep your wrist steady, breathe, and let the rod do the work while you guide the blade with confidence. This gentle touch supports Cooking safety because a clean edge grips food better and slips less.
After you finish, return the knife to Knife storage so the sharpened edge stays protected.
- Feel relief as the blade glides.
- Notice pride in your careful technique.
- Enjoy the confidence of a sharper tool.
A few soft strokes can transform a decent edge into one that inspires calm, trust, and better cutting.
Alternate Blade Sides
With the edge polished, alternate sides for a few final passes so each bevel gets equal attention. Keep your strokes light and consistent, letting the rod refine the edge rather than remove more steel.
You’ll finish faster if you switch sides after every pass or two, especially on harder blade material, which can respond better to balanced polishing. Don’t rush these last strokes; they’re meant to smooth tiny burrs and even out the bite along the whole edge.
If you sharpen often, your sharpening frequency can stay low because these finishing passes help maintain performance between full honing sessions. Keep your wrist steady, follow the same angle you used earlier, and stop when the knife feels clean, smooth, and ready for use.
Check Edge Alignment
Check the edge alignment
Check the edge alignment by making a few final polishing passes on the rod, keeping the knife at the same angle and using only light pressure. This last touch helps you confirm blade alignment and smooth out tiny burrs that dull performance.
As you stroke, stay calm and focused, because edge symmetry depends on steady hands and consistent motion.
- You’ll feel the knife glide cleaner, which boosts confidence.
- You’ll see the edge reflect light more evenly, proving progress.
- You’ll hear a softer, more controlled sound, signaling a refined finish.
When both sides match, stop before overworking the steel. A few careful passes can turn a decent edge into one that feels sharp, balanced, and ready for precise slicing.
Clean and Dry the Knife
| Task | Why it matters | Tip |
|---|---|---|
| Rinse blade | Removes debris | Use warm water |
| Wipe dry | Prevents slipping | Dry both sides |
| Inspect edge | Spots grime | Look under light |
Hold the handle firmly, then pass the blade only after the surface feels dry to the touch. If moisture remains near the bolster or tip, take a second to wipe it away. That small pause keeps your strokes consistent and helps the rod work evenly across the edge without interference.
Store and Maintain the Edge
Once you’ve finished sharpening, store your knife carefully so the edge stays true longer. Keep it in a sheath, on a magnetic strip, or in a lined block so blades don’t knock against other tools. Good Knife storage protects the edge and keeps you confident every time you cook. Wipe the blade after use, then check for moisture before putting it away.
- You feel relief when the edge glides through tomatoes instead of crushing them.
- You feel proud when each cut looks clean and controlled.
- You feel calm knowing your knife is ready, safe, and sharp.
For Edge maintenance, hone the blade lightly before busy prep sessions and avoid twisting it through bones or frozen food. Wash by hand, dry immediately, and never toss it loose in a drawer. These small habits preserve sharpness, reduce frustration, and make every meal smoother.
Frequently Asked Questions
How Often Should I Sharpen Kitchen Knives With a Rod?
You should sharpen your kitchen knives with a rod every few uses, or whenever they start to feel less precise. For regular knife maintenance, a quick rod session before or after cooking keeps the edge aligned.
If you use proper cutting techniques and chop daily, you may need it more often. Don’t wait until the blade drags; a light touch-up helps you keep control, safety, and better performance in the kitchen.
Can a Rod Fix a Chipped Knife Edge?
No, you can’t fully fix a chipped knife edge with a rod. A rod helps with blade alignment and can improve cutting performance, but it won’t rebuild missing steel or complete edge restoration.
If the chip is small, you might smooth it temporarily, yet you’ll still need proper sharpening or professional repair. For larger chips, you should use a stone, grinder, or repair service to restore the blade correctly.
Do Ceramic Rods Work Better Than Steel Rods?
Ceramic rods usually work better for fine honing, like a polish that wakes a sleepy edge. You’ll get more bite because ceramic abrasives are harder, while steel rods rely on Steel flexibility to realign the knife rather than remove metal. Ceramic durability means they stay aggressive longer, but they’re more brittle and can chip if you’re rough. For quick touch-ups, use steel; for sharper refinement, choose ceramic.
Should I Sharpen Serrated Knives With a Rod?
No, you usually shouldn’t sharpen serrated knives with a rod. You can easily damage the scallops or flatten the points. Instead, use sharpening techniques made for serrations, like a tapered ceramic or diamond hone that fits each groove.
For better knife maintenance, clean the blade, inspect the edge, and sharpen only the beveled side when needed. If you’re unsure, a professional can restore the edge safely and keep your knife cutting well.
What’s the Difference Between Honing and Sharpening?
Honing realigns your knife’s edge like straightening a bent wire, while sharpening removes metal to create a new edge. You’d hone often as part of Knife maintenance to keep cuts smooth, but you’d sharpen less often when the blade feels dull.
With the right Sharpening techniques, you restore performance instead of just correcting alignment. In short, honing maintains; sharpening renews. Use both, and your knife stays ready longer.
Conclusion
Now you’ve got the basics to sharpen kitchen knives with a rod, and your blades should cut cleaner and safer. Keep your angle steady, use light strokes, and don’t rush the process.
A little care goes a long way because a sharp knife makes every prep task easier. Clean and store your knife properly, and you’ll stay ahead of dull edges.
With regular maintenance, you’ll keep your kitchen tools in top shape. Sharpening kitchen knives with a rod helps keep them ready for everyday use.