How Do You Reface Kitchen Cabinets in 7 Easy Steps?
Updating a tired-looking kitchen can feel like a big, expensive project, especially when the cabinets still work just fine. You’re not alone—many homeowners want a fresh look without replacing every cabinet. Learning how to reface kitchen cabinets can help you transform your space with less disruption.
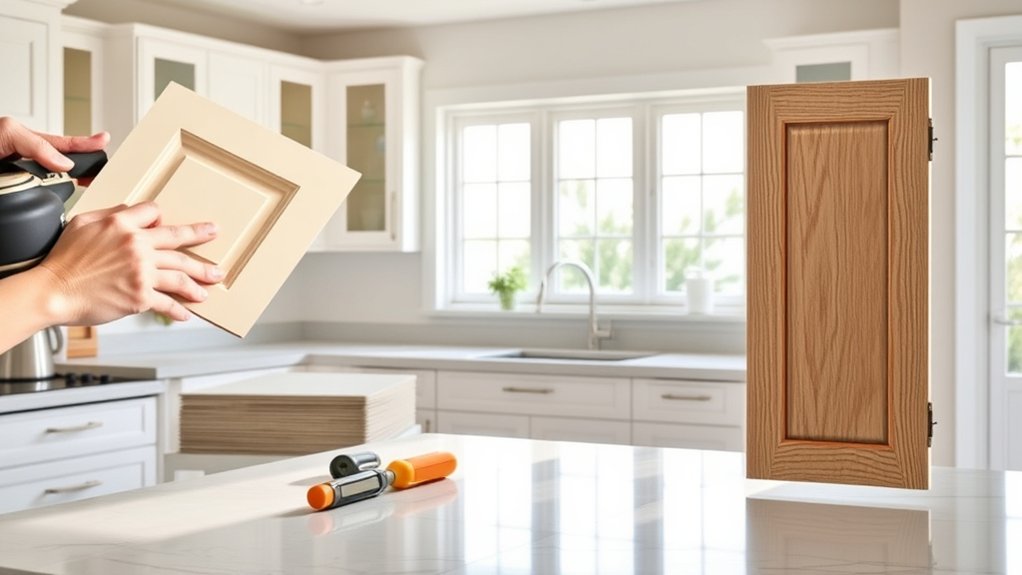
You can reface kitchen cabinets in 7 easy steps by gathering your tools, removing doors and hardware, and cleaning all surfaces well. Next, sand lightly, fix any damage, and measure each door, drawer, and cabinet box carefully. Then apply veneer or face panels, trim the edges, and let the adhesive set.
Install new doors and hardware, fill gaps, touch up the finish, and rehang everything so it opens smoothly. There’s plenty more to get just right.
Key Takeaways
- Clean, degrease, and lightly sand all cabinet surfaces, then repair any damage before starting the refacing project.
- Remove doors, drawers, and hardware, labeling each piece carefully for easy reinstallation later.
- Measure cabinet parts precisely, cut veneer or face panels slightly oversized, and apply adhesive to the cleaned surfaces.
- Reinstall doors and hardware, using templates for alignment, then adjust hinges for even gaps and smooth operation.
- Fill gaps, touch up finishes, clean thoroughly, and inspect the cabinets to ensure a polished, durable result.
Gather Tools for Cabinet Refacing
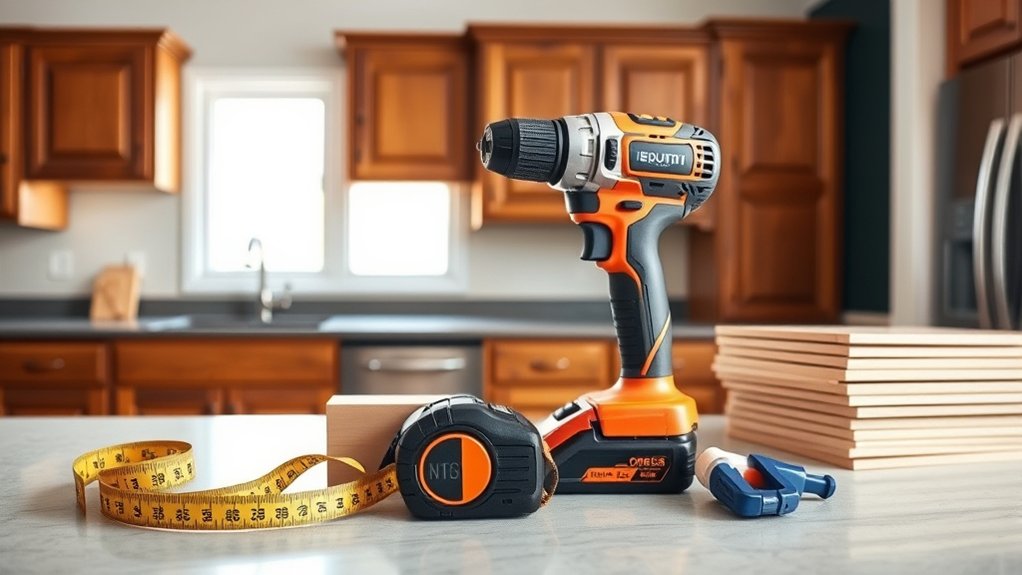
Before you start refacing your kitchen cabinets, gather the right tools so the job goes smoothly. You’ll need a tape measure, screwdriver set, drill, clamps, putty knife, sanding block, brush, roller, and drop cloths.
Keep wood filler, painter’s tape, caulk, and cleaning supplies close by so you can prep surfaces efficiently. If you plan cabinet paint, choose high-quality brushes and a fine-grit sanding sponge for a smoother finish.
For hardware replacement, have the new hinges, pulls, and screws ready before you begin. A label maker or masking tape helps you organize parts and keep track of each cabinet.
Wear safety glasses and gloves, and make sure your workspace has good lighting and ventilation. When everything is within reach, you’ll work faster, avoid interruptions, and reduce mistakes.
Good preparation sets up a cleaner, more professional-looking refacing project from the start.
Remove Cabinet Doors and Hardware
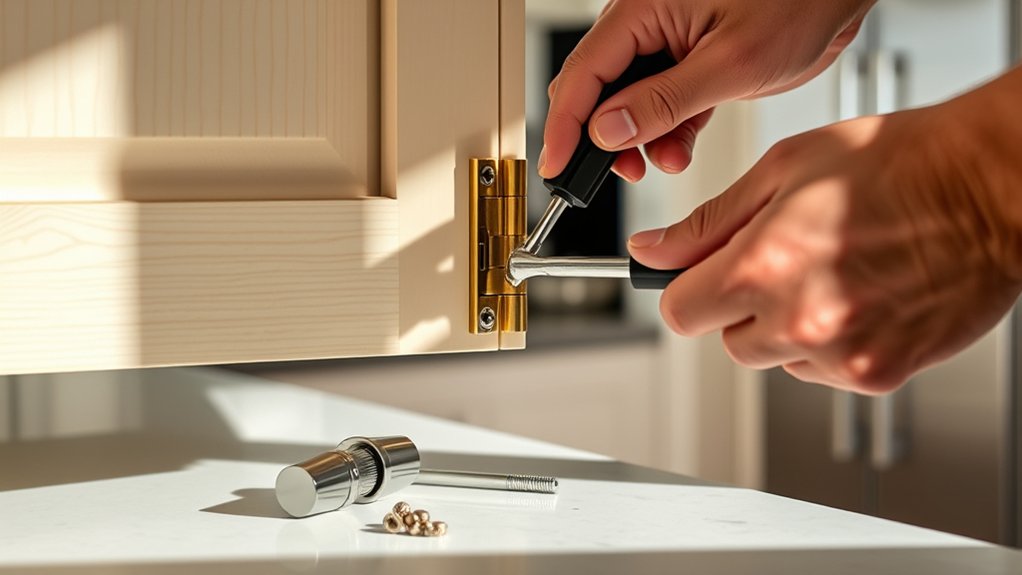
Now that your tools are ready, you can remove the cabinet doors and hardware. Start with one door at a time, and label each door, hinge, and screw so you can put everything back in the right place later.
Use a screwdriver or drill to loosen the hinges, then set the doors aside on a protected surface. Remove pulls, knobs, and other hardware from drawers and face frames.
If you plan to add new cabinet paint later, this step helps you work on each surface without obstacles. Take off any decorative molding only if it blocks access to the cabinet edges or the new refacing materials.
Keep all parts grouped by cabinet section, and store small screws in marked bags. Work carefully so you don’t nick the cabinet boxes or chip surrounding surfaces.
Once everything is off, you’re ready for the next step in the refacing process.
Clean and Prep the Cabinet Surfaces
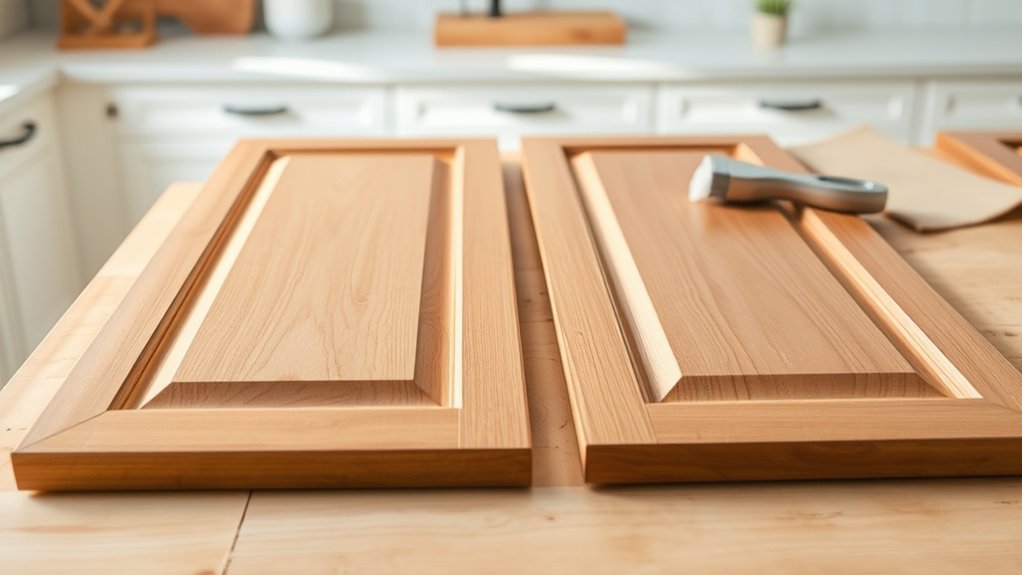
With the doors and hardware removed, clean the cabinet surfaces to get rid of grease and dirt. Lightly sand any rough spots to help the new finish adhere, then wipe away the dust with a clean cloth. Once everything is clean and smooth, the surfaces are ready for refacing.
Remove Grease and Dirt
Once you’ve removed the cabinet doors and hardware, thoroughly clean every surface to get rid of grease, dirt, and grime. Use a degreasing cleaner made for kitchen cleaning and wipe each cabinet box, door edge, and frame with a soft cloth.
Focus on high-touch areas near handles, the stove, and sink, where buildup hides. Good grease removal helps the new veneer or laminate bond properly later.
Rinse with a damp cloth, then dry everything completely so no residue lingers.
| Area | What to Use | Result |
|---|---|---|
| Doors | Degreaser | Clean finish |
| Frames | Cloth | No buildup |
| Corners | Detail brush | Removed grime |
Check for sticky spots and repeat if needed.
Sand Rough Surfaces
Lightly sand the cabinet boxes, doors, and frames to smooth rough spots and help the new finish stick. Use fine-grit sandpaper and work with light, even pressure so you don’t damage the wood veneer or profile details.
Focus on glossy areas, chipped edges, and patched spots because these often need extra attention. You’re not trying to remove the old finish; you’re just improving the surface texture so the new veneer, paint, or laminate bonds better.
If you keep the sanding consistent, you’ll create a uniform base that supports paint adhesion and helps the refacing materials sit flat. Check corners, trim, and recessed panels for any missed roughness, then sand those spots gently until they feel smooth to the touch.
Wipe Dust Away
After sanding, wipe away every trace of dust with a tack cloth or a slightly damp microfiber cloth so the new finish can bond cleanly. Focus on every edge, groove, and corner, because leftover grit can ruin your refacing work.
Move from top to bottom and replace cloths as soon as they load up. Don’t scrub hard; gentle wiping prevents smearing residue back onto the cabinets.
Check handles, hinges, and trim for hidden dust, then give those spots a careful pass. Let the surfaces dry fully before you apply adhesive, veneer, or paint.
Clean cabinets create a smoother look, stronger adhesion, and a more professional result, so take your time and don’t skip this step.
Measure Doors, Drawers, and Cabinet Boxes
Before you order new veneer, doors, or hardware, measure everything carefully so your refacing materials fit right the first time. Use a tape measure and record each door’s height, width, and thickness, plus every drawer front’s dimensions.
Measure each cabinet box opening too, then note any differences from one side to the other. If you’re keeping existing Door hinges, mark their locations so new doors line up properly.
Check reveal gaps around each panel and write down where cabinet paint has chipped or built up, since those spots can affect fit. Label every measurement by cabinet number and opening position, and sketch a quick layout if it helps you stay organized.
Double-check your notes before you buy materials, because even a small error can throw off the whole refacing project and waste time.
Apply Veneer to the Cabinet Boxes
With your measurements ready, you can start applying veneer to the cabinet boxes. Choose veneer types that match your finish goal, then cut each sheet slightly oversized so you can trim clean edges later.
Clean the cabinet surfaces, sand them lightly, and remove dust so the adhesive bonds well. Use the adhesive techniques recommended for your veneer, whether contact cement or heat-activated glue, and spread it evenly to avoid bubbles.
Clean, sand, and dust the cabinet surfaces so adhesive bonds firmly and the veneer stays bubble-free.
Press the veneer in place, starting at one edge and smoothing outward with a roller or block.
- Align each piece carefully before full contact.
- Work on one box section at a time.
- Trim excess veneer with a sharp utility knife.
- Sand the edges lightly for a seamless look.
Check every seam as you go, and fix any lifted spots right away. Once the veneer is secure, your cabinet boxes will look clean, updated, and ready for the next step.
Install New Cabinet Doors and Hardware
Now that the cabinet boxes are refaced, you can install the new doors and hardware to bring the whole kitchen together. Set each door in place, align it with the frame, and fasten the hinges securely. Then attach knobs or pulls that match your style and the room’s finish.
If you painted the boxes with cabinet paint, choose hardware that complements that sheen and color. Add decorative molding around larger doors or special sections if you want a more custom look.
| Task | Tip |
|---|---|
| Hang doors | Start with corner cabinets |
| Install hardware | Use a template for spacing |
| Add accents | Keep finishes consistent |
Work methodically so every door opens smoothly and sits evenly. Measure twice before drilling, and keep the hardware centered for a clean result. When you finish, the updated fronts should feel cohesive, polished, and ready for everyday use.
Fill Gaps, Rehang, and Inspect Cabinets
Fill any small gaps with caulk or wood filler so the refacing looks seamless, then let it dry fully before you move on. After that, reinstall each door and drawer carefully, checking that hinges sit flush and handles align. Keep these quick checks in mind:
- Confirm every gap looks even.
- Open and close each door without rubbing.
- Tighten loose screws before they strip.
- Wipe away dust so the cabinet color stays clean.
Next, step back and inspect the full run of cabinets in good light. Look for uneven seams, chipped edges, or spots that need touch-up paint. Add decorative accents only after everything feels solid and level. If a panel shifts, adjust it now rather than later.
When you finish, your refaced cabinets should look polished, work smoothly, and match the rest of the room.
Frequently Asked Questions
What Cabinet Materials Are Best for Refacing?
Plywood, MDF, and hardwood veneer work best when you want strong, smooth refacing results. You’ll get good Cabinet durability from plywood for doors and boxes, while MDF offers a stable, paint-ready surface. Hardwood veneer gives you richer grain and more Reface color options with stains or paints. Avoid cheap particleboard if you can, since it swells easily and won’t hold up as well over time.
How Much Does Cabinet Refacing Usually Cost?
Cabinet refacing usually costs you about $4,000 to $10,000, though larger kitchens can run higher. Like a tailor-made suit, the price depends on fit, finish, and detail.
Your budget considerations should include labor, door style, and hardware, while material durability affects long-term value. You’ll spend less than a full remodel, and you can boost savings by choosing simple veneers and keeping your existing cabinet boxes intact.
Can I Reface Cabinets Without Removing the Countertop?
Yes, you can reface cabinets without removing the countertop in many kitchens. You’ll work around the existing top, so countertop removal isn’t usually needed unless you’re replacing damaged sections or changing the layout.
You should protect the surface carefully while you remove doors, drawers, and old veneer. Since the boxes stay in place, cabinet disposal is minimal, making the job faster and less disruptive for you.
How Long Does a Cabinet Refacing Project Take?
A cabinet refacing project usually takes you 3 to 5 days, depending on your kitchen size and the details you choose. You’ll spend time on prep, panel installation, Painting techniques, and hardware selection. If you’ve got custom doors, repairs, or extra trim, it can take longer. You can keep the kitchen functional in stages, but drying times and careful alignment still affect how fast you finish.
Should I Hire a Professional or Do It Myself?
You should hire a professional if you want a lighthouse guiding the project, but you can do it yourself if you’ve got patience and skill. Weigh budget planning against tool selection, because mistakes can cost more than labor.
If your cabinets need precise cuts, matching finishes, or speedy results, a pro’s worth it. If you’re handy and detail-oriented, DIY can save money and give you pride.
Conclusion
By the time you hang the last door, your kitchen feels new in a way that almost surprises you. Fresh veneer, clean lines, and bright hardware come together like they were waiting for this moment. You’ve turned tired cabinets into a polished centerpiece without starting over.
Step back, close the last gap, and admire the change. A little effort and a few simple steps can make your kitchen feel like the one you want. That’s the beauty of learning how to reface kitchen cabinets.