How to Build an Outdoor Kitchen in 7 Simple Steps
Planning an outdoor kitchen can feel overwhelming, especially when you’re trying to balance layout, weatherproof materials, and utility connections. You’re not alone—many people struggle to know where to start.
This guide breaks down how to build an outdoor kitchen in 7 simple steps.
You can build an outdoor kitchen in 7 simple steps by first planning your layout and choosing a spot close to the indoor kitchen. Next, size the space, pick weatherproof appliances, and map out prep, cooking, and cleanup zones.
Then build a level base, install utilities with licensed pros, and add countertops, storage, lighting, and seating. Finish by sealing surfaces, testing every connection, and checking safety so you’re ready for easy entertaining.
And there’s more to learn below.
Key Takeaways
- Plan the layout around cooking, prep, and cleanup zones near the indoor kitchen, with clear pathways and enough space.
- Choose weatherproof materials, durable appliances, and finishes that match your outdoor decor and local climate.
- Build a level, reinforced base with precise measurements, then install counters, storage, grill, sink, and utilities.
- Connect gas, water, and electricity with licensed professionals, following local codes and protecting all utility lines.
- Seal, clean, test, and inspect every surface and system before adding decor and using the kitchen.
Plan Your Outdoor Kitchen Layout
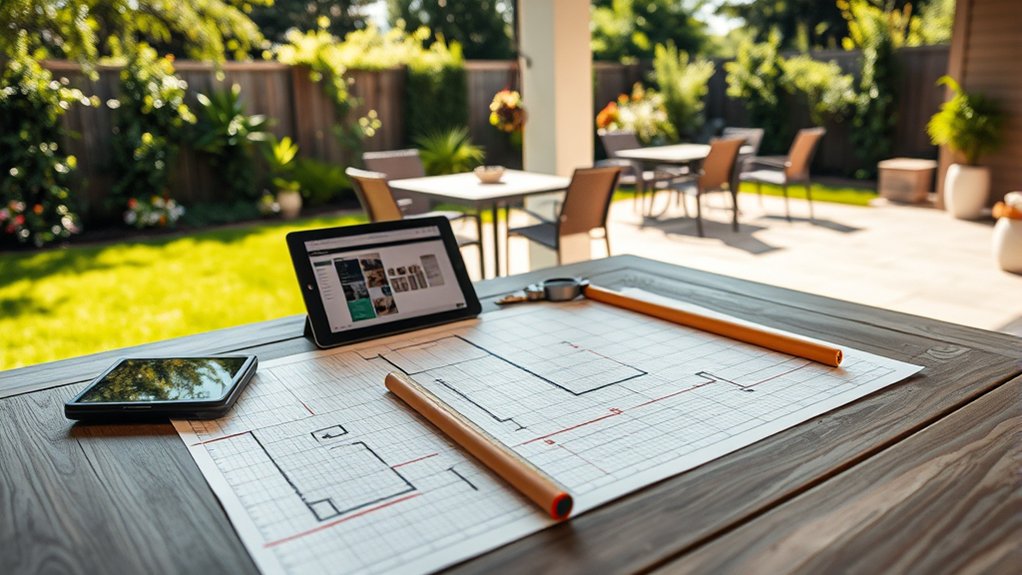
Before you choose appliances or materials, you need to map out how your outdoor kitchen will function. Sketch the work zones for prepping, cooking, plating, and cleanup, and make sure each task flows naturally into the next. Place the grill, sink, refrigerator, and counter space where you’ll reach them easily without crowding yourself or guests. Think about how you’ll move food from storage to prep to heat, then to serving, so you can avoid awkward backtracking.
As you plan, keep landscape integration in mind. Your layout should complement patios, paths, and existing views instead of fighting them. You’ll also want weatherproof materials that can handle sun, rain, and temperature swings without warping or rusting. Choose finishes that support your style while staying practical. When you balance function, durability, and visual harmony, you’ll create an outdoor kitchen that feels intentional, efficient, and ready for everyday use.
Choose The Kitchen Location And Size
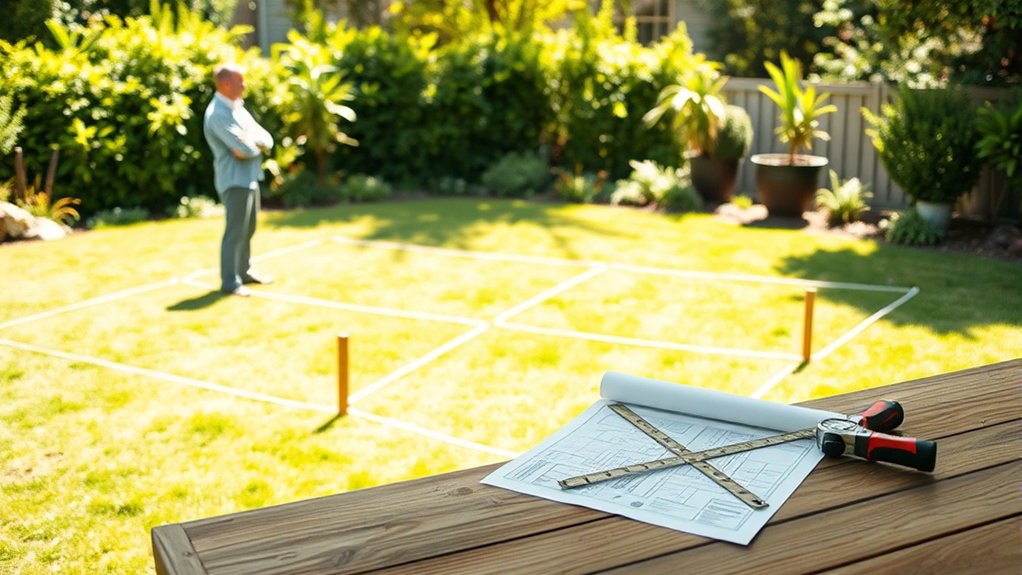
With your layout mapped out, the next step is to choose a spot that supports how you’ll actually use the kitchen. Pick a location close enough to your indoor kitchen for easy traffic flow, but far enough to keep smoke, heat, and noise from crowding your living space.
Think about landscape integration so the kitchen feels like part of your yard instead of an afterthought. You’ll also want to watch weather considerations: avoid low spots that collect water, and use natural wind breaks where possible.
Size the kitchen to fit your patio and your habits. If you entertain often, give yourself enough room to move comfortably between prep, cooking, and serving zones. If your yard is smaller, keep the footprint compact so it doesn’t overwhelm the space.
Leave open pathways around the area, and make sure the chosen size doesn’t block views, shade, or access to the rest of your outdoor space.
Select Appliances, Countertops, And Storage
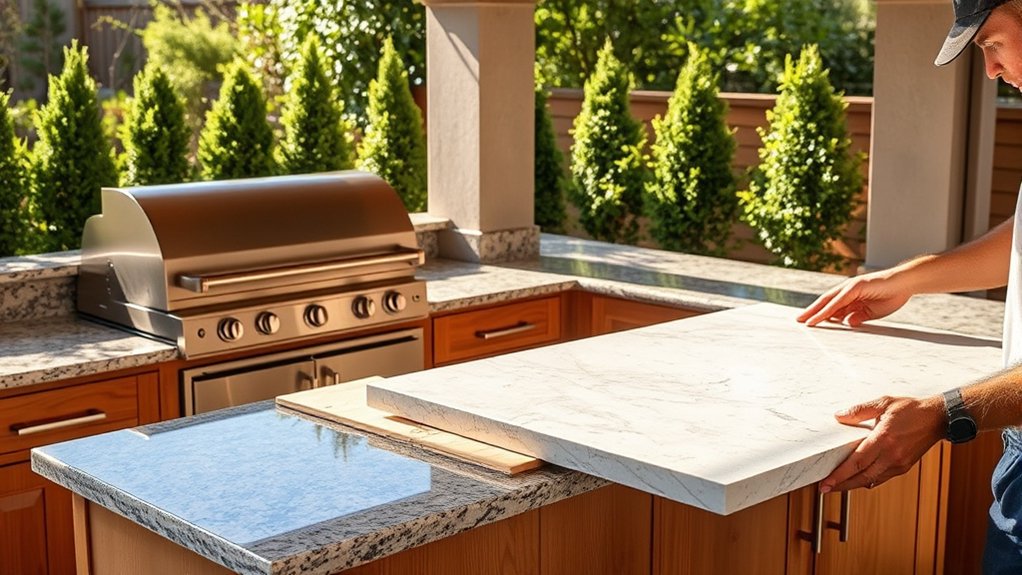
Now that you’ve set the location and size, choose appliances, countertops, and storage that match how you plan to cook and entertain. Start with the grill, then add a side burner, sink, or beverage cooler only if you’ll use them often.
Pick weatherproof materials like stainless steel, sealed stone, or concrete for surfaces that handle sun, rain, and spills. Your counters should give you prep space without crowding the patio, while cabinets and drawers keep tools, plates, and towels within easy reach.
| Item | What to look for |
|---|---|
| Grill | Fuel type, size, durability |
| Countertops | Weatherproof materials, easy cleaning |
| Storage | Lockable, organized, roomy |
| Extras | Matches your outdoor decor |
Choose finishes that blend with your outdoor decor so the kitchen feels built-in, not bolted on. Measure carefully, compare warranties, and prioritize pieces that fit your cooking style, space, and climate.
Build The Base And Connect Utilities
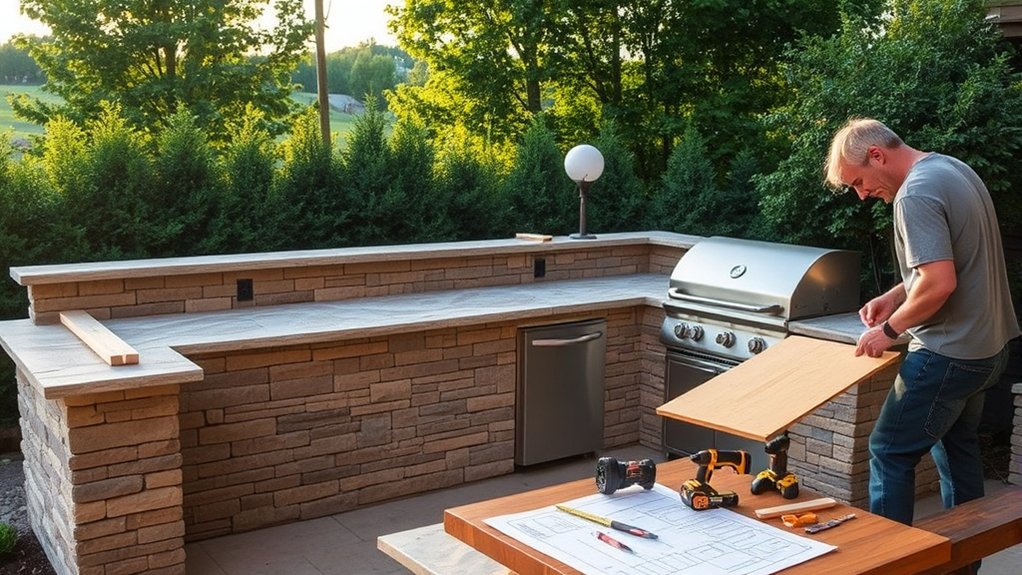
Once you’ve chosen the layout, build a level, durable base that can support the weight of the grill, counters, and storage without shifting over time. You can use concrete blocks, poured concrete, or a reinforced frame, depending on your budget and soil conditions.
Measure carefully, check for square, and confirm the surface stays level in every direction. If your design sits near a patio or deck, blend the footprint with your landscaping design so the kitchen feels intentional, not added on.
Next, connect the utilities you need. Run gas, water, and electricity only if local codes allow it, and hire licensed pros when required. Place shutoff valves, weatherproof outlets, and access panels where you can reach them easily.
Keep lines protected from moisture, heat, and digging. Leave enough clearance for outdoor furniture and foot traffic, so you can move safely while cooking and entertaining.
Install Countertops And Finishes
Choose countertops that can stand up to heat, moisture, and constant use, then install them so they sit flat and secure on the base. Check each section for level, and shim any low spots before fastening the surface in place.
Choose durable countertops, set them level and secure, and shim any low spots before fastening.
Seal joints carefully to keep water out and protect the structure below. When you pick stone, concrete, or tile, weigh material durability against your budget and climate.
You’ll also want aesthetic consistency, so match colors and textures to the cabinets, walls, and finishes you’ve already chosen. Add edge trim, corner details, and back splashes where needed to create a clean look and prevent spills from reaching the frame.
Wipe away adhesive or grout before it hardens, then let every product cure for the full recommended time. Once the surface is ready, inspect the finish for gaps, chips, or uneven seams, and make small corrections now rather than later.
Add Outdoor Kitchen Lighting And Seating
With the hard surfaces in place, you can turn to lighting and seating that make the kitchen usable and comfortable after dark. Start by layering Ambient lighting so you can cook, serve, and move safely around the space.
Mount fixtures under cabinets, along paths, and near the grill to reduce shadows without creating glare. Choose warm bulbs and weather-rated fixtures that suit your layout and keep the area inviting.
Then add Comfortable seating that fits how you’ll use the kitchen. Bar stools work well at a counter, while a small dining set supports longer meals and conversation.
Leave enough clearance for traffic flow, and pick cushions and frames that handle outdoor conditions. If space is tight, use benches or foldable chairs to stay flexible. Position seating where guests can talk with you without crowding the cooking zone.
Together, good lighting and seating make your outdoor kitchen feel finished, practical, and welcoming every night.
Seal, Test, And Complete The Build
Now seal all surfaces to protect them from moisture, stains, and wear. Then test each utility safely to make sure the gas, water, and power are working properly. Finally, add the finishing touches so your outdoor kitchen looks complete and ready to use.
Seal All Surfaces
Before you fire up the grill, seal every exposed surface to protect the outdoor kitchen from moisture, stains, and weather damage. Use a penetrating sealer on stone, concrete, and grout, then apply a food-safe finish where needed. Focus on Weatherproof materials and add Decorative accents that can handle sun and rain. Wipe off excess product, let each coat cure, and inspect joints for gaps.
| Surface | Action |
|---|---|
| Countertops | Seal evenly |
| Stone veneer | Treat edges |
| Cabinets | Protect fronts |
| Grout lines | Fill pores |
| Trim | Touch up |
After sealing, review the entire build for a clean, consistent finish. A careful seal keeps your outdoor kitchen looking sharp and lasting longer.
Test Utilities Safely
Once the finish cures, test every utility carefully so you can catch problems before the first cookout. Open the gas line slowly and check each joint with soapy water for leaks.
Turn on the water supply and watch for drips, weak pressure, or loose fittings. Flip electrical breakers on one at a time, then verify outlets, lights, and appliances work without tripping the circuit.
Follow the manufacturer’s testing procedures for each fixture, and shut everything down at the first sign of trouble. Keep children and pets away while you work, and wear gloves and eye protection for utility safety.
When everything runs cleanly, label shutoff valves and breakers, then document what you tested so you can troubleshoot faster later.
Finish Final Touches
With the major build complete, you can focus on the final details that protect the kitchen and make it ready to use. Seal countertops, joints, and any exposed edges with products suited for stone, tile, or wood so moisture can’t creep in. Wipe away excess, then let everything cure fully before you cook.
Test burners, outlets, plumbing, and lighting again to catch leaks or loose connections early. Check that doors, drawers, and panels open smoothly. Add decorative accents only after the functional parts pass inspection, and choose weatherproof materials for stools, planters, or trim.
Finish by cleaning every surface, tightening hardware, and removing debris. When you confirm that each feature works safely and looks polished, your outdoor kitchen’s complete and ready for everyday entertaining.
Frequently Asked Questions
How Much Does an Outdoor Kitchen Typically Cost?
An outdoor kitchen typically costs $5,000 to $25,000, but you can spend far more on premium setups. Your total depends on size, materials, appliances, and labor.
With smart budget planning, you can prioritize what matters most and skip extras. Luxury features like built-in grills, refrigerators, and stone countertops quickly raise the price.
If you want a custom design, expect costs to climb as your choices become more elaborate.
Do I Need a Permit to Build an Outdoor Kitchen?
Yes, you probably need a permit, unless you’re building a tiny grill shrine in the backyard moonlight. You should check your local building codes and zoning laws before you start, because they can require permits for gas, electrical, plumbing, or permanent structures.
Don’t guess and hope for the best. Call your city or county office first. A quick check now can save you fines, delays, and a very expensive do-over later.
What Materials Withstand Outdoor Weather Best?
Weather resistant materials like stainless steel, powder-coated aluminum, stone, concrete, and marine-grade polymer work best outdoors. You’ll want them for cabinets, counters, and even Outdoor furniture because they resist rain, sun, and temperature swings.
Choose sealed stone or concrete for long-lasting surfaces, and avoid untreated wood unless you’re ready to maintain it often. If you pick Weather resistant materials, you’ll get durability, easier cleaning, and fewer repairs over time.
How Do I Maintain Outdoor Kitchen Appliances?
You should maintain outdoor kitchen appliances by wiping them down after each use, covering them when not in use, and checking for rust, leaks, or worn parts. Schedule regular appliance maintenance like cleaning burners, inspecting gas lines, and testing electrical connections.
Outdoor cleaning helps prevent grease buildup and weather damage, so you’ll keep everything working safely and efficiently. If you spot issues early, you can fix them before they turn costly.
Can an Outdoor Kitchen Be Built on a Deck?
Yes, you can build an outdoor kitchen on a deck, but you’ve got to check deck considerations and structural support first. You need a deck that can handle the extra weight from appliances, countertops, and storage.
You should also plan for ventilation, fire safety, and weather-resistant materials. If you’re unsure, you’ll want a contractor or engineer to inspect it before you start. That way, you’ll avoid costly damage and stay safe.
Conclusion
You’ve built more than an outdoor kitchen—you’ve created a gathering place, like a small kingdom in your backyard. You planned the paths, chose the right tools, and laid the stones, and now the fire can welcome friends, family, and quiet evenings alike.
As you seal the final seam and test every light and line, you finish the story you started. Now your backyard isn’t just outside; it’s alive, ready, and yours. Your outdoor kitchen is ready to bring people together for years to come.