How to Sharpen a Kitchen Knife in 3 Easy Steps
A dull kitchen knife can make even simple prep work frustrating, and you’re not alone if sharpening it feels intimidating. The right tool can make all the difference, so we’ve rounded up options to help you find the best way to sharpen a kitchen knife.
Choose the right tool for your knife, such as a whetstone, honing rod, or pull-through sharpener. Hold the blade at a steady angle and draw it from heel to tip with light, even pressure on both sides.
Then test the edge on paper or a tomato and repeat if needed. Dry and store the knife right away, and with a little more detail below, you’ll keep it sharper for longer.
Key Takeaways
- Choose the right sharpening tool: whetstone for precision, honing rod for maintenance, or pull-through sharpener for speed.
- Hold the knife at a consistent angle and stroke from heel to tip with light, even pressure.
- Sharpen both sides in controlled sets, keeping full-edge contact and a steady rhythm.
- Test the edge on paper or a tomato; if it tears, repeat a few more passes.
- Dry the knife immediately and use honing plus careful storage to keep the edge sharp longer.
Step 1: Choose Your Sharpening Tool
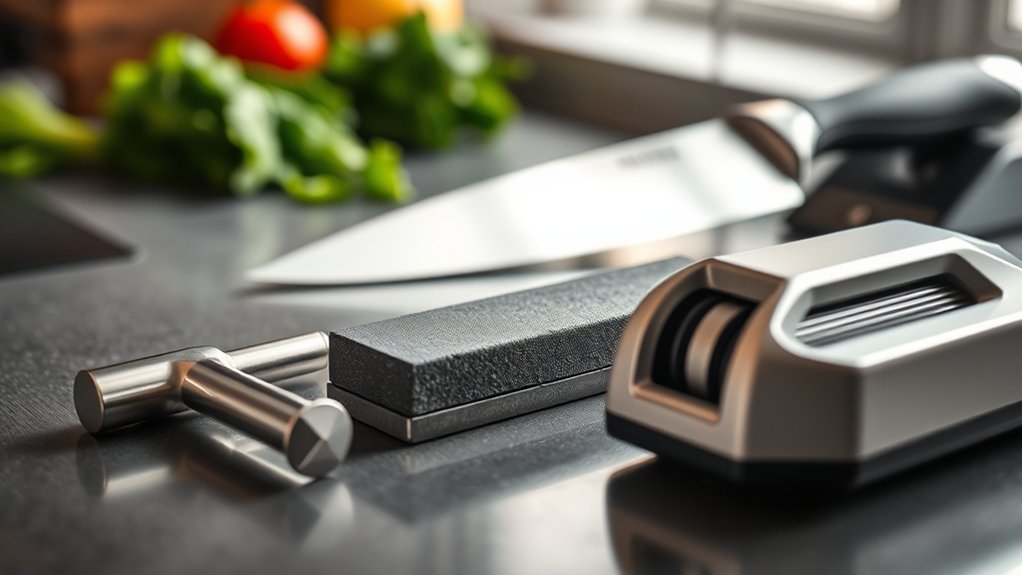
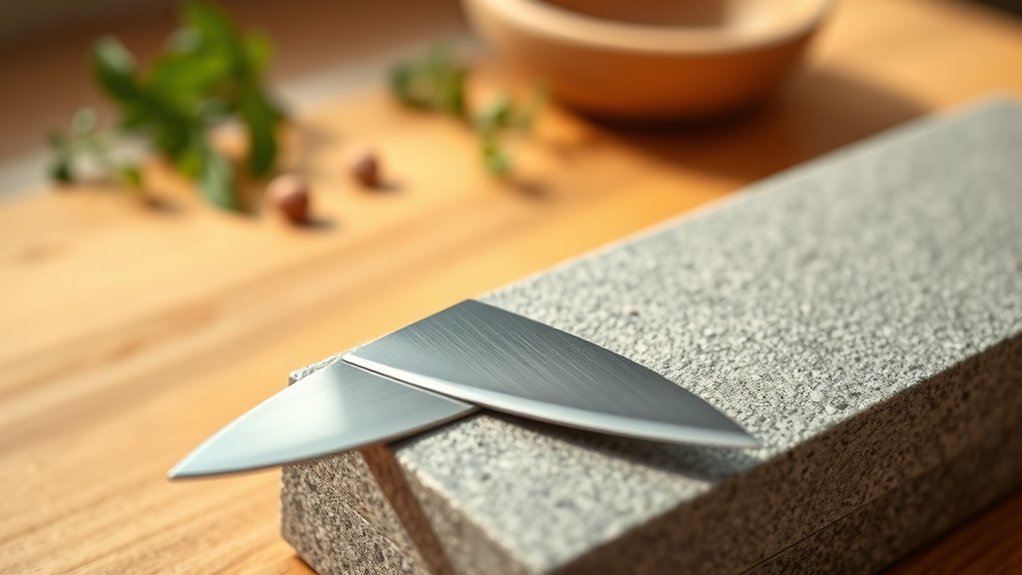
Before you start sharpening, choose the right tool for your knife and your comfort level. A whetstone gives you the most control and works well if you want a refined edge, but it takes practice.
Choose the right sharpening tool for your knife and comfort level; a whetstone offers control, but it takes practice.
A honing rod helps maintain alignment between sharpenings, though it won’t remove much metal. A manual pull-through sharpener is quick and easy, yet it can be less precise.
If you use expensive knives, a stone is often the safer choice. For everyday blades, a simple sharpener may be enough.
Think about your sharpening frequency too. If you cook often, you may need a tool that fits regular maintenance. Also consider knife storage, since well-stored knives stay sharper longer and may need less attention.
Pick one tool, learn it well, and use it consistently. That approach keeps your edge more predictable and your kitchen routine simpler.
Step 2: Sharpen the Blade
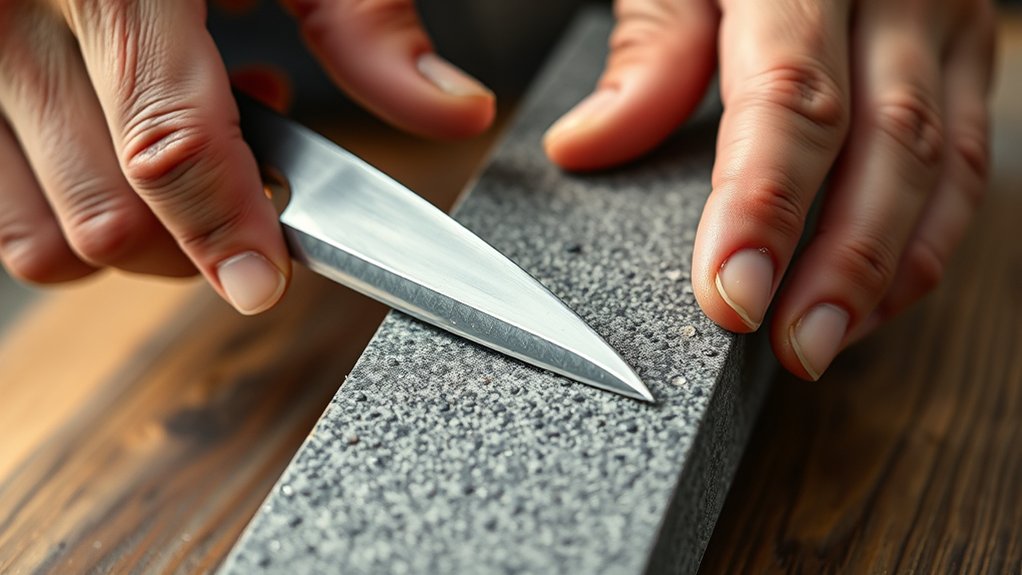
Hold the knife at the correct angle against your chosen sharpener, then move the blade smoothly across the surface from heel to tip. Keep light, even pressure so you don’t grind away too much metal.
Repeat the stroke on both sides, matching each pass to the blade’s shape. Work in controlled sets instead of rushing, since steady motion supports edge durability.
| Stroke count | Pressure | Result |
|---|---|---|
| 1-5 | Light | Sets the angle |
| 6-10 | Even | Refines the edge |
| 11-15 | Gentle | Preserves metal |
| As needed | Consistent | Improves control |
| Regularly | Moderate | Guides sharpening frequency |
If the knife feels resistant, slow down and reset your angle. A few careful passes usually beat dozens of sloppy ones.
Stay focused on the full length of the edge, and keep your rhythm consistent. That discipline helps you sharpen efficiently without shortening the blade’s useful life.
Step 3: Test and Maintain the Edge
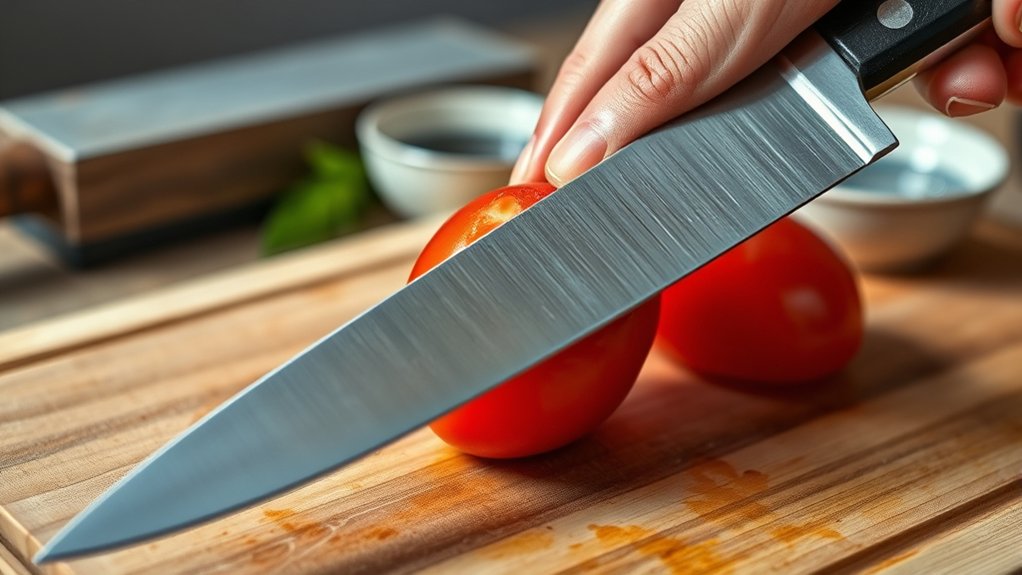
Now that you’ve sharpened the blade, test its edge by slicing through a sheet of paper or a ripe tomato with gentle pressure. If the knife glides cleanly, you’ve reached a sharp working edge. If it catches or tears, return to the stone or rod for a few more passes. Once the edge feels right, dry the blade immediately and store it safely to prevent nicks and rust.
Keep the knife performing well by using proper honing techniques between full sharpenings. A few light strokes on a honing rod before prep can realign the edge and preserve cutting control. Wash the knife by hand, never in a dishwasher, and avoid cutting on glass, stone, or other hard surfaces. These habits protect edge durability and reduce how often you need to sharpen.
Check the edge regularly, especially on your most-used chef’s knife, so you can correct wear before it becomes dull and frustrating.
Frequently Asked Questions
How Often Should I Sharpen My Kitchen Knife?
You should sharpen your kitchen knife every 1 to 3 months, depending on how often you cook and what you cut. Good Knife maintenance also means honing regularly, so the edge stays aligned between sharpenings.
If you notice slipping, tearing, or extra pressure, it’s time to use Sharpening techniques again. Heavy daily use may need more frequent care, while light home use can stretch longer.
What Knife Steel Is Easiest to Sharpen?
High-carbon stainless steel is usually easiest for you to sharpen; for example, a home cook can restore a dull 8Cr13MoV paring knife in minutes with a simple stone. Among knife steel types, softer steels take an edge faster and respond well to basic sharpening techniques, though they may dull sooner. You’ll get the easiest results if you start with medium-grit stones and finish with finer ones for a clean, keen edge.
Can I Sharpen Serrated Knives With These Tools?
Yes, you can sharpen serrated knives with these tools, but only if the tool fits the teeth. Check Sharpening tool compatibility before you start, because flat stones and standard rods usually won’t work well.
For proper Serrated knife maintenance, use a tapered diamond rod or a specialized sharpener and work each scallop carefully. You shouldn’t sharpen the flat side much at all. Go slowly, and you’ll keep the edge effective.
What Safety Gloves Should I Wear While Sharpening?
Wear cut-resistant Protective gear, like ANSI-rated Kevlar or HPPE gloves, when you sharpen a knife. They’ll protect your off-hand while you steady the blade and clean up burrs. Choose a snug fit so you can grip well and avoid slips.
Don’t use loose gloves or bulky work gloves, since they can catch on the edge. Follow basic Safety precautions, and keep your fingers clear of the sharpening surface.
How Do I Store Knives to Keep Them Sharper Longer?
Store your knives in a knife block, on a magnetic strip, or in a blade guard so the edges don’t rub against other tools. You’ll improve sharpness preservation by keeping them dry, clean, and separated.
Don’t toss them loose in a drawer, where contact dulls blades fast. For better knife storage, avoid overcrowding and wash, dry, then put each knife away right after use.
Conclusion
Now you’re ready to keep your kitchen knife sharp and safe. With the right sharpening tool, a steady hand, and a quick test, you can bring back a clean edge in no time. Isn’t it easier to prep food when your knife glides through ingredients?
Remember to maintain the blade regularly so you won’t have to work harder later. A little care goes a long way, and your knives’ll stay sharper longer. Follow these steps to sharpen a kitchen knife and keep it ready for everyday use.