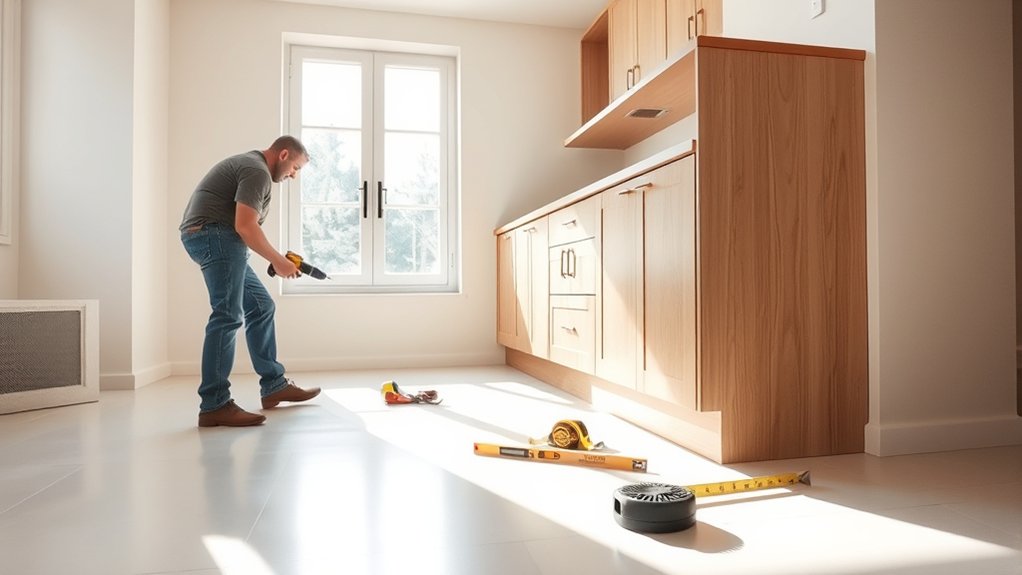
How to Install Kitchen Base Cabinets in 10 Easy Steps
Installing kitchen base cabinets can feel overwhelming when uneven floors, tight clearances, and wobbly cabinets get in the way. You’re not alone—many people struggle to get a clean, level fit. This guide to How to Install Kitchen Base Cabinets in 10 Easy Steps walks you through the process.
Start by gathering your tools and measuring the room, appliance clearances, and cabinet sizes. Mark a level layout line on the wall, then locate the floor’s highest point. Set the first base cabinet there, shim it level, and keep checking alignment as you add each cabinet.
Clamp face frames, fasten into studs, then install fillers, end panels, and toe kicks. Finish by confirming countertop clearance and adjusting doors, drawers, and trim for a clean fit—you’ll see the full process next.
Key Takeaways
- Measure the room, locate studs, and mark a level reference line for the cabinet run.
- Set the first cabinet at the highest floor point, then shim until level and plumb.
- Clamp adjacent cabinets flush, then screw them together and secure into wall studs.
- Install filler strips, end panels, and toe kicks to create a built-in, finished appearance.
- Check seams, adjust doors and drawers, caulk gaps, and clean the area.
Gather Tools and Measure the Space
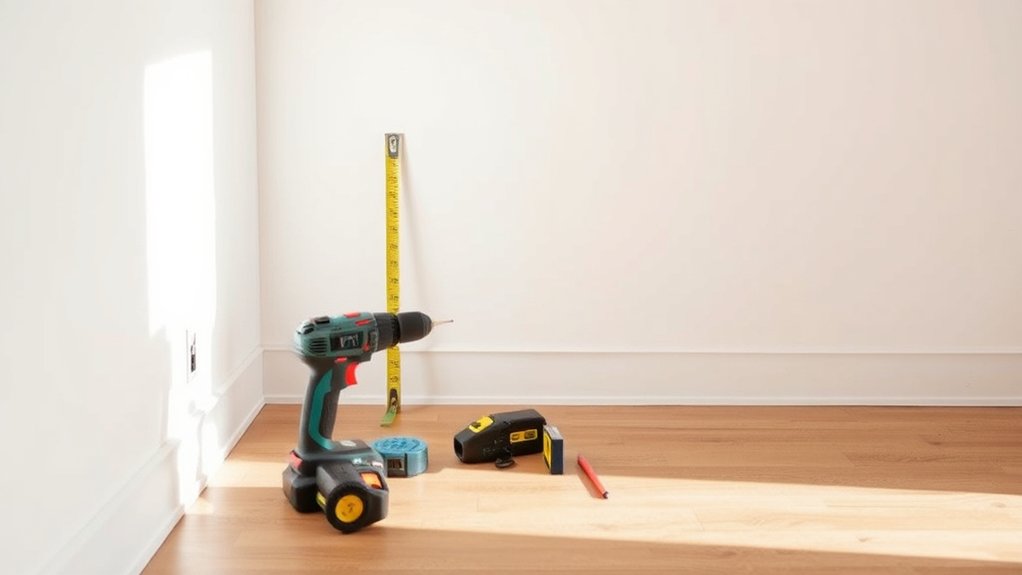
Before you set the first cabinet in place, gather the right tools and take careful measurements of the kitchen space. You’ll need a tape measure, level, stud finder, pencil, shims, drill, clamps, and a helper if possible.
Check the cabinet material so you can handle it properly; heavier plywood or hardwood boxes need more support than lighter options. Measure the room’s width, floor height, and appliance clearances, then compare those numbers with your cabinet dimensions.
Account for uneven floors and any obstacles that could affect fit. Record each measurement clearly so you can work quickly without second-guessing yourself.
Keep installation safety in mind by wearing gloves, safety glasses, and sturdy shoes while you move and inspect materials. If you’re cutting or lifting large pieces, make sure the area stays clear and dry.
Careful prep now helps you avoid delays, mistakes, and unnecessary strain later.
Mark the Base Cabinet Layout on the Wall
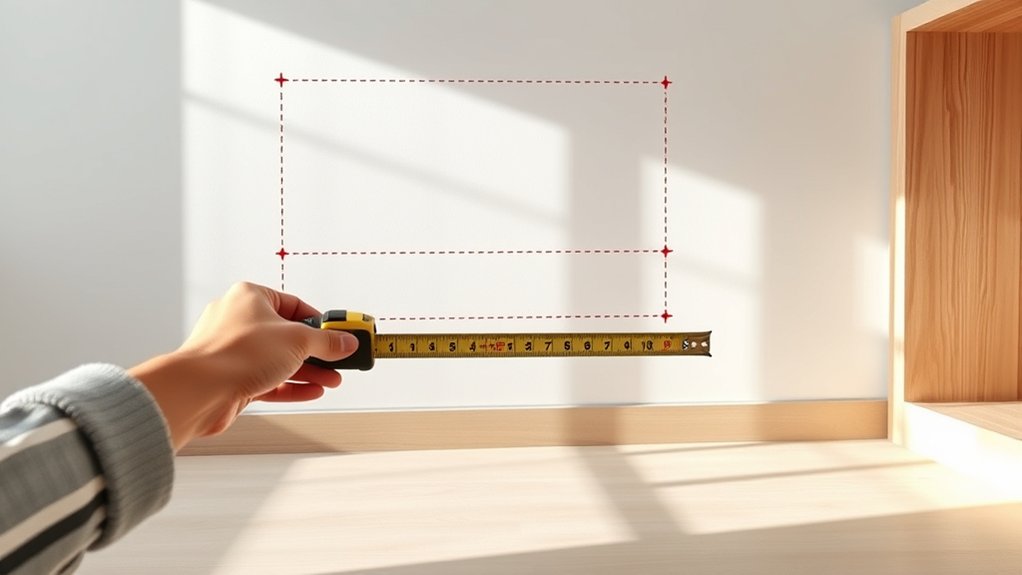
First, find a level reference line on the wall to guide the cabinet run. Then measure and mark each cabinet’s position, including any gaps or filler pieces. These layout lines will help you place the base cabinets correctly the first time.
Find Reference Line
Once you’ve confirmed the floor is level, mark a reference line on the wall to show where the back edge of the base cabinets will sit. Use a level and a pencil, then extend the line across the installation area so you’ve got a clear guide.
Check the cabinet material and account for any face frame or panel thickness, because those details affect how the boxes align with the wall. If your cabinets use special finishing techniques, protect the surfaces now by handling them carefully and keeping tools from scraping edges.
This reference line keeps your layout consistent and helps you maintain straight placement as you work. Recheck the line from several spots so it stays true, then move on with confidence knowing your cabinet run starts from an accurate baseline.
Measure Cabinet Positions
With your reference line in place, measure and mark each base cabinet location directly on the wall. Start at one corner and work across the run, checking each cabinet width, filler, and appliance gap.
Use a tape measure and level to transfer every mark from the floor line up to the wall, then draw clear vertical lines for each cabinet edge. Note sink, range, and dishwasher openings so you don’t block utilities or door swings.
If you’ve chosen different cabinet styles or material options, confirm their dimensions before you mark. Double-check the full layout against your plan, then label each section so installation goes faster and you can catch mistakes before you lift a single cabinet into place.
Find the Highest Point of the Floor
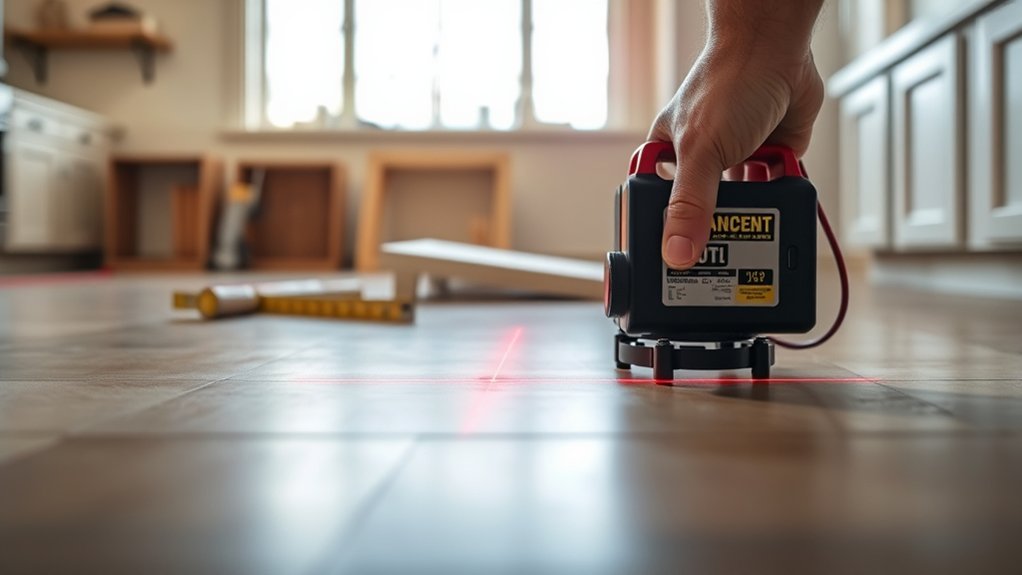
Before you set the cabinets in place, find the highest point on the floor so your layout stays level. Start floor preparation by sweeping away dust and debris, then check the room with a long level or laser level.
Find the floor’s highest point first, then use it to keep your cabinet layout level.
Move along the cabinet run and note where the floor rises, because that spot becomes your reference for surface leveling. Mark that high point on the wall or subfloor with a pencil, and measure from it to the layout line you made earlier.
If the floor dips elsewhere, you don’t need to flatten every low area now; you only need to know the difference so your cabinet bases can stay true. Use a straight board and a tape measure to compare spots carefully.
This quick check helps you avoid uneven toe kicks, twisted cabinet lines, and extra rework later.
Set the First Kitchen Base Cabinet
Now set your first base cabinet at the high point you marked, using the layout line as your guide. Slide it into position so the front edge stays aligned with the line and the cabinet sits tight against the wall.
Keep the face frame square to the room opening, and check that doors and drawers will clear nearby obstacles. If you’re working with corner cabinets, place the unit exactly where the run starts so the rest of the layout follows cleanly.
You can also confirm that nearby appliance openings stay true to your plan. Before fastening anything, inspect cabinet finishes for scratches or scuffs, since fixing them now is easier than later.
Hold off on adding cabinet accessories until the box is secured and the full run is in place. This first cabinet sets the reference point for every other cabinet, so take your time and keep it positioned carefully.
Level and Shim Each Base Cabinet
Check each base cabinet with a level to see if it sits high or low. Slide shims under the cabinet until it’s level and steady, then tighten the screws. As you work, keep checking the alignment across the run so each cabinet lines up evenly with the next.
Check Cabinet Level
With the cabinets set in place, you’ll want to verify that each base cabinet sits level from front to back and side to side. Place a long level on the top edge, then check the face frame and toe kick area too.
If the bubble drifts, adjust the cabinet until it reads true. The cabinet material can affect how easily the box settles, so work slowly to avoid stressing joints or scratching a paint finish.
Recheck after every adjustment, since one change can shift the next cabinet. Confirm that adjoining cabinet tops align cleanly, especially where countertops will span across them.
A level installation helps doors work properly, keeps drawers smooth, and gives your finished kitchen a professional look.
Insert Shim Packs
Once the cabinet reads level, slide shim packs under the low spots at the toe kick or along the cabinet base until the box sits flat. Use cabinet shimming to fill gaps gradually, checking that each pack supports weight without rocking. Trim excess with a utility knife after you’re satisfied.
| Checkpoint | Action |
|---|---|
| Low side | Add thin shim packs |
| Front edge | Keep toe kick flush |
| Side wall | Support without forcing |
| Cabinet feet | Raise only as needed |
| Finish | Cut off protruding shims |
Press the cabinet down firmly, then tighten fasteners only after the base feels solid. If one corner lifts, adjust with a thinner piece instead of stacking too much at once. You’re aiming for stable contact, not pressure.
Repeat this cabinet shimming process for each base cabinet so installation stays clean and secure.
Reconfirm Alignment Across Cabinets
Now that the first cabinet is shimmed and steady, you need to reconfirm alignment across the entire run before you lock anything in. Place a long level across the tops, then check the faces and toe kicks from cabinet to cabinet.
If one box sits high or low, add or trim shim packs until every edge meets cleanly. Watch the cabinet material closely, since uneven pressure can twist plywood, MDF, or particleboard.
Keep checking the reveal along doors and drawer fronts so the paint finish won’t look inconsistent later. Work from the center outward, tightening screws only after each base cabinet sits level, plumb, and flush with its neighbors.
This final pass keeps the run straight, stable, and ready for counters.
Clamp Cabinets Together Before Fastening
Before you fasten the cabinets to each other, clamp their face frames tightly together so they stay flush and aligned. Place a bar clamp across the front, then snug it until the seams close without bowing the frames.
Clamp the face frames tightly before fastening so they stay flush, aligned, and seam-free without bowing.
This clamp technique helps you control movement and improve joint stability while you drive the connecting screws. Check the top, middle, and bottom edges with your fingers to confirm they feel even.
- Picture two cabinet faces meeting like bookends, straight and level.
- Imagine the clamp’s jaws pulling the frames into one clean line.
- See the screw ready to lock that tight seam in place.
If the faces shift, ease the clamp, reset the alignment, and tighten again. Add a second clamp near the opposite end if needed, especially on taller boxes.
When the fronts stay perfectly flush, your cabinets will look cleaner and fit together like one built-in unit.
Secure Kitchen Base Cabinets to Wall Studs
With the cabinets clamped and aligned, drive screws through the back rail or mounting strip into the wall studs to lock each base cabinet in place. You’ll feel the run stiffen as wall anchoring takes hold. Use screws long enough to bite solidly, but don’t crush the cabinet material.
| Checkpoint | What You Do | Result |
|---|---|---|
| Stud location | Confirm every screw hits framing | Firm hold |
| Screw depth | Tighten until snug | No wobble |
| Cabinet material | Adjust pressure for plywood or MDF | Clean connection |
| Final feel | Push and test each face frame | Confidence |
Move from one cabinet to the next, keeping the tops flush and the faces even. If a screw misses a stud, stop and relocate it; drywall alone won’t support the load. As you tighten, watch for shifting and correct it immediately.
Proper wall anchoring now prevents movement later, so your base cabinets stay square, secure, and ready for the next finishing step.
Install Filler Strips, End Panels, and Toe Kicks
Once the base cabinets are anchored, you can add filler strips, end panels, and toe kicks to finish the run and hide small gaps. Cut filler strips to fit tight spaces at walls or between cabinets, then fasten them flush so the fronts line up cleanly.
Once base cabinets are anchored, add filler strips to close gaps and keep the fronts aligned cleanly.
Attach end panels where cabinet sides stay exposed, giving the run a finished look that matches the doors and boxes. Next, set the toe kicks along the bottom edge to cover the recessed space and create a comfortable standing position.
- Picture a narrow filler strip sliding beside a wall like a puzzle piece.
- Imagine a smooth end panel capping an exposed cabinet side.
- See a toe kick forming a neat shadow line at the floor.
Check each piece for snug contact, then secure it with screws or finish nails. Keep edges even and the faces consistent so the entire cabinet line looks built-in and polished.
Check Cabinet Alignment for Countertops
Now check that the cabinet tops are level so the countertop will sit flat. Also check whether the wall is straight, since any bow or uneven spots can affect the fit. Finally, verify the countertop overhang to make sure the cabinets are positioned correctly.
Level Cabinet Tops
Before you set any countertop, check that the tops of the base cabinets are level from end to end and front to back. Use a long level across each run, then slide shims under the cabinet bases until the bubble sits centered.
Small height changes can affect cabinet materials and aesthetics, so keep your adjustments tidy and consistent. Recheck every cabinet after you tighten the screws, because the pressure can shift the line.
- Picture a straight level resting like a bridge across the cabinets.
- Imagine thin shims tucked neatly under one corner, lifting it into place.
- See a smooth, even row ready to support the countertop without gaps.
Check Wall Straightness
With the cabinet tops level, check the wall behind them to see if it runs straight or bows in and out. Hold a long straightedge or level across the back edge of the cabinets and look for gaps that show the wall isn’t true.
Note any spots where the wall shifts, and measure those differences so you can plan shims or fillers later. Also inspect wall stability by pressing lightly at several points; if it flexes, fix that before moving on.
Pay attention to surface texture too, since rough paint, old adhesive, or uneven drywall can throw off your readings. Mark high and low areas clearly with a pencil.
This quick check helps you keep the cabinet line accurate and ready for a smooth installation.
Verify Countertop Overhang
Next, verify the countertop overhang so the base cabinets will line up properly for the finished top. Measure from the wall to the cabinet face and confirm the planned Overhang clearance matches your design.
Different Countertop material choices, like laminate, stone, or butcher block, can change how much support you need. Use a straightedge across the cabinet run, then check each end for gaps, bowing, or proud corners.
If one cabinet sits forward, adjust its legs or shims now before the countertop arrives. Picture these checkpoints:
- A tape measure resting on the cabinet edge.
- A level showing a flat, even run.
- A mock countertop outline extending past the doors.
When everything aligns, you’ll set the top confidently and avoid costly rework.
Add the Final Touches
Once the cabinets are secured and leveled, you can add the final touches that make the installation look complete. Start by checking every seam and corner for gaps, then apply matching caulk where needed.
If your cabinet material shows unfinished edges, use filler strips or touch-up paint to hide them. Reinstall doors, drawers, and shelves, and make sure each one opens smoothly.
Tighten any loose hinges and adjust the hardware so the lines stay even. Add toe kicks, trim, or molding to give the base cabinets a polished look that fits your design styles.
Clean off dust, pencil marks, and adhesive residue with a soft cloth and mild cleaner. Finally, step back and inspect the full installation from a few angles.
When everything looks straight, neat, and secure, your kitchen base cabinets are ready for countertops and daily use.
Frequently Asked Questions
How Do I Choose the Right Cabinet Style for My Kitchen?
You choose the right cabinet style by matching it to your kitchen’s size, layout, and look. Start with your daily needs, then compare door profiles, colors, and cabinet finishes that fit your home.
You’ll want storage solutions that make cooking easier, like deep drawers or pull-outs. If your space feels small, pick simpler styles and lighter tones. If you love character, try framed doors, warm wood, or bold painted fronts.
What Budget Should I Expect for Base Cabinet Installation?
You should expect base cabinet installation to cost about $100 to $300 per cabinet for labor, plus materials if you’re buying new units. Your total can range from $1,500 to $8,000 or more, depending on kitchen size, finish, and layout.
For smart Budget planning and Cost estimation, you should get three quotes, check delivery fees, and account for removal, leveling, and hardware before you commit.
Can I Install Cabinets Over Uneven or Damaged Flooring?
Yes, you can, but you shouldn’t skip prep. You’ll need floor leveling to keep cabinets stable, square, and aligned. If the floor is damaged, damage repair should come first so moisture, rot, or soft spots don’t weaken the installation.
You can use shims for minor dips, but severe unevenness or structural damage calls for fixing the floor before you set cabinets. That’ll save you time, frustration, and future problems.
Do I Need a Permit for Kitchen Cabinet Installation?
You usually don’t need a permit for kitchen cabinet installation, but you should check local Permit requirements and zoning regulations first. Small cosmetic swaps often fly under the radar, while electrical, plumbing, or layout changes can trigger approvals.
It’s simple, yet tricky: one project stays private, another needs paperwork. You’ll avoid fines and delays if you call your building department before you start and verify your plans carefully.
How Long Does Cabinet Installation Usually Take?
Cabinet installation usually takes you one to three days for a typical kitchen, though larger or custom jobs can take longer. You’ll move faster if your cabinet material is standard and your installation tools are ready.
Simple layouts may finish in a day, while uneven walls, plumbing issues, or extra leveling can stretch the work. If you hire pros, they’ll often complete it faster than you can yourself.
Conclusion
Installing your kitchen base cabinets may feel like a climb up Mount Everest, but step by step, you’ve got this. Measure carefully, level each cabinet, and secure everything tightly to create a kitchen that works as well as it looks.
Don’t rush the finish line. Those final tweaks make all the difference. Trust the process, and you’ll end up with sturdy, polished kitchen base cabinets you can be proud of.