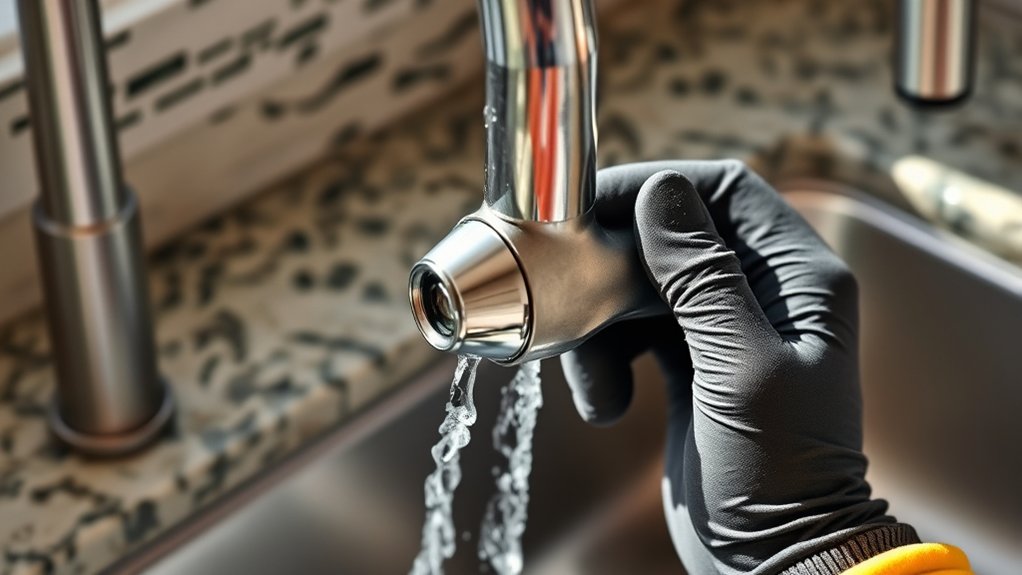
How to Remove an Aerator From a Kitchen Faucet in 7 Easy Steps
A clogged or stuck faucet aerator can leave you with a weak, uneven stream, and removing it isn’t always as easy as it looks. If you’re wondering how to remove an aerator from a kitchen faucet, you’re not alone. Many people struggle with stubborn buildup or worry about scratching the finish, so the right tools and a gentle approach can make all the difference.
Gather pliers, a soft cloth, and an aerator key or small wrench, then wrap the faucet to protect its finish. Check whether your aerator is a screw-on or hidden style, and turn it counterclockwise by hand or with padded pliers.
If it’s stuck, use warm water or vinegar to loosen buildup. Clean the screen and parts, then reinstall them snugly.
If water still flows weakly, there’s more to learn.
Key Takeaways
- Gather pliers, a soft cloth, and an aerator key before starting to avoid scratches and make removal easier.
- Check whether the aerator is screw-on, flush-mounted, or hidden inside the spout to choose the right removal method.
- Wrap the aerator with a cloth, then turn it counterclockwise slowly with steady pressure to loosen it.
- If it is stuck, use padded pliers, warm water, or penetrating oil, and avoid forcing it.
- Clean the removed parts, inspect for damage, and reinstall or replace the aerator securely by hand.
Gather the Tools You Need
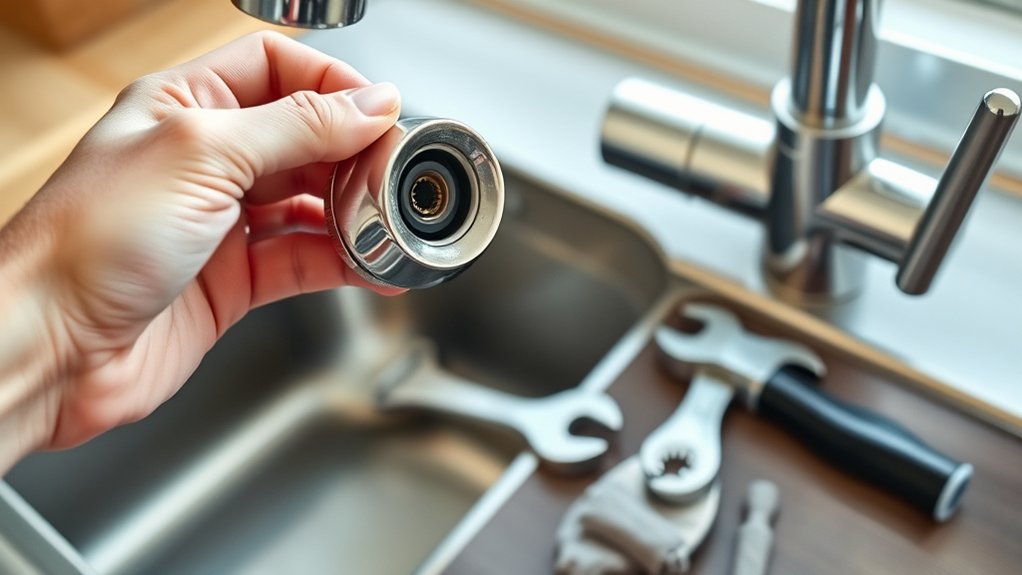
Before you start, gather a pair of pliers, a soft cloth, and, if needed, a small wrench or aerator key. Having the right tools ready keeps you from scratching the faucet and helps you work faster.
The soft cloth protects the finish while you grip parts, and the pliers or wrench give you steady advantage when you need it. If your faucet design includes a hidden or recessed aerator, an aerator key can make the job much easier.
Keep a small bowl nearby for any tiny pieces you remove, so nothing slips down the drain. You’re also setting yourself up for better water conservation, since a clean or replaced aerator can improve flow and reduce waste.
Check How Your Faucet Aerator Comes Off
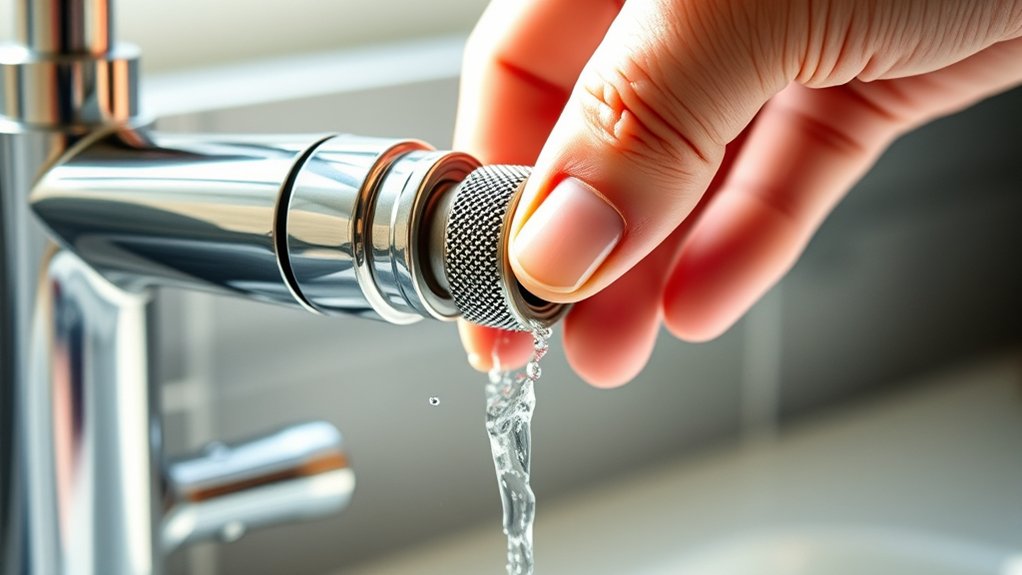
Now check how the aerator is attached, since different kitchen faucets use different setups. Look closely at the end of the spout and identify the aerator type. Some faucets have a visible outer ring, while others hide the aerator inside the spout.
If you see ridges or slots on the outside, the part usually screws on directly. If the end looks smooth, inspect the inside edge for faucet threading or a recessed insert.
Also note whether the aerator sits flush or extends slightly past the spout. That detail can help show how it came off in the first place. Check the manufacturer’s markings if you can, since they often indicate the size and style.
Once you know the attachment style, you can choose the right removal approach later. For now, focus on identifying the connection so you don’t have to guess.
Loosen the Aerator Without Damaging the Faucet
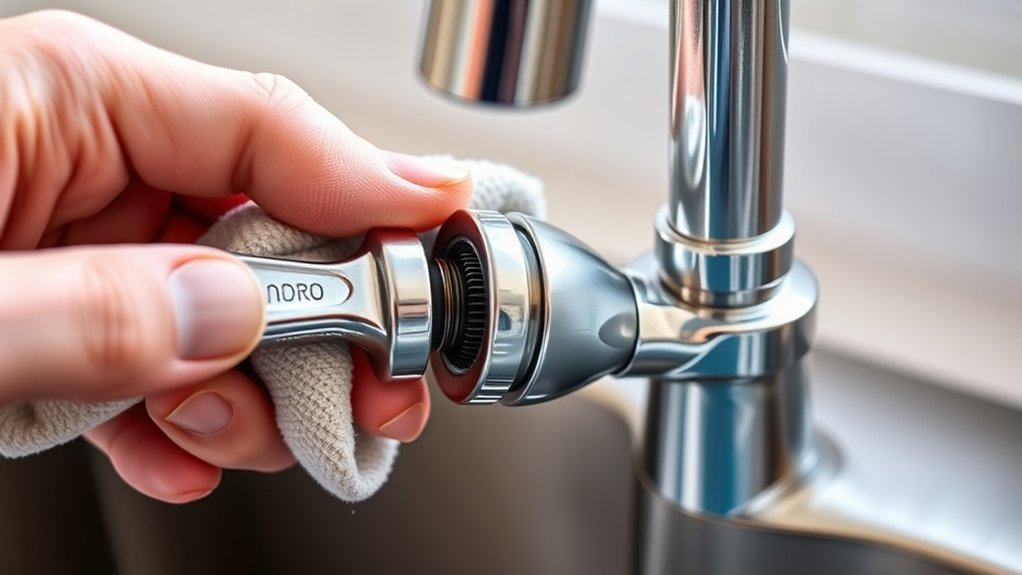
If the aerator is stuck, grip it with a rubber jar opener, a folded cloth, or padded pliers so you can turn it without scratching the finish. Hold the faucet steady with your free hand, then twist the aerator counterclockwise using slow, even pressure.
Don’t force it; a sudden jerk can mar the spout or crack a thin part. If it starts to slip, stop and reset your grip instead of tightening harder.
You can also add a little warm water around the edge to help break mineral buildup, then try again. For stubborn threads, a drop of gentle lubricant on the outside seam can reduce friction without harming the finish.
Keep your tools aligned with the aerator so you don’t twist the faucet body. This careful approach makes Aerator replacement easier and supports routine Faucet maintenance by protecting the fixture while you loosen the part.
Remove a Stuck Faucet Aerator
When the aerator still won’t budge, stop twisting harder and switch to a gentler method. Wrap the faucet tip with a rubber jar opener or cloth, then use slip-joint pliers to grip the aerator ring firmly.
Turn slowly counterclockwise while keeping steady pressure on the faucet body so you don’t twist the spout. If it still sticks, add a few drops of penetrating oil around the threads and wait a few minutes before trying again.
For severe corrosion, tap the aerator lightly with a wooden spoon handle to help break the bond. If the part cracks or strips, plan for aerator replacement and compare the old piece with faucet compatibility before buying a new one.
Once it starts moving, back it off gradually instead of forcing it free in one hard pull. This keeps the threads intact and makes the rest of the removal much easier.
Clean the Aerator Screen and Parts
Once the aerator is off, rinse the screen, washer, and housing under warm water to flush out grit, scale, and loose debris. Gently rub each piece with your fingers or a soft toothbrush, then inspect the mesh for tears, dents, or mineral buildup that still blocks flow. If vinegar soak loosens stubborn deposits, use it as an alternative cleaning method before a full Aerator replacement.
| Part | What you check | Why it matters |
|---|---|---|
| Screen | Clogs, bends | Restores even flow |
| Washer | Cracks, wear | Helps seal properly |
| Housing | Scale, residue | Keeps parts aligned |
Dry everything with a lint-free cloth so you can spot damage clearly. If the screen stays misshapen or the washer feels brittle, replacement is the smarter fix. Clean parts work better, last longer, and help you decide whether salvaging the aerator makes sense.
Reinstall the Aerator on the Faucet
Thread the cleaned aerator parts back onto the faucet by placing the washer in the housing, then setting the screen in position before screwing the assembly onto the spout by hand. Keep the pieces aligned so the threads catch smoothly, and don’t force anything.
Place the washer and screen in the housing, then thread the aerator back on by hand.
If you feel resistance, back it off and start again to avoid cross-threading. Tighten the aerator until it feels snug, then give it a gentle quarter-turn with a cloth or wrench if the design calls for it.
Check that the washer sits flat and the screen faces the water stream correctly. This simple step supports regular Aerator maintenance and helps preserve Faucet compatibility, since the right parts fit securely without leaks.
Wipe away any moisture around the connection, then run the faucet briefly to confirm the aerator stays seated. If it remains stable, you’ve finished the reinstall and restored the faucet’s normal setup.
Troubleshoot Low Water Flow After Reinstalling It
If the water still trickles after you reinstall the aerator, remove it again and check the screen, washer, and threads for debris, misalignment, or a pinched seal. Rinse out grit, then seat the washer flat and hand-tighten the part so it doesn’t cross-thread.
Turn on the faucet and see whether the flow improves. If pressure stays low, your aerator replacement may have the wrong flow rate or an internal insert that’s clogged. Compare it with the old unit and confirm faucet compatibility, especially if you used an adapter.
Clean the faucet spout, too, because scale can narrow the opening and restrict water. Open nearby shutoff valves fully, then test both hot and cold lines to rule out supply issues.
If the stream is still weak, soak the aerator in vinegar, replace worn parts, or choose a model that matches your faucet’s size and finish.
Frequently Asked Questions
How Do I Know My Faucet Actually Has an Aerator?
You’ll know your faucet has an aerator if the water comes from a small screen or insert at the tip of the spout, usually screwed on. Check common Faucet types like kitchen and bathroom sinks, since many include one.
Aerator functions include mixing air into water and reducing splashing. If you see a removable cap or mesh, that’s likely the aerator. Try twisting it gently with your fingers first.
Can I Remove an Aerator Without Turning off the Water?
Yes, you can usually remove an aerator without shutting off the water. Just twist it off by hand or with a tool, and the faucet should stay off unless you accidentally bump the handle.
Watch the water pressure when you reopen it, since debris may spray out. Different aerator types can loosen differently, so check whether yours screws on, snaps in, or hides under a cap.
What Size Aerator Does My Kitchen Faucet Use?
You’ll usually find your kitchen faucet uses a standard 15/16-inch male aerator or a 55/64-inch female aerator. Check the end of your spout, then match the threading and diameter.
Aerator types vary by brand, so you may need an adapter or a replacement pack. If your Water pressure seems weak, the wrong size can restrict flow or leak. Measure the old part before you buy a new one.
How Often Should a Faucet Aerator Be Replaced?
You should replace your faucet aerator every 6 to 12 months, or sooner if you notice reduced water flow control, buildup, or rust. If your water has lots of minerals, you may need swaps more often.
Fresh aerators improve water pressure, save water, and support aesthetic upgrades by keeping your faucet looking clean. Check it regularly, and replace it whenever cleaning no longer restores smooth flow or you see damage.
Can I Use Vinegar to Soak the Aerator Overnight?
Yes, you can soak it in vinegar overnight, and that simple step can turn a crusty aerator clean again. You’re using a gentle cleaning methods approach, while hard mineral buildup loses the fight.
Rinse it well afterward, then check the screen and gasket for damage. If parts look worn or clogged beyond cleaning, use replacement tips to decide whether you should swap the aerator instead of reinstalling it.
Conclusion
Once you’ve removed the tiny gatekeeper at your faucet’s mouth, you’ve learned more than a quick fix: you’ve shown patience, care, and a steady hand. Clean the screen, replace the pieces, and let the water speak freely again.
If the stream still feels shy, revisit each step like a traveler retracing a familiar path. With a little attention, you can remove an aerator from a kitchen faucet and keep your sink flowing smoothly.