10 Steps to Increase Water Pressure in Your Kitchen Sink
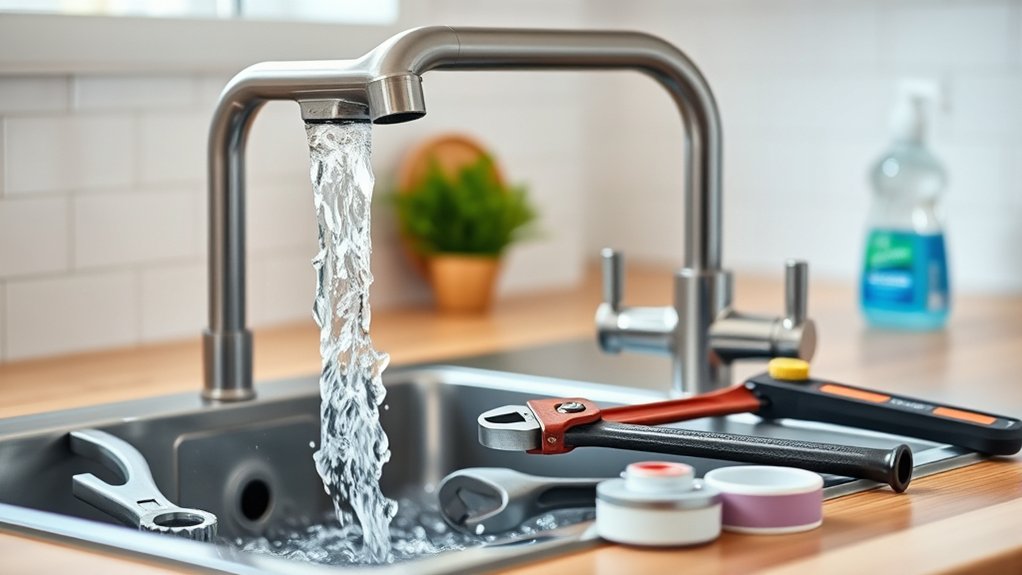
A weak kitchen sink flow can make everyday tasks like washing dishes and rinsing produce frustrating. If you’re dealing with low water pressure, you’re not alone—many people struggle with this issue. These practical fixes can help you find the cause and get your kitchen sink flowing better.
Start by unscrewing and cleaning the aerator, then flush out any debris from the faucet and spout. Make sure both shutoff valves are fully open, and check the supply lines for kinks or bends.
Compare flow at other fixtures to see if the problem is local or whole-house.
Remove mineral buildup, look for hidden leaks under the sink, and replace damaged washers or hoses.
If pressure stays weak, call a plumber and keep going for more fixes.
Key Takeaways
- Clean the faucet aerator to remove mineral buildup, debris, and clogs that restrict water flow.
- Inspect and clean the faucet cartridge, replacing it if cracked, worn, or still restricting pressure.
- Check shutoff valves and supply lines for partial closure, kinks, corrosion, or damage, then open or replace as needed.
- Test other fixtures to see whether low pressure is isolated to the sink or caused by a wider plumbing issue.
- If pressure stays low after cleaning and adjustments, call a plumber to check for pipe blockage, corrosion, or regulator failure.
Check the Kitchen Sink Aerator First
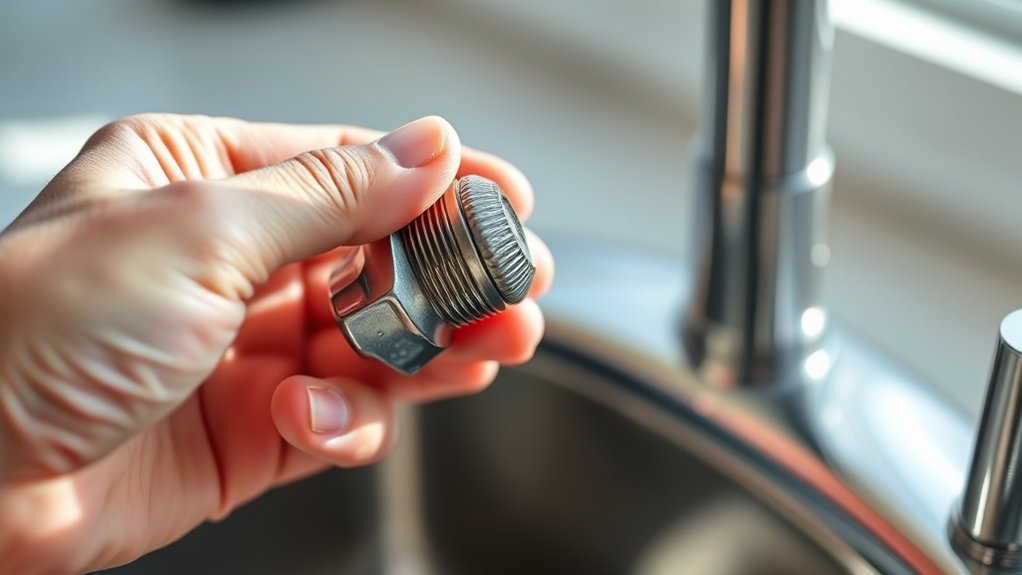
Before you dig into the plumbing, check the kitchen sink aerator first, since this small screen at the tip of the faucet often causes weak water flow. You can unscrew it by hand or with a cloth for grip, then inspect the mesh for mineral buildup or wear.
Check the kitchen sink aerator first; this small screen often causes weak water flow.
If the screen looks clogged, rinse it under running water and brush it gently with an old toothbrush. Soaking it in vinegar can help loosen stubborn deposits without harsh chemicals.
If cleaning doesn’t restore flow, consider aerator replacement with a model that matches your faucet and flow needs. A new aerator can improve pressure while supporting water conservation by controlling excess spray and limiting waste.
After reattaching it, run the faucet and compare the stream. If pressure improves, you’ve found the problem and saved yourself from unnecessary repairs.
Remove Debris From the Faucet and Spout
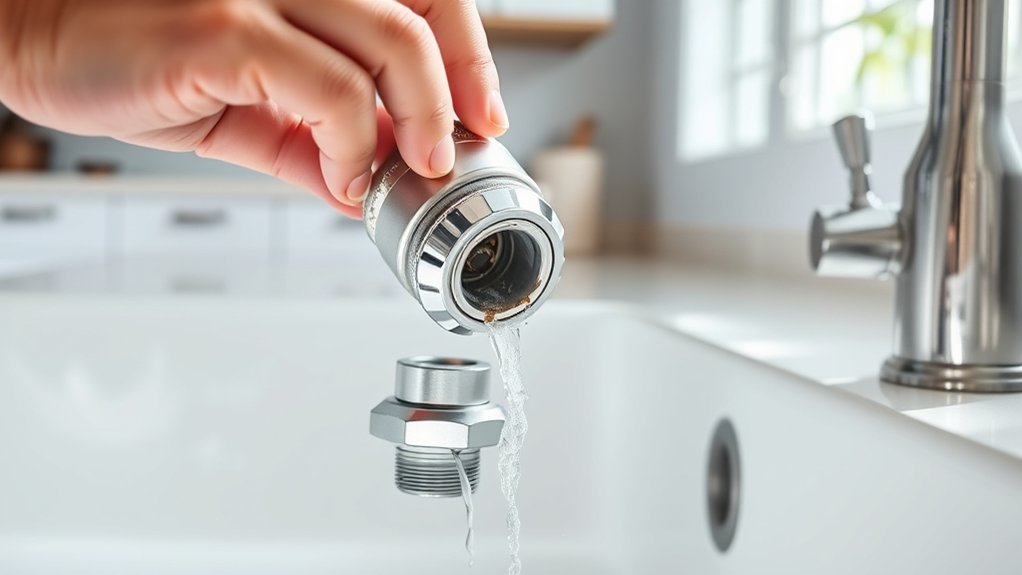
Next, check the aerator screen for trapped grit that could restrict water flow. If you find buildup in the faucet or spout, clear it away. A quick cleaning can often restore stronger water pressure.
Inspect Aerator Screen
Start with the faucet’s aerator screen, since even a small buildup of grit, minerals, or debris can choke off water flow and make your kitchen sink feel weaker than it should. Unscrew the tip, lift out the screen, and rinse it under warm water.
If you see stubborn particles, soak it in vinegar, then scrub it gently with a soft brush. This simple aerator cleaning helps restore steady pressure without guesswork.
| Screen look | What you’ll notice |
|---|---|
| Clear mesh | Stronger stream |
| Speckled mesh | Slower flow |
| Cleaned screen | Better spray |
Check the gasket too, then reassemble the parts snugly. Turn on the tap and watch the water flow improve. If the stream still feels weak, you’ve ruled out one easy fix and can move on with confidence.
Clear Spout Buildup
If the aerator is clean but the stream still feels weak, clear out any buildup inside the faucet spout itself. Turn off the water, then unscrew the aerator and look into the spout with a flashlight. You may spot grit, mineral flakes, or old tape blocking water flow.
Use a small brush, pipe cleaner, or vinegar-soaked cloth to loosen and remove debris. For stubborn deposits, soak the parts in vinegar, then rinse well and reassemble. Spout cleaning often restores steady pressure without tools or replacement parts.
After you finish, run cold and hot water separately to flush out anything left behind. If the stream improves, you’ve likely solved the problem. If not, move on to the supply lines or shutoff valves next.
Inspect the Shutoff Valves
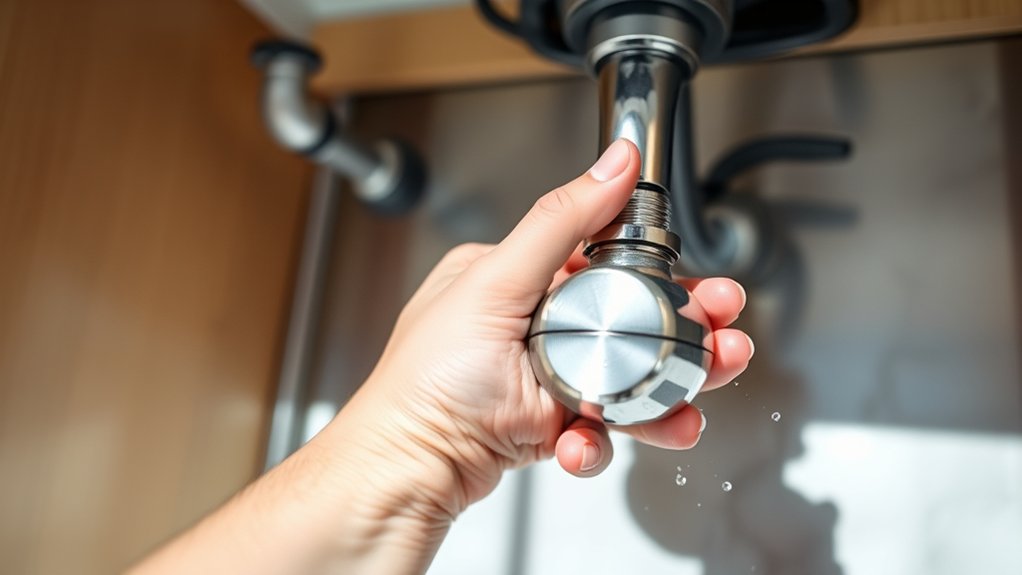
Next, check the shutoff valves under your sink and make sure you know which one controls the hot water and which one controls the cold. Turn both valves fully open, since a partially closed valve can reduce water flow. If a handle feels stiff or you notice buildup around a valve, clear away any obstructions so the water can flow freely.
Locate Valve Positions
Before you do anything else, check the shutoff valves under your kitchen sink to make sure they’re fully open. Then trace each valve handle so you know which one controls hot water and which one controls cold.
Clear space under the cabinet, use a flashlight, and inspect the supply lines for labels, corrosion, or kinks. Good valve maintenance helps you spot problems early and supports steady pressure regulation at the faucet.
- Find the left and right valves.
- Turn each handle counterclockwise if needed.
- Note any stiff movement or leaks.
If a valve sits at an angle or feels hard to move, it may limit flow. Keep your hands dry, work gently, and avoid forcing anything. That simple check can reveal why your sink feels weak.
Check Full Open
Open both shutoff valves under the sink all the way to make sure they aren’t restricting your water flow. Turn each handle counterclockwise until it stops, or lift lever-style valves to their full open position. If a valve sits even partly closed, it can choke pressure at the faucet and make the stream seem weak.
Check both the hot and cold valves, since either one can limit water flow during use. After setting them full open, test the sink and notice whether pressure improves. If the stream still feels low, move on to the next step in the process.
You don’t need tools for this check, just a quick look and a firm turn. This simple adjustment often restores stronger flow right away.
Clear Valve Obstructions
If the valves are fully open and your sink still has weak pressure, inspect them for hidden obstructions. Shut off the water, then disconnect the supply line so you can check the shutoff valve inlet. Mineral flakes, debris, or a worn washer can restrict flow and mimic low pressure.
Use this quick obstruction diagnosis to narrow the problem fast.
- Turn the valve handle off and on to feel for stiffness.
- Remove the supply line and look for grit or buildup.
- Clean the valve body, replace damaged parts, and test flow again.
Good valve maintenance helps you avoid repeat issues and keeps water moving freely. If the valve still clogs or leaks, replace it before moving to the next step.
Look for Kinks in the Supply Lines
A quick inspection of the supply lines can reveal a simple cause of weak water flow. Reach under the sink and check both hot and cold lines for bends, twists, or sharp pinches that restrict pressure.
If you spot a kink, straighten the tube gently and make sure it has enough slack to hang naturally. When you’re making a water flow adjustment, don’t force the line into a tighter space behind the cabinet.
Instead, reroute it so it curves smoothly without rubbing against the wall or the drain. Good supply line maintenance also means watching for aging hoses that collapse when bent.
If the line stays flattened after you reposition it, replace it with a new, flexible supply tube. Secure the line loosely, then run the faucet and confirm the stream improves.
Small changes here can restore stronger flow without tools, parts, or a costly repair.
Test Pressure at Other Fixtures
Now that you’ve ruled out kinks in the supply lines, check whether the low pressure is limited to the kitchen sink or affecting the whole house. Turn on a few nearby fixtures and compare the flow. If the bathroom sink, shower, and outdoor spigot all feel weak, you may have a broader supply issue rather than a kitchen-only problem.
- Open the bathroom faucet and note the stream.
- Run the shower to see if pressure drops elsewhere.
- Test an outdoor hose bib or laundry sink for contrast.
This quick check helps you separate a local restriction from a systemwide drop. It also supports water conservation because you’re not guessing and wasting time on the wrong fix.
If one fixture works well while another doesn’t, fixture compatibility may matter. Different faucets sometimes need specific flow rates or aerators. When every fixture feels weak, you’ll know to look beyond the sink and keep troubleshooting the home’s supply.
Flush the Faucet Cartridge
Next, remove the faucet cartridge and check it for wear or damage. If you notice mineral buildup, rinse it carefully to clear the blockage. A clean cartridge may help restore stronger water flow at your kitchen sink.
Remove and Inspect Cartridge
If your kitchen sink still runs weak after cleaning the aerator, remove the faucet handle and pull out the cartridge. Hold it under running water and inspect the seals, ports, and stem for cracks or wear. A damaged part can choke flow and shorten cartridge lifespan. Use these quick checks:
- Rotate the cartridge gently; it should move smoothly.
- Compare it with the old one so you spot mismatched parts.
- Review Replacement techniques before you reinstall or swap it.
If the cartridge looks sound, rinse it well, then slide it back into place and test the faucet. You’ll often restore stronger pressure without replacing the whole fixture.
Clear Mineral Buildup
Mineral deposits can clog the tiny passages inside the faucet cartridge and cut water flow fast. Soak the cartridge in a bowl of white vinegar for 30 to 60 minutes to loosen buildup.
If you see stubborn scale, scrub it gently with a soft toothbrush, then rinse it under warm water. Use a toothpick or wooden skewer to clear any remaining openings, but don’t scratch the seals or ports.
After cleaning, flush the cartridge with clean water to push out loosened debris. Wipe it dry, then inspect the O-rings and any cracks before reinstalling it.
If the cartridge still feels rough or the water flow stays weak, replace it. A clean cartridge often restores pressure and helps your sink work normally again.
Remove Mineral Buildup From the Faucet
Over time, hard water can leave mineral deposits inside your faucet aerator and around the spout, restricting flow and lowering pressure at the sink. You can usually fix this with simple Faucet cleaning that targets the buildup directly. Unscrew the aerator, rinse out loose grit, and soak the parts in vinegar to break down stubborn crust. Use a soft brush to scrub away remaining flakes, then reassemble everything tightly.
- Turn off the faucet and remove the aerator.
- Soak parts in vinegar for 15 to 30 minutes.
- Scrub, rinse, and reinstall to restore a stronger stream.
If the spout still looks coated, wipe it with a vinegar-damp cloth and repeat the process weekly until the flow improves. Clean fixtures let water pass through more easily, so you’ll notice better pressure and a smoother stream right away.
Check for Hidden Leaks Under the Sink
Even after you clean the faucet, weak pressure can still come from a leak hiding below the sink. Open the cabinet and inspect every visible pipe, joint, and valve with a flashlight. Look for damp spots, drips, corrosion, swollen wood, or a musty smell, since Hidden leaks can quietly steal pressure before you notice a puddle. Run the faucet while you watch; even a slow seep can reduce flow and cause water wastage over time.
Dry the area with a paper towel, then check again after a few minutes to spot fresh moisture. If you see water collecting under the basin, tighten any accessible fittings gently and wipe everything dry. Also listen for hissing or dripping when the sink is off. Catching the problem early helps you protect your cabinet, avoid water wastage, and restore stronger pressure at the tap.
Replace Damaged Supply Lines or Washers
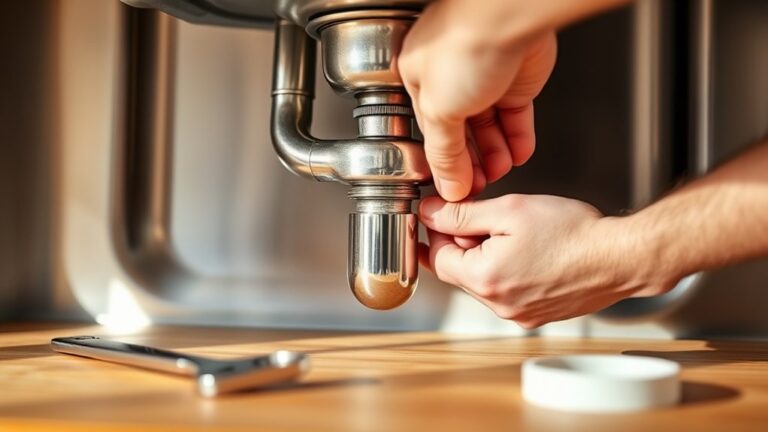
If you find cracked supply lines or worn washers under the sink, replace them right away because they can restrict flow and cause leaks. Turn off the shutoff valves, then disconnect the old parts and inspect the fittings for mineral buildup.
Cracked supply lines and worn washers can slow flow and cause leaks—replace them promptly.
A quick Supply line replacement can restore full flow and stop pressure loss at the faucet. If the hoses look stiff, kinked, or corroded, swap them with flexible, properly sized lines.
- Check both hot and cold lines for cracks, bulges, or loose connections.
- Compare old washers with new ones and choose a Washer upgrade that seals tightly.
- Reconnect everything firmly, then run the water and watch for drips.
You’ll often notice a stronger stream once water moves through clean, unobstructed parts. This simple fix can make your sink feel faster, smoother, and more reliable without changing the rest of the plumbing.
Call a Plumber for Larger Plumbing Problems
When water pressure stays low after you’ve checked the aerator, valves, and supply lines, it’s time to call a plumber for larger plumbing problems. You may have hidden pipe corrosion, mineral buildup, a failing pressure regulator, or a leak behind the wall.
A plumber can test the system, find the exact restriction, and fix it before damage spreads. This step also supports water conservation, since a pro can stop wasted water from unseen leaks and improve flow without unnecessary guesswork.
If your home has older plumbing, professional help is especially important because forced repairs can crack pipes or worsen weak joints. Keep up with regular faucet maintenance so small issues don’t become major ones.
When you need expert diagnosis, you’ll save time, avoid frustration, and protect your kitchen sink from repeat pressure problems. A quick service call can restore reliable flow and peace of mind.
Frequently Asked Questions
How Do I Know if Low Pressure Affects Hot or Cold Water Only?
Check both taps separately. If only hot water is weak, you likely have a water heater, valve, or sediment issue. If only cold water is weak, the problem may sit in the supply line, shutoff valve, or faucet aerator. If both are weak, you’ve probably got a larger plumbing or municipal pressure problem. Turn each tap on fully and compare flow to see which side’s affected.
Can a Water Filter Reduce Kitchen Sink Pressure?
Yes, a water filter can reduce your kitchen sink pressure, especially if it’s clogged or undersized. You might notice a trickle instead of a steady stream when the filter starts choking flow.
Check the water filter first, then clean or replace it to stop the pressure reduction. If pressure stays low, you’ve got to look elsewhere. You can also inspect the aerator, shutoff valve, and supply line for hidden issues.
Does Pipe Age Impact Kitchen Sink Water Pressure?
Yes, pipe age can lower your kitchen sink water pressure. As pipes get older, corrosion can narrow the line and slow water flow. You may also find mineral buildup or hidden leaks hurting performance.
Check water flow restrictors, since they can clog over time and reduce pressure. If your pressure drops suddenly, inspect the plumbing, clean fixtures, or call a plumber to spot aging-pipe problems quickly.
Should I Worry if Pressure Drops Only During Dishwasher Use?
No, you usually don’t need to worry if the drop happens only when the dishwasher runs. You’re seeing a temporary Pressure fluctuation, like a tide pulling back while another tap draws on the line.
The dishwasher can steal Water flow for a moment, especially in older plumbing or shared supply lines. If the pressure bounces back right after, you’re likely fine. If it stays low, check valves, clogs, or your main supply.
Can Municipal Water Supply Changes Cause Sudden Pressure Loss?
Yes, municipal changes can cause sudden pressure loss. You might notice it when crews work on lines, switch sources, or alter valves for Water supply upgrades. Municipal regulations can also reduce pressure if the city limits flow to protect pipes or meet conservation rules.
If your neighbors notice the same drop, the issue likely isn’t your sink. Call your water provider to ask about nearby work or planned pressure changes.
Conclusion
If your kitchen sink still feels a little under the weather after these steps, don’t worry. You’re not out of options. A quick look at the aerator, valves, lines, and leaks can often help increase water pressure in your kitchen sink.
If the problem persists, it may be time to call a plumber and let a professional check your pipes. A stronger stream could be just one fix away.