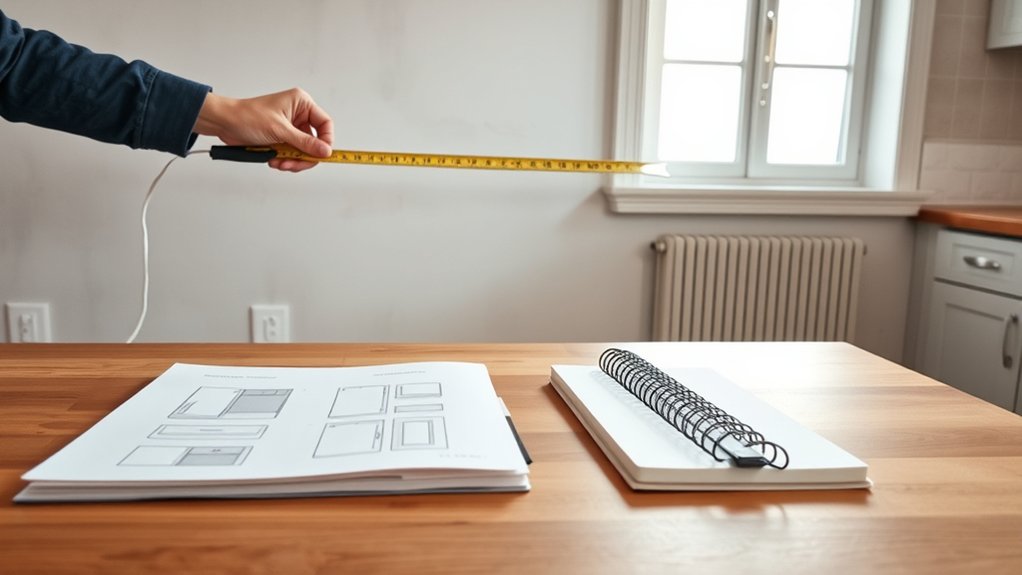
How to Accurately Measure New Kitchen Cabinets in 5 Steps
Choosing new kitchen cabinets can feel overwhelming when you’re worried about measurements being off. You’re not alone—many people struggle to get every detail right. Accurate measurements can help your new cabinets fit your space and avoid costly surprises.
Measure your kitchen walls from corner to corner, noting heights, bumps, and any uneven spots. Next, mark every window, door, and fixed obstacle with exact sizes and locations. Then map plumbing, outlets, and appliances so nothing conflicts with cabinet placement.
Check cabinet heights, countertop clearances, and ceiling limits before you order. Finally, remeasure everything against your plan and appliance specs. If you keep going, you’ll pick up the finer details that help everything fit just right.
Key Takeaways
- Measure every wall, ceiling height, and bump-out at multiple points, then sketch the kitchen floor plan with the smallest wall dimensions.
- Mark all windows, doors, and fixed obstacles on the sketch, including exact sizes, locations, and door swing clearance.
- Map plumbing, outlets, switches, and appliance connections by measuring their distances from reference walls.
- Set cabinet heights and clearances by accounting for countertop thickness, soffits, crown molding, and appliance spacing.
- Double-check all measurements against appliance specs and cabinet drawings, using repeat measurements before ordering.
Measure the Kitchen Walls and Openings
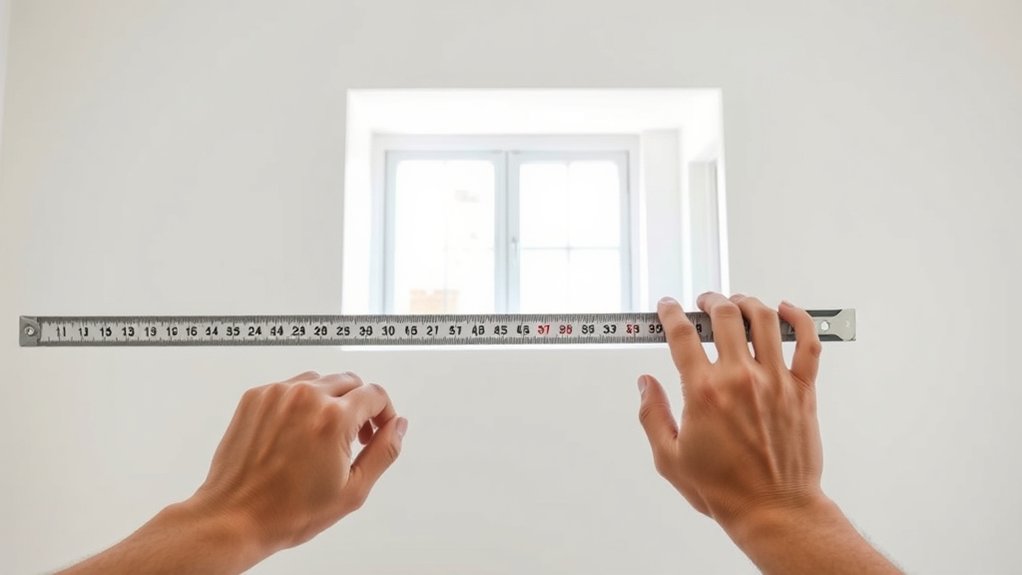
Start by measuring each kitchen wall from corner to corner, and record every length, height, and bump-out as you go. Use a tape measure and note dimensions in inches, keeping your numbers neat and consistent.
Measure each kitchen wall carefully, noting every length, height, and bump-out in consistent inches.
Measure at the top, middle, and bottom of each wall, since surfaces can shift. Check the ceiling height in several spots, too, so you can spot any variation.
Mark the locations where walls meet, and identify every opening that affects cabinet placement. These measurements help you compare cabinet styles and choose material options that fit your layout without surprises.
Sketch a simple floor plan and write each number directly on it. If a wall isn’t square, keep the smallest measurement, because it gives you safer cabinet clearance.
Double-check everything before you move on, and you’ll build a reliable base for the rest of your kitchen project.
Mark Windows, Doors, and Obstacles
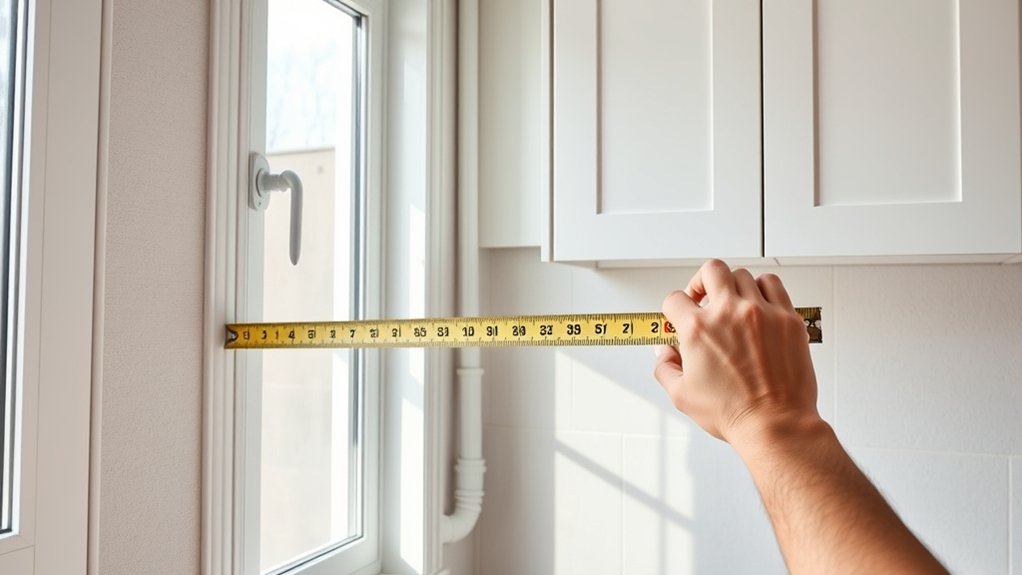
Next, mark every window, door, and fixed obstacle on your kitchen sketch so you can plan cabinet placement accurately. Measure each opening’s width, height, and distance from the nearest corner, then note it beside the symbol.
This helps you verify window placement before you choose upper cabinets or fillers. Trace each door swing too, because a badly placed cabinet can block entry or create a cramped path.
Add any immovable features, such as vents, columns, or trim, and label them clearly.
| Item | Measure | Note |
|---|---|---|
| Window | 36 in | Centered on wall |
| Door | 32 in | Swings left |
| Column | 8 in | Fixed obstacle |
Keep your sketch neat and scaled, so you can compare measurements quickly. If a wall includes multiple openings, mark each one separately and double-check the spacing between them.
Map Plumbing, Outlets, and Appliances
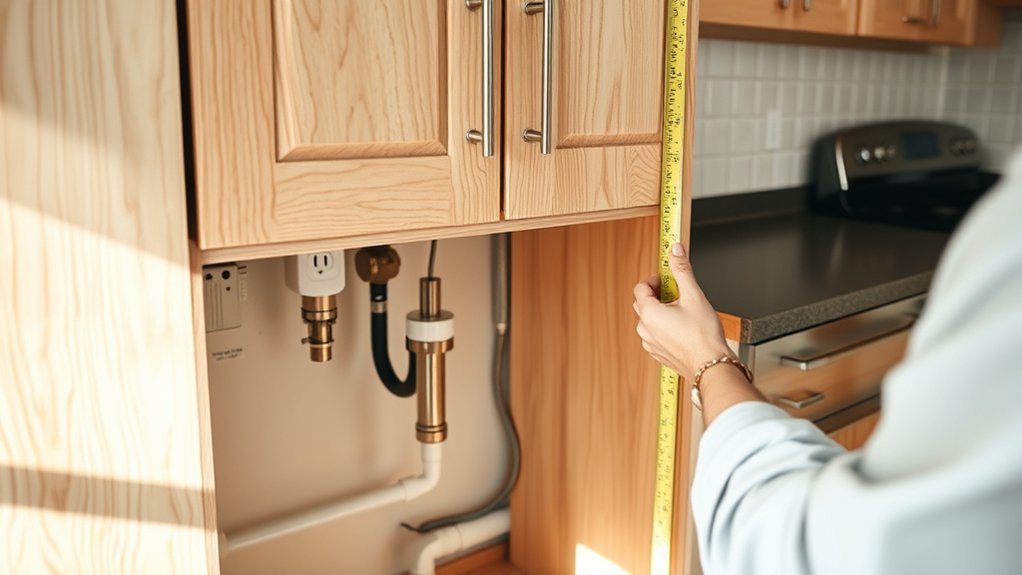
Then map every plumbing line, outlet, and appliance on your kitchen sketch so you can place cabinets without blocking hookups or codes. Mark sink drains, supply valves, gas stubs, and exposed pipes exactly where they sit.
Note every outlet, switch, and wall plate, especially near counters, islands, and dedicated circuits. Record the locations of refrigerator, range, dishwasher, microwave, and trash pullout connections so appliance placement stays accurate.
Measure from each reference wall to the center of each plumbing fixture and electrical point, and write those numbers on the plan. If a pipe or cord enters through the floor, trace its position carefully from nearby walls.
Check for shutoff access, vent lines, and service panels that need open space. When you know these fixed points, you can avoid costly cabinet conflicts and design a layout that fits your room cleanly and safely.
Set Cabinet Heights and Clearances
Once you’ve mapped the room’s fixed points, measure the cabinet heights and clearances that will govern the layout. Start at the floor and note the finished height for base cabinets, then add the countertop thickness to confirm the work surface line.
Allow enough space between the counter and upper cabinets for appliances, task lighting, and comfortable use. If you’re installing a tall pantry or wall cabinets, check ceiling height, soffits, and crown molding so nothing crowds the room.
Account for cabinet material, since heavier boxes may need stronger supports, and different cabinet styles can change toe kick depth, door swing, and visual proportions. Keep consistent gaps around corners, windows, and vent hoods so the run feels balanced and functions well.
Record each dimension clearly, and compare it with the available wall space before you move on.
Double-Check Cabinet Measurements
Before you order or cut anything, double-check every cabinet measurement against your room notes and appliance specs. Compare wall lengths, ceiling height, toe-kick space, and filler allowances so you don’t miss a tight spot. Recheck each opening for ovens, sinks, refrigerators, and dishwashers, and confirm the finished dimensions match the cabinet style you chose. If you’re mixing upper and lower units, verify that the layout still leaves safe clearances and smooth traffic flow.
Measure twice with the same tool, then once with a second person if possible. Write down every number clearly, and mark any uneven walls or floors that may affect installation. Review material selection too, since thicker panels, face frames, or door overlays can change the final fit. Before you place the order, compare all measurements against the cabinet drawings and your supplier’s specs. This final check can save you from costly delays, return shipping, and frustrating installation surprises.
Frequently Asked Questions
What Cabinet Material Is Most Durable for Busy Kitchens?
Plywood cabinets are usually your most durable choice for busy kitchens because they resist warping, hold screws well, and stand up to daily use. You’ll want to compare finishes too, since sealed wood surfaces make Cabinet cleaning easier.
Budget considerations matter, but investing in quality materials can save you replacements later. If you need maximum toughness, plywood or solid wood beats particleboard, especially in high-traffic homes.
How Do I Choose Cabinet Hardware Styles?
Choose cabinet hardware styles by matching your room’s mood, your grip, and your daily habits. You’ll want decorative accents that echo your faucets, lighting, and pulls, while hardware compatibility keeps everything fitting and functioning smoothly. Pick sleek bars for modern kitchens, classic knobs for traditional spaces, or mixed metals for a fresh look. Test samples in your hand, and you’ll quickly see what feels right and looks balanced.
Should I Hire a Professional Installer or DIY?
You should hire a pro if you want a flawless fit and less risk; DIY works if you’re handy and patient. You’ll save money with DIY, but budget considerations include tools, mistakes, and time.
If you also plan cabinet painting, a pro can streamline the job and reduce stress. Measure carefully, check walls and floors, and ask for help when your layout feels tricky or your schedule’s tight.
What Cabinet Finish Resists Moisture Best?
The best moisture-resistant cabinet finish is a catalyzed conversion varnish or high-quality polyurethane. You’ll get strong protection, fewer water stains, and better durability in humid kitchens.
For cabinet cleaning, use a soft cloth and mild soap, not harsh abrasives. Follow simple maintenance tips: wipe spills fast, dry edges, and avoid standing water.
If you want maximum resistance, choose factory-finished cabinets over on-site finishes for more consistent sealing and longer life.
How Long Does Cabinet Installation Usually Take?
Cabinet installation usually takes you one to three days, though tricky layouts can stretch it longer. You might think speed matters most, but measurement accuracy matters more, because even small errors slow the whole job. Use measuring tools carefully, verify every wall, floor, and opening, and you’ll avoid delays.
If you’re replacing old cabinets, removal, leveling, and adjustments can add another day, so plan for a little flexibility.
Conclusion
Now you’ve measured your kitchen with care, you’re ready to move forward with confidence. You’ve mapped the walls, marked the obstacles, and checked every outlet, pipe, and clearance, so your cabinets can fit like they belong there.
Double-check your measurements one last time to save yourself time, money, and stress. Accurate kitchen cabinet measurements help you measure once, install once, and enjoy a smoother project from start to finish. A good plan always leads to a better kitchen.