How to Build an Outdoor Kitchen in 3 Simple Steps
Planning an outdoor kitchen can feel overwhelming when you’re trying to balance space, budget, and all the features you want. You’re not alone—many people struggle to know where to start.
This guide to how to build an outdoor kitchen in 3 simple steps will help you create a practical, welcoming space for cooking and entertaining.
To build an outdoor kitchen in 3 simple steps, first plan your layout around how you cook, host, and move through the space. Measure your yard, note sun, wind, and fixed features, then place seating and work zones for easy flow.
Next, choose durable appliances and utilities like a grill, sink, fridge, lighting, and outlets.
Finally, build, finish, test, and inspect everything so your kitchen’s safe, efficient, and ready for more tips.
Key Takeaways
- Plan the layout around cooking, prep, serving, and seating zones for smooth traffic flow.
- Measure your space carefully and note doors, windows, trees, sun, and wind before placing anything.
- Choose essential appliances first, then confirm fuel, electrical, and water requirements match your site.
- Build a sturdy, weather-resistant base, frame, and countertop with proper appliance cutouts and secure fittings.
- Finish with utility hookups, weatherproof sealing, safety checks, and a full appliance test before use.
Plan Your Outdoor Kitchen Layout

Before you pick out appliances or materials, map out how you want to use your outdoor kitchen. Picture how often you’ll cook, how many people you’ll host, and where guests will gather.
Sketch the main work zones so you can move easily between prep, cooking, serving, and cleanup. Keep pathways wide enough to prevent crowding, and leave enough open space for doors, drawers, and foot traffic.
Sketch your main work zones for easy flow, and keep pathways open for movement, doors, and drawers.
Think about Seating arrangements early, since they shape the flow of the whole space. You might place chairs near the action for conversation or set a dining area a little farther back for comfort.
Add Decorative accents only after you’ve settled the layout, so they support the design instead of cluttering it.
Measure your yard carefully, note sun and wind exposure, and mark permanent features like doors, windows, and trees. A clear plan helps you build a layout that feels practical, balanced, and inviting for everyday use and entertaining.
Choose Outdoor Kitchen Appliances and Utilities
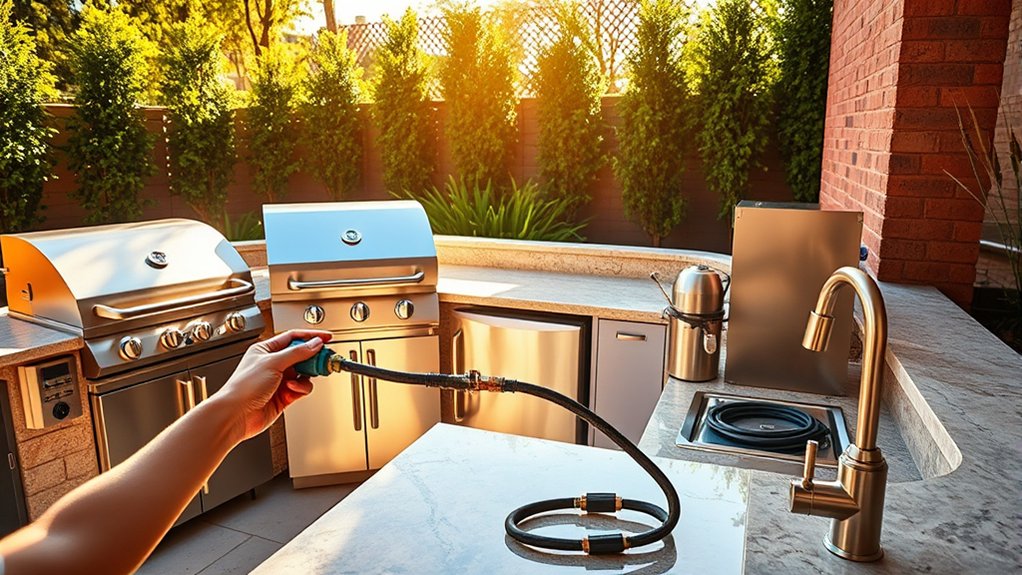
Once you’ve mapped the layout, choose appliances and utilities that fit how you’ll actually use the space. Start with the essentials: a grill, side burner, and outdoor refrigerator if you cook often.
If you love entertaining, add a sink and an ice maker for easier prep and cleanup. Match each appliance to your fuel source, electrical load, and available water lines so you don’t overload the system later.
Think about durability, too. Pick stainless steel or weather-rated components that can handle sun, rain, and temperature swings.
Add Outdoor lighting near the grill, counters, and pathways so you can cook safely after dark. Include enough outlets for blenders, warmers, and chargers, and place them where cords won’t get in the way.
Don’t forget Storage solutions for tools, seasoning, and serving ware. Smart utility choices make your kitchen more efficient, comfortable, and ready for everyday use.
Build and Finish Your Outdoor Kitchen

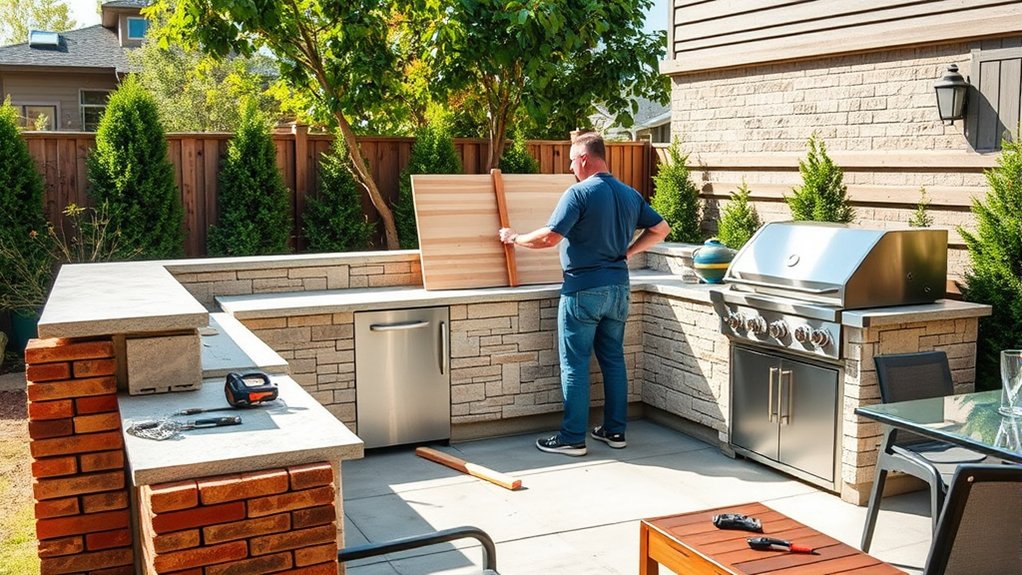
With your plans, appliances, and utilities in place, you can start building the structure and turning the design into a finished kitchen. Begin by framing the base, walls, and support areas according to your measurements, then secure each section so it can handle heat, weight, and weather.
Build the base, walls, and supports with care so your kitchen stands strong, safe, and ready for use.
Choose durable surfaces during Material selection, and match them to your home’s style and Landscaping design for a cohesive look. After that, install countertops, cabinets, and appliance cutouts with care, checking every level and joint as you go.
Next, connect fixtures, seal exposed edges, and add weatherproof finishes that protect against moisture and sun. You can also include lighting, trim, and storage details that make cooking easier and the space more polished.
Finally, clean the area, test every appliance, and inspect the entire build so you know it’s safe, functional, and ready for entertaining.
Frequently Asked Questions
What Permits Are Needed for an Outdoor Kitchen?
You’ll usually need a building permit, and sometimes electrical, plumbing, or gas permits, depending on your outdoor kitchen’s appliance options. Your local codes may also require zoning approval, especially if you’re changing setbacks or adding permanent structures. Check HOA rules too.
Before you start, call your city’s building department so you can confirm what’s required for your landscaping ideas and avoid costly delays, fines, or rework later.
How Much Does an Outdoor Kitchen Typically Cost?
An outdoor kitchen can feel like building a tiny backyard kingdom: your cost usually ranges from $5,000 to $50,000, and luxury setups can climb higher. You’ll shape the total through budget planning, materials, appliances, and labor.
If you want to save, start with a simple grill island and expand later. Use design inspiration to match your space, and you’ll control costs while creating a setup you’ll actually love.
Which Materials Withstand Harsh Weather Best?
You’ll get the best results from stainless steel, sealed concrete, stone, brick, and marine-grade polymers. These weather resistant materials handle rain, sun, and temperature swings well, while durable construction options like powder-coated metal frames and sealed stone surfaces reduce cracking, rust, and fading.
You should also choose outdoor-rated adhesives and finishes, because they’ll boost longevity. With proper sealing and upkeep, your kitchen can stay strong and look great for years.
How Long Does Outdoor Kitchen Construction Usually Take?
Outdoor kitchen construction usually takes you 2 to 8 weeks, depending on size, materials, and permitting. If you keep the design simple, you can finish faster, but custom features add time.
Good Outdoor design helps you avoid delays, and solid Budget planning keeps surprises down. You’ll also move quicker if utilities are already in place and your contractor schedules inspections promptly. Weather can extend the timeline, so plan accordingly.
Can I Add Lighting After Installation?
Yes, you can add lighting after installation. You’ll often find lighting installation is one of the easiest post-build improvements, and you can upgrade your space without major changes.
You can add task lights, accent fixtures, or under-counter strips to improve safety and ambiance. Just make sure you plan wiring, weatherproofing, and power access carefully so the new lights work reliably and blend with your existing outdoor kitchen.
Conclusion
Now you’re ready to turn your backyard into a warm, welcoming retreat. With a smart layout, the right appliances, and careful finishing touches, you can build an outdoor kitchen that feels like an extension of your home.
Picture the glow of string lights, the scent of grilled food, and laughter drifting through the evening air. Start small, stay focused, and you’ll create an outdoor kitchen where every meal feels like a celebration.