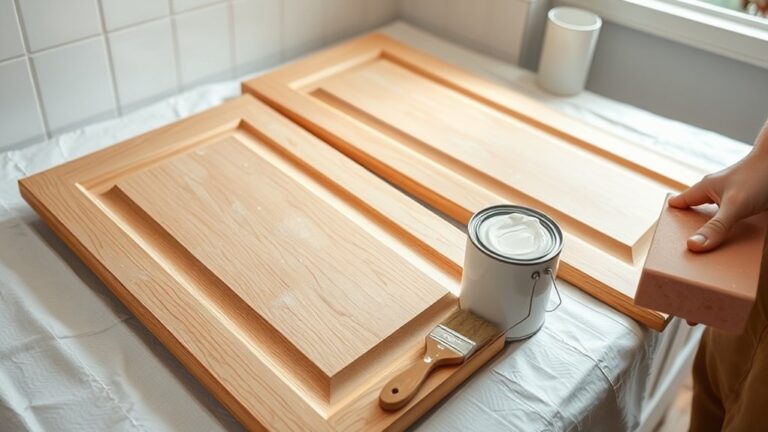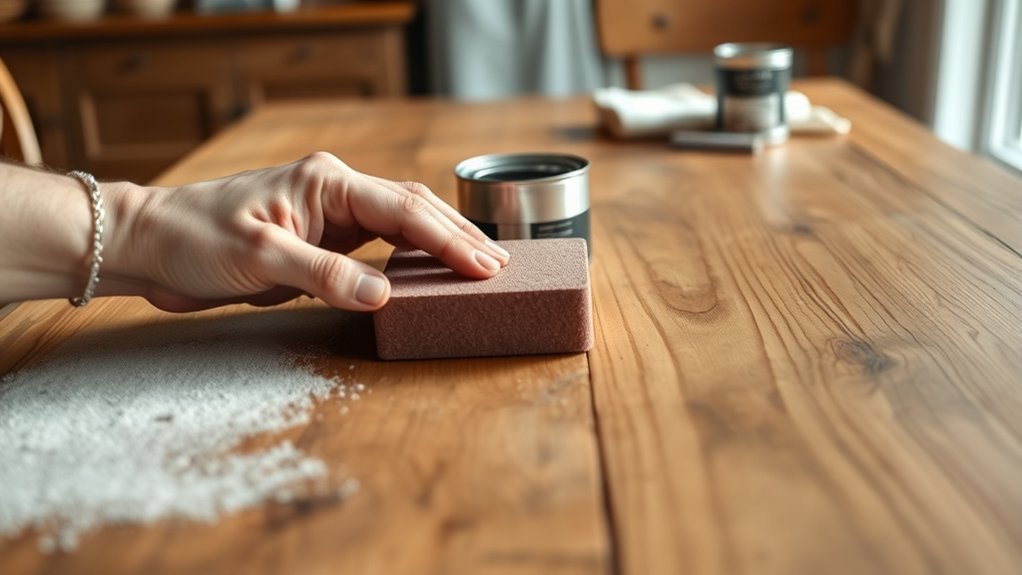
How to Refinish a Wooden Kitchen Table in 3 Simple Steps
A scratched or dull kitchen table can make the whole room feel worn, but replacing it isn’t your only option. If you’re wondering how to refinish a wooden kitchen table, you’re not alone—many people struggle to get a smooth, durable finish.
These simple steps can help you bring your table back to life.
First, strip off the old finish with a quality stripper, then scrape away the softened layers and wipe the residue clean.
Next, sand the table smooth with 80-, 120-, then 180-grit paper, always following the grain and wiping dust between passes.
Finally, apply your chosen stain, then brush on thin coats of sealant or polyurethane for lasting protection.
Let each layer cure fully, and you’ll have a durable tabletop with more tips ahead.
Key Takeaways
- Strip the old finish with quality stripper, then scrape gently and wipe away residue.
- Sand the table in stages with 80-, 120-, and 180-grit paper, always following the grain.
- Test stain on a hidden spot, then apply evenly and wipe off excess for the desired color.
- Brush on thin polyurethane or varnish coats, lightly sanding between coats for a smooth finish.
- Let the tabletop cure fully before use so it becomes durable, even, and moisture-resistant.
Strip the Old Finish
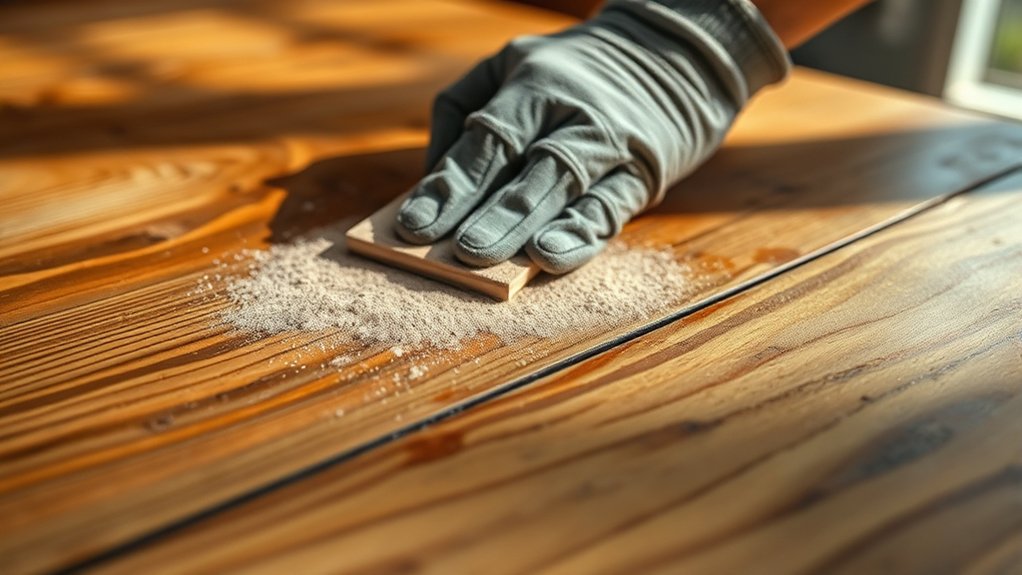
Before you apply any new stain or finish, you need to strip away the old one completely. You’ll make this job easier if you work in a well-ventilated area and protect the surrounding space before you begin finish removal.
Apply a quality stripper to the tabletop, following the label’s directions, and give it enough time to soften the coating. Then use a scraper to lift the loosened finish from the wooden furniture without gouging the surface. If stubborn patches remain, reapply the stripper and try again rather than forcing the tool.
Work methodically across the table, including edges and corners where buildup often hides. Wipe away residue with the recommended cleaner so the surface stays ready for the next step. Check for any lingering sheen, since missed spots can block the new finish from bonding properly.
Once the old coating is gone, you’ve set a clean foundation for the rest of the refinishing process.
Sand the Wooden Table Smooth
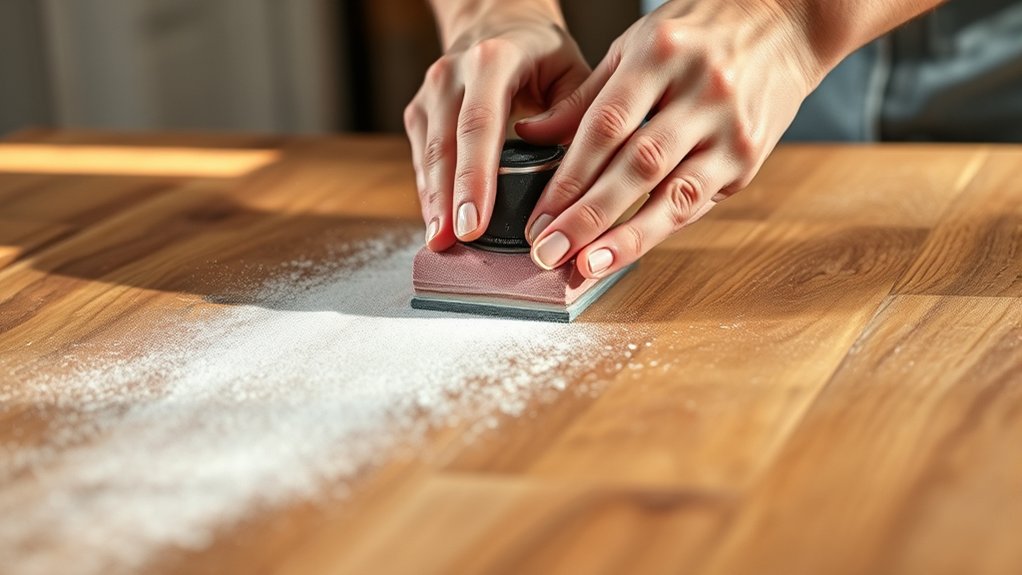
Now that the old finish is gone, sand the tabletop to create a smooth, even surface for the new stain or finish. Start with 80-grit paper on a sanding block or random-orbit sander, then move to 120-grit and finish with 180-grit.
Work with the wood grain, not against it, so you don’t leave scratches that show through later. Keep the sander moving and use light pressure to avoid dips, rounded edges, or swirl marks.
Sand with the grain using light pressure and steady movement to avoid scratches, dips, and swirl marks.
Check corners, edges, and any repaired spots by hand, since machines can miss them. Between grits, wipe away dust with a tack cloth or vacuum so you can see imperfections clearly.
Good surface preparation now will save you trouble later and help the table look even and refined. When the top feels uniformly smooth and you can’t see rough patches, you’re ready to move on.
Apply Stain, Seal, and Protect
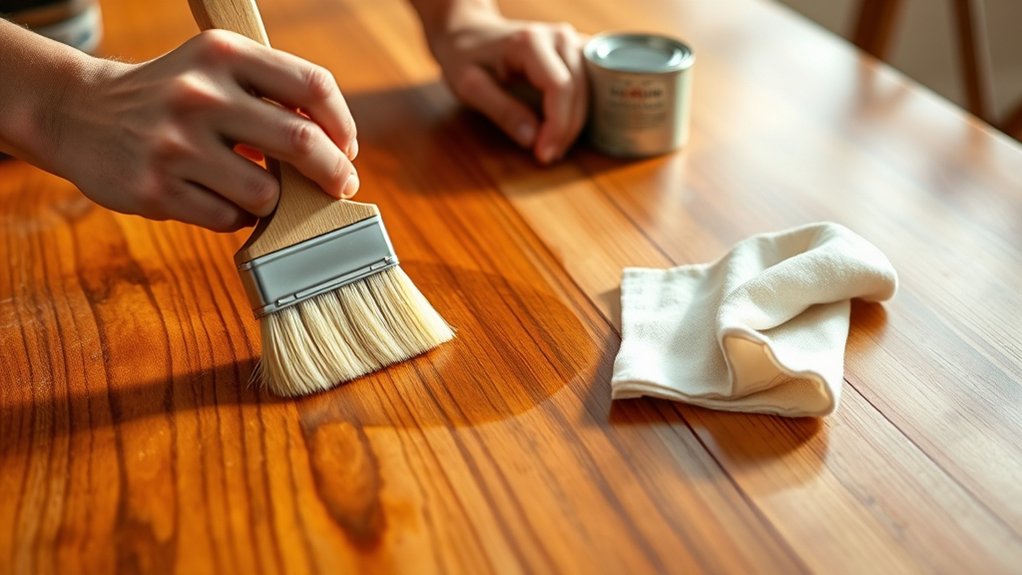
With the tabletop smooth and dust-free, you can apply the new stain and finish. Choose your color selection on a hidden spot first, since wood can absorb stain unevenly.
Stir the stain well, then use a clean cloth or brush for careful stain application, working with the grain in long, even strokes. Let it sit for the manufacturer’s recommended time, then wipe off the excess to control darkness and reveal the wood’s character.
If you want a deeper tone, add another thin coat after the first dries.
Once the color looks right, seal the surface with a clear polyurethane, varnish, or water-based finish. Brush on thin coats, keep dust away, and let each layer dry completely.
Lightly sand between coats if needed for a smoother result. Finish with a final protective coat on the tabletop edge and top.
After full curing, your table will resist moisture, scratches, and daily wear.
Frequently Asked Questions
How Do I Choose the Right Wood Finish for My Table?
Choose a finish based on how you use the table and the look you want. If you want the wood grain to stay visible, pick a clear finish like polyurethane, varnish, or oil.
For durability, use tougher finishing techniques such as multiple thin coats and light sanding between coats. If you want a natural feel, try tung oil or wax, but they’ll need more upkeep and regular reapplication over time.
Should I Refinish the Table Indoors or Outdoors?
You should refinish the table outdoors if you can. Outdoor exposure gives you better ventilation, so fumes and dust won’t build up. If you must work inside, use an indoor environment with strong airflow, plastic sheeting, and a fan to protect your space.
Either way, you’ll want a dry, dust-free area and stable temperature. Avoid direct sun, rain, or humidity swings, since they can ruin your finish.
How Long Does Refinishing a Kitchen Table Usually Take?
Usually, you’ll spend two to five days refinishing a kitchen table. As the saying goes, haste makes waste, so don’t rush.
You’ll need time for scratch repair, sanding, drying between coats, and final Table polishing. A simple finish can wrap up faster, but damaged wood or multiple stain coats will stretch the schedule.
If you work carefully and let each layer cure, you’ll get a smoother, longer-lasting result.
What Tools Are Needed for Refinishing a Wooden Table?
You’ll need sandpaper or a sander, tack cloths, brushes, rags, wood filler, stain, sealer, and a drop cloth. For wood staining, choose quality brushes or foam applicators so you control the color evenly.
Good sanding techniques start with medium-grit paper and finish finer for a smooth surface. Keep a vacuum handy to remove dust, and wear gloves, a mask, and eye protection while you work.
How Can I Maintain the Table After Refinishing?
It’s a million times easier if you keep up a simple cleaning routine. Wipe spills right away with a damp cloth, then dry the surface so moisture doesn’t soak in.
Use mild soap when needed, and skip harsh cleaners. Add protective accessories like placemats, coasters, and table pads to prevent scratches and heat marks.
Check the finish often, and touch up worn spots before they turn into bigger problems.
Conclusion
Now you’ve turned that worn kitchen table into a fresh centerpiece with a finish that shines like a new day. By stripping the old coat, sanding smooth, and adding stain, seal, and protection, you’ve given the wood a second life.
Keep it clean, use coasters, and enjoy the warm character you brought back. Your refinished wooden kitchen table is ready to gather meals, stories, and memories for years to come.