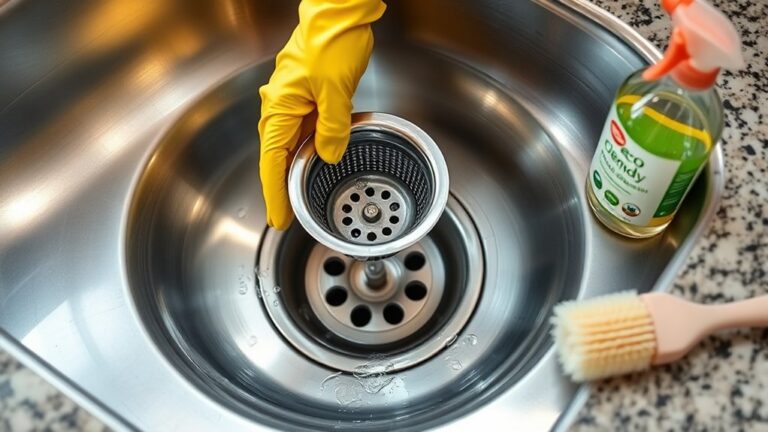
Replace Your Kitchen Sink Faucet in 3 Easy Steps
A leaky or outdated kitchen faucet can make everyday tasks frustrating, and replacing it may seem more complicated than it needs to be. You’re not alone—many people struggle with knowing where to start.
This guide breaks down how to replace your kitchen sink faucet in three easy steps.
First, shut off the hot and cold water valves under your sink, open the faucet to drain any leftover water, and gather your tools and a bucket.
Next, disconnect the supply lines, loosen the mounting nuts, lift out the old faucet, and clean the sink deck.
Finally, set the new faucet in place, secure it from below, reconnect the lines, and turn the water back on to check for leaks.
There’s more to make it even easier.
Key Takeaways
- Shut off the hot and cold water valves, then drain the faucet and keep a bucket and towel ready.
- Disconnect the supply lines and remove the mounting nuts to lift out the old faucet.
- Clean the sink opening thoroughly and confirm the new faucet and hardware fit properly.
- Position and secure the new faucet, tightening the mounting hardware evenly from underneath.
- Reconnect supply lines, turn water on slowly, and check all joints for leaks and proper flow.
Shut Off the Water and Gather Tools
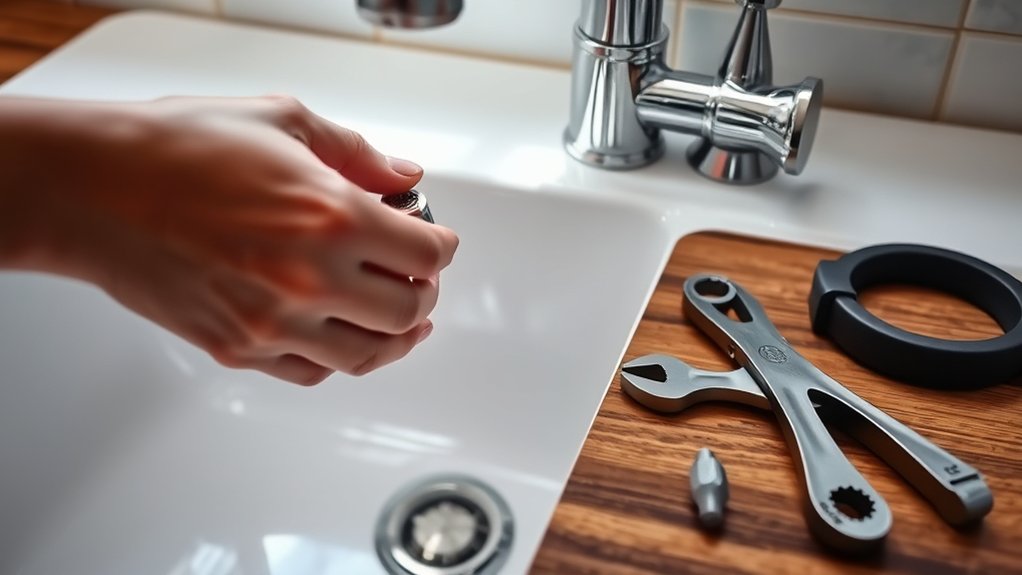
Before you remove the old faucet, shut off the hot and cold water valves under the sink and open the faucet to drain any remaining water. This simple step supports Plumbing safety and keeps splashes from soaking the cabinet. Next, check the shutoff valves for leaks or corrosion. If a valve sticks, don’t force it; you may need to replace it later. Place a bucket and towel nearby to catch drips.
Then gather your tools: adjustable wrench, basin wrench, pliers, screwdriver, plumber’s tape, and a flashlight. Keep each tool clean and organized so Tool maintenance stays easy throughout the job. Lay parts on a towel so you can find them fast. Before you start, confirm you have the new faucet, supply lines, and any included gaskets or mounting hardware. When everything’s ready, you can move to removal without interruptions and work more efficiently.
Remove the Old Kitchen Faucet

With the water shut off, you can start removing the old faucet by disconnecting the supply lines from beneath the sink using your adjustable wrench. Keep a towel or small bucket nearby to catch any leftover drips, then loosen the mounting nuts that hold the faucet to the sink. If space is tight, use a basin wrench for better advantage. Once the hardware is free, lift the faucet straight up and out of the sink holes.
Next, clean the sink surface around the opening. Scrape away old putty, mineral buildup, and grime so the new fixture will sit flat. Check the sink deck for damage, since rough edges can affect faucet aesthetics and make installation harder later. As you remove the old unit, notice any worn parts or corrosion that may have reduced water pressure. A clean, open mounting area gives you a better start for the next step and helps your replacement faucet fit securely without hassle.
Install the New Faucet and Check for Leaks
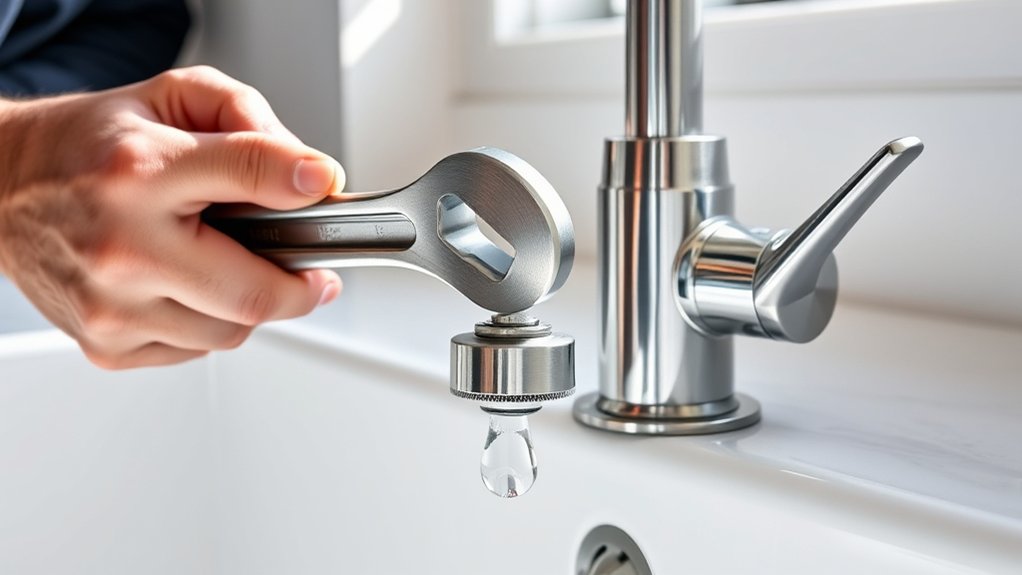
Set the new faucet into the sink openings, then secure it from underneath with the supplied mounting hardware, tightening each nut evenly so the fixture sits straight and snug.
Connect the supply lines, matching hot to hot and cold to cold, and confirm faucet compatibility before you fully tighten anything. If your model includes a sprayer or soap dispenser, attach those hoses now and route them so they won’t kink or rub.
Turn the shutoff valves on slowly, then watch every joint for drips. Open the faucet and flush out air and debris, checking water pressure at both temperatures. If you spot moisture, shut the valves off, retighten the connection, and test again.
- A level faucet body on the sink deck
- Clean, dry fittings under the basin
- Clear, even water flowing from the spout
- No drops forming around supply connections
Frequently Asked Questions
How Do I Choose the Right Faucet Finish for My Kitchen?
You choose the right faucet finish by matching your kitchen style, cleaning habits, and water quality. Start with faucet material, since stainless steel, brass, and chrome each age differently.
Then compare finish durability, especially if you cook often or have hard water. Brushed finishes hide spots better, while polished ones shine.
You should also consider cabinet hardware and appliances so everything feels coordinated and intentional in your space.
Which Faucet Style Works Best With My Sink Size?
You’ll want a faucet style that matches your sink size and depth. For a small sink, choose a compact single-hole or low-arc design so you don’t crowd the basin. For a larger sink, a pull-down or high-arc faucet gives you more reach. Check Faucet mounting first, then verify Water pressure compatibility so the spray and flow work well without splashing or weak performance.
Do I Need a Plumber for a Single-Handle Faucet Replacement?
No, you usually don’t need a plumber for a single-handle faucet replacement if you’re comfortable with DIY plumbing. You can handle the faucet installation yourself with basic tools, a shutoff valve, and a little patience.
Turn off the water, disconnect the lines, remove the old faucet, and secure the new one. Call a plumber if you spot corrosion, leaks, or tricky access under the sink.
How Can I Reduce Water Spots on My New Faucet?
You can reduce water spots by drying your faucet after each use and wiping it with a soft microfiber cloth. Water spot prevention starts with avoiding harsh cleaners and using a gentle soap solution instead.
For extra protection, apply a thin coat of car wax or a faucet-safe polish. These faucet cleaning tips help keep minerals from sticking, so your new faucet stays shinier longer and looks spotless.
What Maintenance Keeps a Kitchen Faucet Working Longer?
You keep your kitchen faucet working longer by cleaning it regularly, checking for leaks, and tightening loose parts before they wear out. Wipe it dry to prevent Faucet corrosion, and remove mineral buildup from the aerator and spray head.
If you notice Water flow issues, flush the lines and clean screens right away. Also, avoid over-tightening handles and use the faucet gently so seals, cartridges, and finishes last longer.
Conclusion
You’ve shut off the water, gathered your tools, and swapped out the old faucet for a new one. What once felt like a leaky mess is now a simple, polished upgrade.
Tightening bolts and checking for drips may not sound glamorous, but the payoff is real: less frustration, better function, and a fresher kitchen. With a few careful steps, you’ve replaced your kitchen sink faucet and turned a chore into a win. Your sink is ready for daily use.