Paint Kitchen Countertops in 7 Easy Steps
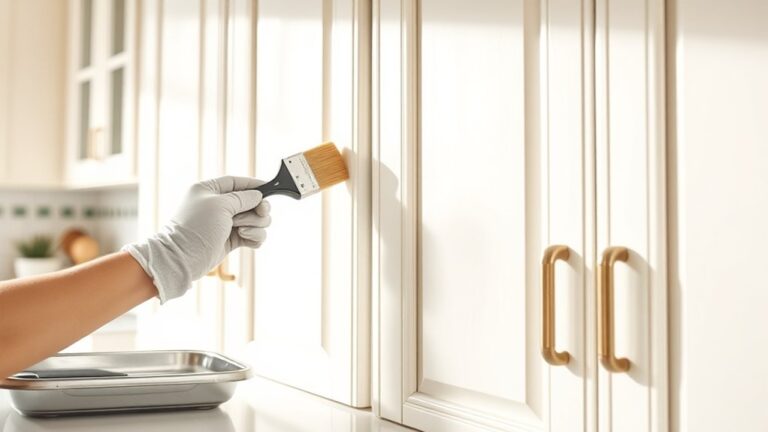
A worn or outdated countertop can make your whole kitchen feel tired, but replacing it isn’t always in the budget. You’re not alone—many people want a fresh look without the expense. Painting kitchen countertops can be an affordable way to update your space, and these seven easy steps will help you get started.
Start by gathering your supplies: paint, primer, sealer, brushes, rollers, tape, drop cloths, and safety gear. Clear the countertops, then clean and degrease them thoroughly. Rinse, dry, and lightly sand the surface. Wipe away dust, then apply bonding primer in an even coat.
Paint in thin layers, let each coat dry, seal with a clear topcoat, and allow full curing before use. Follow these steps, and you’ll get a smooth finish with more helpful tips ahead.
Key Takeaways
- Clear, clean, degrease, and lightly sand the countertop to remove grime and improve paint adhesion.
- Use painter’s tape and drop cloths to protect surrounding cabinets, walls, and floors before starting.
- Apply a bonding primer in a thin, even coat and let it dry fully according to the manufacturer’s instructions.
- Paint in multiple thin coats with a foam roller or quality brush, letting each coat dry completely.
- Finish with a clear, nonyellowing sealer and allow full curing before regular use or cleaning.
Gather Your Supplies
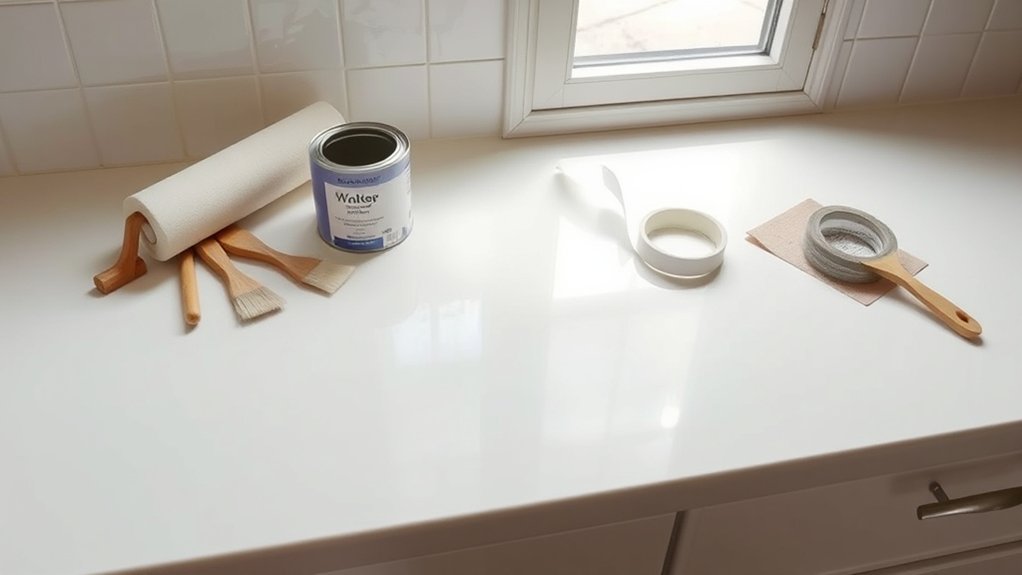
Before you start painting your kitchen countertops, gather everything you’ll need so the job goes smoothly from beginning to end. Pick your paint, primer, and sealer first, then choose color options that match your cabinets, flooring, and lighting.
Gather your paint, primer, and sealer first, then choose a color that complements your kitchen.
Next, assemble the right paint tools: angled brushes, foam rollers, painter’s tape, drop cloths, a mixing stick, and clean rags. You’ll also want disposable gloves, sanding pads, and a dust mask so you can work comfortably.
Keep a bucket of mild soap and water nearby for quick cleanup, plus a screwdriver if you need to remove hardware later. Check that your supplies cover the whole surface, and buy a little extra paint in case you need touch-ups.
When everything’s within reach, you can move confidently into the next step without stopping to hunt for missing items or settling for the wrong finish.
Prep the Countertops

Clear everything off your countertops to create a blank workspace. Then clean and degrease the surface to remove any grime that could prevent the paint from sticking. Once it’s clean, lightly sand the countertops so the new finish has something to grip.
Clear the Surface
How do you get a smooth, long-lasting painted finish? Start by clearing everything off your countertops so you can work without obstacles. Remove appliances, utensil jars, decor, and anything else sitting on the surface.
This gives you full access to every edge, corner, and seam, so you can plan your color choices and compare paint textures without distractions. Store items safely nearby or in another room, and keep the countertop completely open while you prep.
Check for anything stuck on the surface and lift it off carefully. If you have drawers or nearby cabinets that interfere with your workspace, open them only as needed.
A clean, empty counter helps you move efficiently, spot problem areas, and stay focused on the painting project.
Clean and Degrease
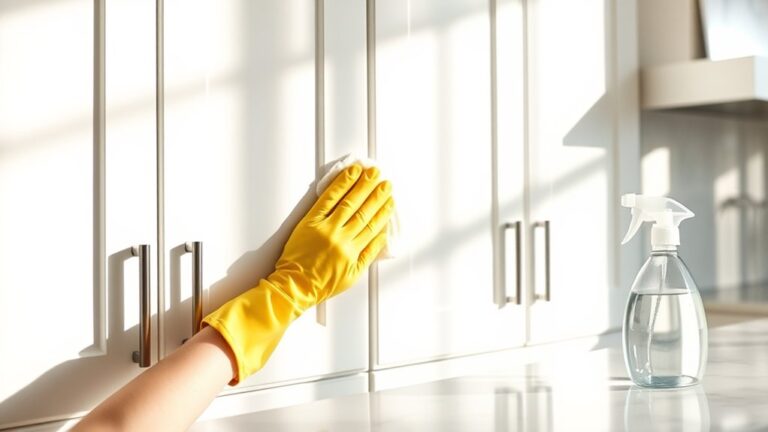
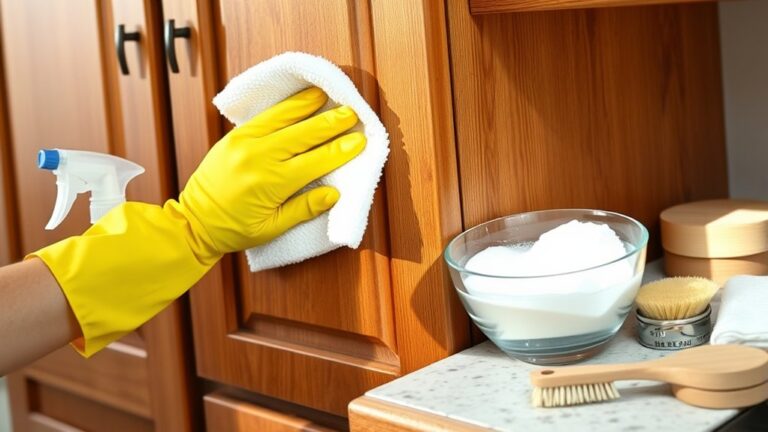
With the counters cleared, wipe away dust, crumbs, and grease so the paint can bond properly. Mix a strong degreaser with warm water, then scrub every inch of the countertop, especially around the sink, stove, and handles where buildup hides.
Rinse with clean water and use a lint-free cloth to remove all residue. Let the surface dry completely before moving on. This step matters because surface preparation directly affects how well your finish lasts.
If you skip it, oils and soap film can cause peeling or uneven color. Choose a cleaner that won’t leave a slick film, and match it with your paint selection so the coating system works together.
Keep the area ventilated, wear gloves, and inspect for any missed spots before you continue.
Sand for Adhesion
Once the countertop is clean and fully dry, lightly sand the surface so the new paint can grip better. Use fine-grit sandpaper or a sanding sponge, and move in small, even circles across every section.
You don’t need to remove the finish; just dull the shine and create tooth for better bonding. Wipe away all dust with a damp cloth or tack cloth, then let the surface dry again.
This step helps different paint types adhere more reliably, especially when you’re choosing between bold or subtle color schemes. Pay extra attention to edges, seams, and corners, since paint can lift there first.
If the surface still feels slick, sand it once more. A careful prep now means smoother coverage and a longer-lasting finish later.
Sand and Clean the Surface
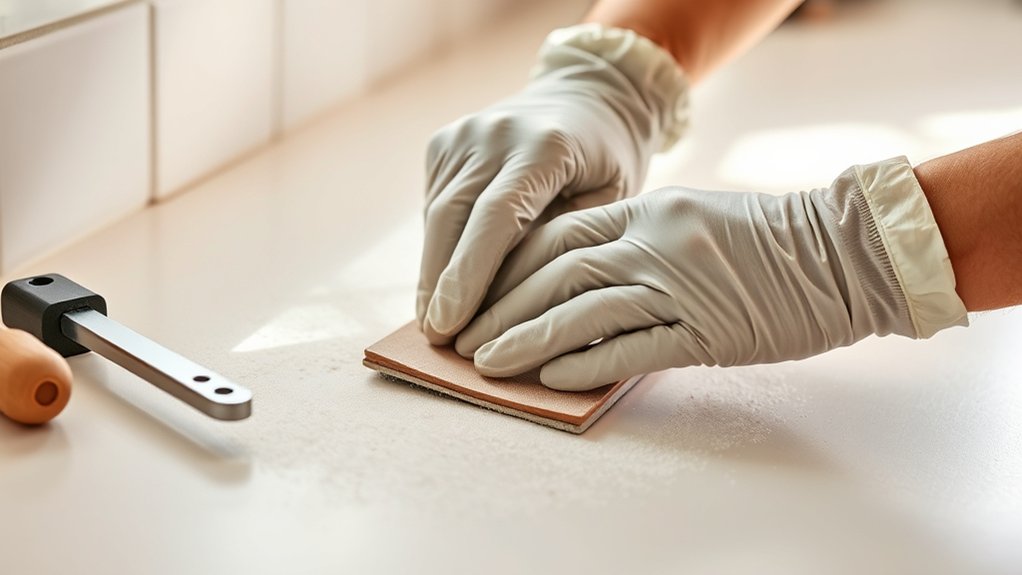
Before you paint, sand the countertop lightly to dull the finish and help the primer stick, then wipe away every trace of dust and grease. Use fine-grit sandpaper and move in small circles, paying extra attention to glossy spots, seams, and edges.
After sanding, vacuum or brush off the residue, then follow with a tack cloth or a damp microfiber cloth to catch the last particles. Let the surface dry completely before you move on.
If you skipped a damaged area, sand it again until it feels smooth and even. This prep work helps your coating go on cleanly and keeps the final look consistent across all your color options and paint finishes.
Don’t rush this step; any dust or oily film can show through later and ruin adhesion. When the countertop feels clean, dry, and slightly rough, you’re ready for the next stage.
Prime Kitchen Countertops
Apply a bonding primer to the clean, sanded countertop so the paint has a strong surface to grip. You’ll want to choose a primer made for slick surfaces, since it helps your finish bond evenly and resist peeling.
Apply a bonding primer to help paint grip smoothly and resist peeling on slick countertop surfaces.
Stir it well, then use a high-quality brush or roller to spread a smooth coat across every edge, seam, and flat area. Keep your strokes light and controlled so you don’t leave ridges or bubbles.
If you’re aiming for color matching, a tinted primer can help you build a truer base beneath lighter shades. This step also gives you a chance to test design inspiration ideas before you commit to the final look.
Let the primer cover fully and dry exactly as directed by the manufacturer. When it’s fully cured, inspect the surface for missed spots or rough patches, then you’ll be ready for the next phase of transforming your countertop.
Apply Countertop Paint in Thin Coats
With the primer fully dry, you can start applying the countertop paint in thin, even coats. Use a high-density foam roller or a quality brush, and keep your strokes light so the finish stays smooth.
Choose your color selection before you begin, since shifting tones mid-project can make the surface look uneven. Stir the paint well, then test the paint texture on a small area to see how it spreads. If it feels thick, mix it only as the label allows.
Work in small sections and overlap each pass slightly to avoid streaks or heavy edges. Don’t load the roller too much; too much paint can drip or leave ridges.
Let each coat dry fully before adding the next one, and inspect the surface under good light as you go. With patience, you’ll build an even, durable finish that looks clean and professional.
Seal Painted Countertops
Once the final coat of paint is fully dry, you can seal the countertop to protect the finish from moisture, stains, and daily wear. Choose a clear, nonyellowing topcoat that suits your paint type, and apply it with a clean brush, foam applicator, or roller in smooth, even passes.
Cover the entire surface, including edges and seams, so water can’t sneak in. If you want more shine, select a glossy sealer; for a softer look, use a satin finish. These color options let you match your kitchen style without changing the painted design.
Let each layer dry according to the label, then add another coat if the product calls for it. A good sealer boosts paint durability and helps your countertop handle regular wiping, spills, and light kitchen use.
Keep the coat thin and consistent so it won’t leave streaks, bubbles, or a cloudy finish.
Let the Paint Cure Fully
Even after the sealer feels dry to the touch, let the painted countertop cure for the full time listed on the product label before you use it normally. You’ve already chosen your paint color options and finished the hard part, but curing locks in durability.
Follow the curing time guidelines closely, since rushing can leave dents, scratches, or dull spots. Keep the surface free of plates, appliances, and water while it hardens. If you need a reminder, use this quick guide:
| Condition | Best Action | Why It Matters |
|---|---|---|
| First 24 hours | Leave it alone | Protects the finish |
| Days 2–7 | Light use only | Limits stress |
| Full cure reached | Resume normal use | Maximizes toughness |
| Cooler rooms | Add extra time | Slower curing happens |
During this period, avoid scrubbing and wipe spills gently. When you wait patiently, you give your countertop the strength it needs for daily kitchen life.
Frequently Asked Questions
Can I Paint Laminate Countertops Without Removing the Sink?
Yes, you can paint laminate countertops without removing the sink, as long as you mask it carefully and prep well. You’ll need strong adhesion, clean surfaces, and patience for drying. Countertop durability depends on the primer, paint, and sealer you choose, so don’t skip those steps. You also get plenty of Paint color options, letting you refresh your kitchen without a full replacement or major plumbing work.
How Long Does Countertop Paint Smell Linger After Application?
It usually takes 2 to 7 days for countertop paint odor to fade, but strong fumes can linger for up to two weeks. How long the odor lasts depends on ventilation, paint type, and curing time.
You can speed up odor removal by opening windows, running fans, and using air filters. Don’t seal the space too early, and you’ll help the finish cure while cutting the odor much faster.
Will Painted Countertops Be Safe Around Hot Pots and Pans?
Not usually. You shouldn’t set hot pots or pans directly on painted countertops unless the coating is rated for heat resistance. Even then, you need safety precautions like trivets, pads, and cooling time to protect the finish and reduce fumes. You’ll also avoid scorching, softening, or peeling the paint. If you want long-lasting results, treat the surface like a decorative layer, not a heatproof worktop.
Can I Change Countertop Color Without Using a Primer?
Yes, you can change countertop color without primer, but you’ll usually get weaker adhesion and less durability. You’ll need to use strong Painting techniques and a coating made for slick surfaces.
Clean, sand, and degrease the top thoroughly before you start. A primer still helps with Color transformation, especially on laminate, stone, or glossy finishes.
If you skip it, expect more chipping, peeling, and touch-ups over time.
What Should I Do if Paint Bubbles Appear Later?
If paint bubbles appear later, you should stop using the surface, let it dry fully, and scrape off loose paint. Then sand the area smooth, clean away dust, and spot-repair with a matching coating.
For bubble prevention, keep moisture away, use thin coats, and allow proper curing time. Strong repair techniques help you restore the finish and prevent the same problem from coming back.
Conclusion
When you finish painting your kitchen countertops, you’re not just changing a surface—you’re breathing new life into the heart of your home. Like a fresh sunrise after a long night, your hard work can turn worn counters into a bright, welcoming stage for daily moments.
Let the paint cure fully, then enjoy the reward: a space that feels renewed, polished, and ready for whatever you bring to the table next. Painting kitchen countertops can make your kitchen feel fresh and inviting.