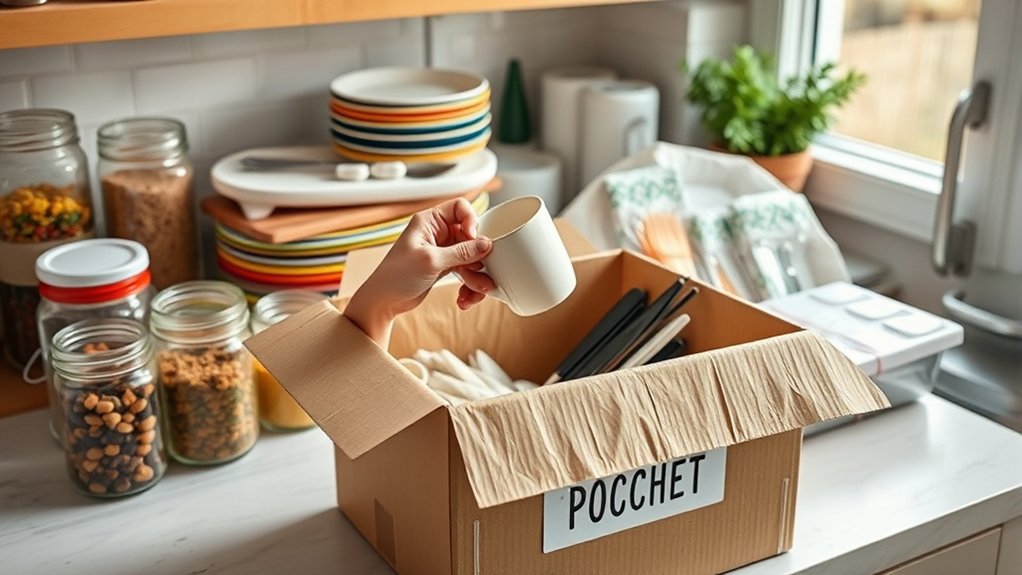
How to Pack Kitchen Items in 10 Easy Steps
Packing a kitchen can feel overwhelming when fragile dishes, bulky pots, and everyday essentials all need to fit safely in boxes. You’re not alone—many people struggle to keep everything organized while avoiding breakage. These 10 easy steps for packing kitchen items can help make the process simpler.
Start by gathering sturdy boxes, packing paper, bubble wrap, tape, markers, scissors, and clear bins. Sort kitchen items by fragility, then pack rarely used appliances, bakeware, and backup utensils first. Wrap dishes and glassware individually, and pad pots, pans, and lids so they don’t move. Label each box by room and contents, fill empty spaces with towels or paper, and pack a day-one essentials box.
Keep going for the full 10-step system.
Key Takeaways
- Gather boxes, packing paper, bubble wrap, tape, markers, and bins before you start packing.
- Sort kitchen items by fragility and use similar items together for easier packing and unpacking.
- Wrap fragile dishes, glasses, and appliances individually, adding extra padding around handles, rims, and lids.
- Pack heavier cookware on the bottom and fill empty spaces with paper, towels, or bubble wrap to prevent shifting.
- Clearly label each box by room and contents, and keep a day-one essentials box for quick kitchen setup.
Gather Kitchen Packing Supplies
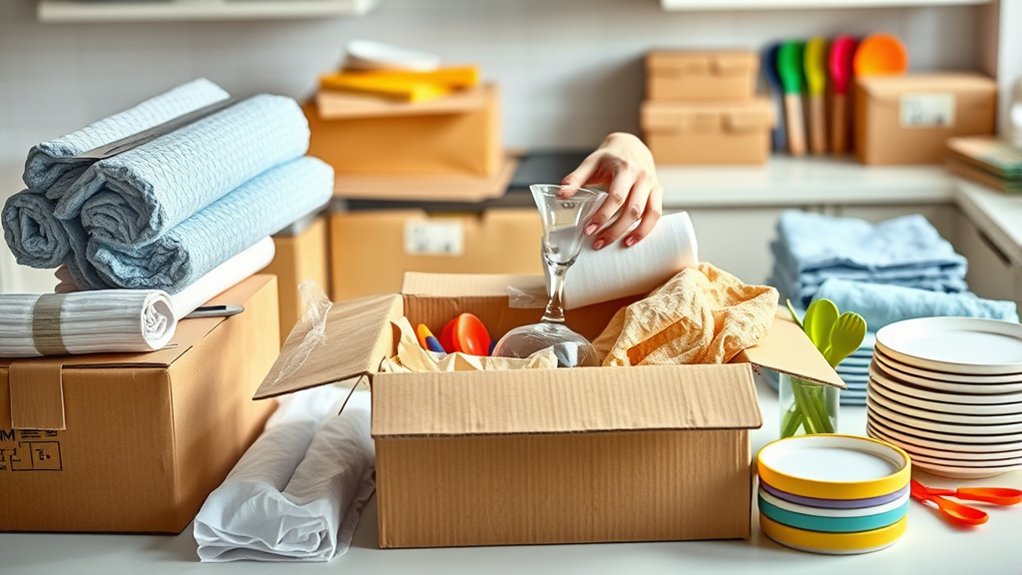
Before you pack a single plate, gather the supplies that will keep everything safe and organized. You’ll want sturdy boxes, packing paper, bubble wrap, tape, markers, and several sizes of containers so you can match the right wrap to each item. Keep scissors and a notepad nearby for quick cuts and simple tracking.
If you’re Organizing pantry items too, use clear bins or reusable tubs to separate dry goods, utensils, and small tools before boxing them up. Labeling containers as you go saves time later, so mark each box with its contents and destination room.
This step helps you work faster and prevents confusion when you unpack. Stock a few dish towels for extra cushioning, and set aside zip-top bags for screws or lids. When everything’s within reach, you’ll pack with less stress and far more control.
Sort Items by How Breakable They Are
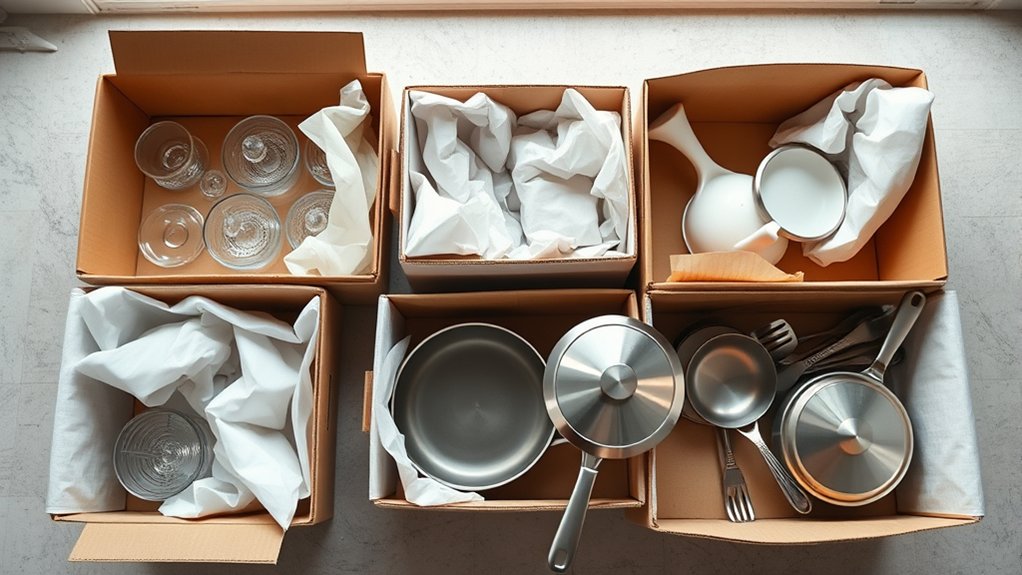
Now that your packing supplies are ready, sort kitchen items by how breakable they are so you can pack them with the right level of protection. Separate Fragile items from sturdier tools, and make a small pile for each category.
Put glassware, mugs, stemware, and decorative pieces together, since they need extra cushioning. Group Breakable dishes, bowls, and serving platters next, then set aside pots, pans, and utensils that can handle less padding.
Group glassware, mugs, stemware, and decorative pieces together for extra cushioning, then set sturdier kitchen items aside.
As you sort, check each piece for chips, cracks, or loose handles, because damaged items break more easily. This quick review helps you decide what needs wrapping, boxing, or marking first.
Keep similar items together so you can pack them efficiently and unpack them faster later. By organizing everything by fragility now, you’ll protect your kitchen pieces better and avoid rushing when boxes start to fill up.
Pack Rarely Used Kitchen Items First
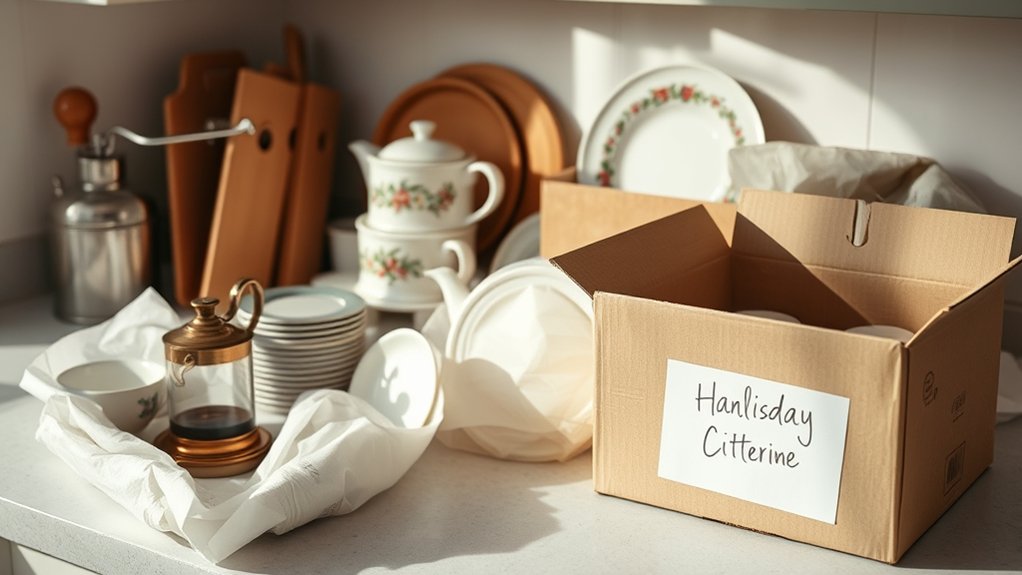
Start by packing the kitchen items you rarely use, since they won’t affect your daily routine if they’re boxed up early. Focus on rarely used appliances, specialty bakeware, holiday serving pieces, and backup utensils.
Gather them from cabinets, pantry shelves, and deep kitchen storage areas, then set them aside in one packing zone. This lets you clear space fast and keeps your everyday tools easy to reach.
As you pack, group similar items together so unpacking feels simpler later. Place lids with their matching containers, and keep small accessories in labeled bags or boxes.
Mark each carton with its contents and the room it belongs in, so you can find things quickly after the move. If you still need a few items for daily cooking, leave them out until the end.
Wrap Dishes and Glassware Safely
Use packing paper, bubble wrap, or clean dish towels to wrap each plate, bowl, and glass individually so they don’t chip or crack in transit. Keep your Dishware wrapping snug but not tight, and tape loose ends so the covering stays put.
For extra Glassware protection, add a second layer around stemmed glasses and delicate mugs, then cushion rims and handles carefully. Stack similar items together only after each piece is fully wrapped, and separate them with soft packing material if needed.
Place heavier dishes on the bottom of a box and lighter glassware on top, so pressure doesn’t build unevenly. Fill small gaps with crumpled paper to stop shifting during the move.
As you pack, check each item for movement and rewrap anything that feels exposed. This simple method helps you protect fragile kitchen pieces and unpack them in one piece later.
Protect Pots, Pans, and Bakeware
Even sturdy pots, pans, and bakeware can get scratched, dented, or bent in a move, so protect each piece before you stack it. Start with clean, dry items, then place a sheet of packing paper, dish towels, or foam between each one.
Use pot padding around handles, lids, and rims to prevent chips and scuffs. For nonstick pans, never let the cooking surfaces touch; pan stacking should always include a soft layer between each pan.
Nest smaller pots inside larger ones only if you fill the gaps with crumpled paper or towels so nothing shifts. Wrap baking sheets, muffin tins, and roasting pans individually, especially if they have sharp edges.
Keep matching lids with their pots by taping them together outside the wrap, not against the metal. Pack heavier pieces on the bottom of the box and lighter items on top to reduce pressure and keep everything secure.
Pack Small Appliances Securely
Before you pack small appliances, unplug them, let them cool completely, and wipe away crumbs, grease, or residue so nothing stains the box. Remove detachable parts like blades, bowls, trays, and cords, then wrap each piece separately in paper or a soft towel.
For small appliance safety, tape sharp edges and secure loose cords with twist ties or rubber bands so they don’t snag or scratch other items. Place the appliance in its original box if you still have it; otherwise, choose a sturdy carton with enough room for padding.
Fill gaps with packing paper, bubble wrap, or towels so the item can’t shift during transit. Follow practical appliance packing tips by keeping heavier units low in the box and lighter accessories on top.
Close the carton tightly with strong tape, then give it a gentle shake. If you hear movement, add more cushioning until everything feels snug and stable.
Label Boxes by Room and Contents
Once you’ve packed each box, label it clearly with the room it belongs in and a quick note about what’s inside, so unloading goes faster and nothing gets misplaced. Use big, readable writing on the top and at least one side.
Label each box with its room and contents so unloading is faster and nothing gets misplaced.
For better labeling accuracy, include the main item group, like plates, mugs, or utensils, instead of vague terms. You can also add numbers if you’re packing several boxes for the same room.
- Mark every box with its destination room
- List the main contents briefly
- Use color coding for each room
- Keep labels visible on multiple sides
- Double-check spelling before sealing
This system helps you sort boxes quickly when you arrive and prevents mix-ups during delivery. If you want an extra layer of organization, keep a simple packing list that matches each label.
That way, you’ll know exactly where each kitchen item belongs and can unpack with less stress later on.
Fill Empty Space to Stop Shifting
After labeling each box, make sure there’s no empty space left inside, since loose gaps let dishes, glasses, and tools slide around during the move. Use crumpled paper, dish towels, or packing paper to cushion each item and lock it in place.
When you’re filling empty spaces, press the material gently around plates, bowls, and cookware so nothing can shift or bump against another item. Wrap fragile pieces individually, then tuck extra padding into corners and along the sides where movement usually starts.
Keep heavier items on the bottom and lighter ones on top, and fill any remaining gaps before sealing the box. Shaking each box lightly helps you spot spots that still need padding, and correcting them now saves you from chips, cracks, and broken handles later.
Careful filling empty spaces keeps everything snug, and preventing shifting protects your kitchen gear from unnecessary damage.
Pack a Day-One Essentials Box
Pack a day-one essentials box with the things you’ll need right away, like soap, a sponge, a towel, and a few basic utensils. Add a few easy meal basics so you can make something simple without unpacking everything. Keep your everyday essentials in the box, too, so they’re easy to grab on your first day.
Must-Have First-Night Items
Before you seal up your kitchen, set aside a day-one essentials box with the items you’ll need right away: a few plates, cups, utensils, dish soap, a sponge, paper towels, trash bags, and any basic snacks or coffee you want the next morning. Keep it where you can grab it first, so you won’t hunt through boxes after a long move.
- Plates and cups
- Utensils
- Dish soap and sponge
- Paper towels and trash bags
- Coffee, tea, or snacks
This setup saves time and stress while you unpack. It also supports your cooking techniques and kitchen design by keeping the most useful tools accessible from the start. You’ll avoid clutter, protect fragile items, and settle in faster when the essentials stay within reach.
Quick Meal Basics
When you’re setting up a day-one essentials box, include a few quick meal basics so you can eat without unpacking the whole kitchen. Pack shelf-stable foods like pasta, rice, soup, oatmeal, and nut butter, plus a small container of salt, pepper, and oil.
Add one pot, one pan, a spatula, and a simple knife so you can handle meal prep right away. Choose items that cook fast and need little cleanup, so your first meals stay easy.
Use clear bags or bins for ingredient storage, and label them so you can grab what you need fast. Keep a few snacks and a reusable bowl nearby too.
This setup helps you make breakfast, lunch, or dinner with less stress while you settle in.
Daily Use Essentials
Now that you’ve covered quick meal basics, set aside a day-one essentials box for the daily items you’ll want right away. You’ll save time and stress because you can grab what matters first without unpacking everything.
Keep this box in a visible spot and label it clearly for easy Kitchen organization. Include tools that support simple Cooking techniques, so you can prep, heat, and clean up with less effort.
- Dish soap
- Sponges
- One pot
- One skillet
- Basic utensils
Add a mug, plate, knife, and cutting board if you use them often. Pack only the essentials you’ll need for your first meals, then unpack the rest later.
This approach helps you settle in quickly and keep your kitchen working from day one.
Load Kitchen Boxes Without Crushing Them
Place heavier items at the bottom of each kitchen box and lighter ones on top. Fill empty spaces with packing paper or soft items to keep things from shifting or getting crushed. When stacking boxes, make sure the load is stable and handle each one with care.
Box Weight Balance
A well-balanced kitchen box starts with the heaviest items on the bottom, but not piled so tightly that they crush anything below. You control box weight by grouping sturdy cookware, then placing lighter pieces above them.
Good weight distribution keeps the box steady and easier to carry, so you won’t strain your back or let dishes shift. Aim for even pressure across the base, and avoid loading one side more than the other.
- Put pots and pans low
- Stack plates in small sets
- Keep glassware near the top
- Match item sizes to strength
- Test the box before sealing
When you lift, the box should feel firm, not lopsided or overly dense. That balance helps protect everything inside.
Fill Empty Gaps
Once your box feels balanced, keep kitchen items from shifting by filling every empty gap with soft padding like towels, paper, or bubble wrap. You’ll protect plates, mugs, and jars by removing movement before you seal the carton.
Use crumpled paper for corners and folded cloth for wider spaces, especially after Cleaning kitchen and Organizing pantry supplies.
| Gap Type | Best Filler | Benefit |
|---|---|---|
| Small spaces | Paper | Blocks rattling |
| Medium spaces | Towels | Cushions edges |
| Odd gaps | Bubble wrap | Holds shape |
Press padding gently, then check for any wiggle when you tilt the box. Add more filler until everything stays snug, but don’t force items together. A secure fit helps you move the box safely and keeps your kitchen pieces ready for unpacking later.
Stack With Care
When your box is full, stack heavier kitchen items on the bottom and lighter ones on top to prevent crushing. As you pack, stack with care so plates, bowls, and mugs stay steady during the move.
Use towels, paper, or bubble wrap for fragile protection, and keep breakables separated from cast iron, cans, and appliances.
- Place pots low for support
- Nest bowls only with padding
- Wrap glassware individually
- Keep lids beside matching containers
- Fill small spaces with soft items
Press down gently to test balance, but don’t force anything in. If the box wobbles, rearrange it before sealing.
A stable box protects your kitchen items and makes unloading easier later.
Frequently Asked Questions
How Do I Pack Knives Safely for Moving?
You should pack knives by wrapping each blade in thick paper or cardboard, then securing it with tape. Slide the wrapped knife into a sturdy box or knife guard, and label it clearly.
Keep the blades pointed away from you while handling them for better knife safety. Use packing tips like filling empty space with towels so the knives can’t shift during moving.
Always unpack them carefully and store them safely.
Should I Clean Kitchen Items Before Packing Them?
Yes, you should clean kitchen items before packing them. Think of your boxes as tiny ships: if you send them out dirty, they’ll carry crumbs and odors to their new harbor.
Your packing checklist should include cleaning tips like washing, drying, and wiping each item fully. You’ll prevent mold, stains, and pests, and unpacking will feel easier too.
Clean cookware, dishes, and utensils before you wrap and box them.
Can I Use Newspaper Instead of Packing Paper?
Yes, you can use newspaper instead of packing paper, but you should be careful. Recycling newspaper works well for wrapping sturdy kitchen items, yet the ink can rub off on dishes, glasses, and hands. You’ll also need extra layers for protection.
If you want cleaner results, choose alternative packing materials like plain packing paper, tissue, or bubble wrap. Always keep fragile items separated and padded enough to avoid chips or cracks.
How Do I Pack Spices Without Spilling Them?
Tighten each spice lid, then add tape over the cap if you can. You’ll keep spills down by placing jars upright in small storage containers or zip bags.
Wrap each jar in paper or a towel, and group similar spices together. Use clear labeling techniques so you can find everything fast and avoid opening extra containers.
Pack them snugly, and don’t leave room for them to tip during the move.
What’s the Best Way to Pack Pantry Food?
You’ll pack pantry food best by sorting items first, then sealing open packages in airtight containers or sturdy bags. Keep similar items together, use food storage bins for cans and dry goods, and wrap fragile packages to prevent crushing.
Write clear labels with contents and dates, using simple labeling tips like color codes or tape flags. Pack heavier items on bottom and lighter ones on top to stay organized.
Conclusion
Packing your kitchen doesn’t have to feel overwhelming. If you gather the right supplies, sort fragile items carefully, and pack your boxes with padding, you’ll stay organized and protect everything you own.
Label each box clearly, and don’t forget your day-one essentials box so you can settle in fast. Move slowly when loading boxes, and packing kitchen items will go as smoothly as a well-packed suitcase.