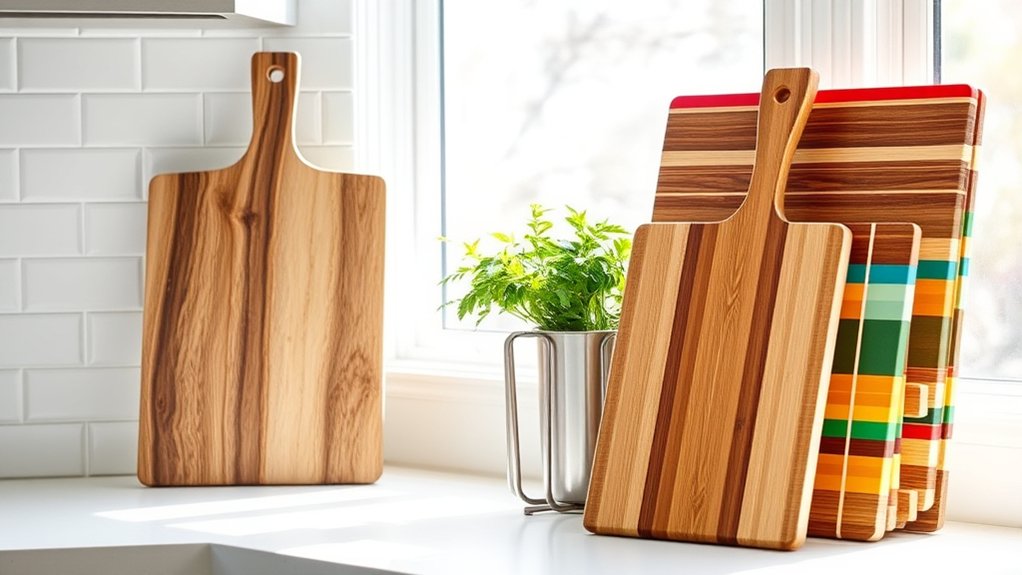
10 Tips to Display Cutting Boards on Your Kitchen Counter
A cluttered kitchen counter can make even beautiful cutting boards look out of place, and you’re not alone if you struggle to display them neatly. These tips for displaying cutting boards on your kitchen counter will help you create a tidy, stylish look while keeping your favorite boards within easy reach.
Choose cutting boards with attractive grain, balanced shape, and a clean finish, then keep them dry and spotless. Lean them against the backsplash or place them in a stable tray or stand for support.
Mix large, small, round, and rectangular boards for depth, and group wood tones or materials for a polished look. Keep daily-use boards easy to reach, and add herbs or fruit for freshness.
Then, explore even more styling tricks.
Key Takeaways
- Choose boards that match your kitchen style, with clean surfaces, sturdy feel, and complementary wood, marble, or bamboo finishes.
- Lean boards against the backsplash or use stable trays and stands on dry, level surfaces for a neat, accessible display.
- Mix board sizes, shapes, and heights to create layered visual interest without making the counter look cluttered.
- Add simple seasonal accents like herbs, fruit, or candles, keeping them slightly off-center and well balanced.
- Keep boards clean, fully dry, and rotated regularly to prevent damage and maintain a fresh, organized look.
Choose Boards Worth Displaying
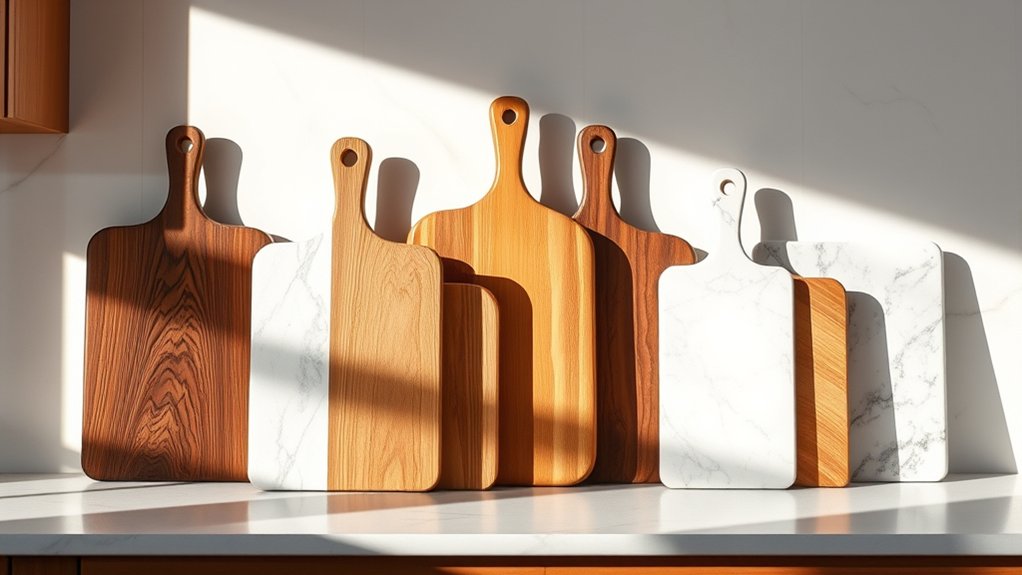
Start with cutting boards you actually want to see every day. You should choose pieces with grain, shape, and finish that fit your kitchen’s look and your habits. A board that feels sturdy in your hands and looks clean on the surface earns its place fast.
Think about Material pairing so your wood, marble, or bamboo board complements nearby bowls, utensils, and countertops instead of clashing. If you mix materials well, you create quiet Design harmony without trying too hard.
Pick boards with simple edges, balanced proportions, and colors you’d enjoy leaving out. Avoid warped, deeply stained, or overly damaged boards, since they’ll distract from the room’s style. You’ll get better results when each board serves a purpose and still looks refined.
A few well-chosen boards can make your kitchen feel thoughtful, useful, and pulled together.
Display Cutting Boards on Your Counter
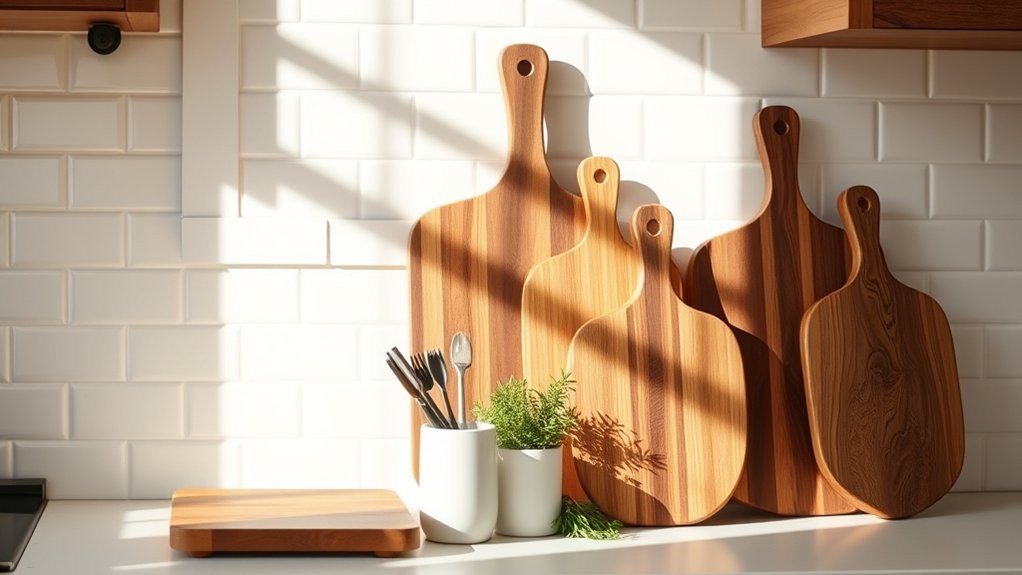
Once you’ve picked boards worth showing off, give them a spot on the counter where they can do double duty as storage and decor. Lean them against a backsplash, set them near your prep area, and let them support your kitchen organization without crowding the workspace. You’ll get easy access when you cook, and the warm wood or stone finish will add quiet texture to your countertop decor.
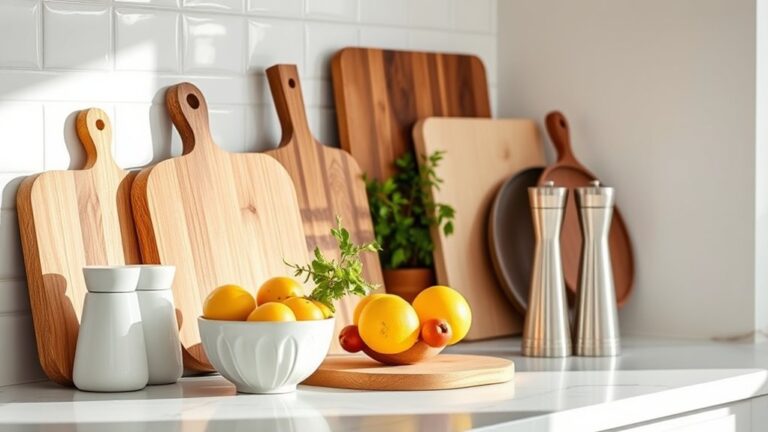
Lean your favorite boards against the backsplash for easy access, tidy storage, and a warm touch of countertop decor.
- Place boards on a dry, stable surface to prevent slipping and moisture damage.
- Keep them near frequently used tools so your setup feels intentional and efficient.
- Wipe them down often so they stay clean, polished, and visually appealing.
When you arrange them with purpose, they become part of the room’s design, not just utensils. You can make even a practical corner feel styled, balanced, and calm by keeping the display simple and tidy.
Mix Sizes and Shapes for Interest
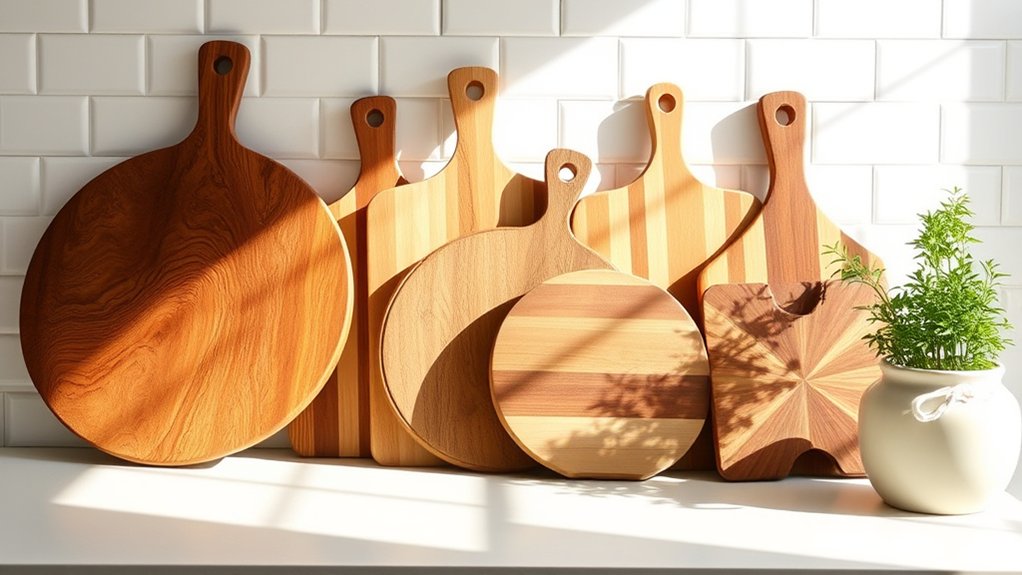
Mixing board sizes keeps your display from looking flat and adds easy visual interest. Try pairing a large board with smaller ones to create balance and depth on your counter. You can also mix round and rectangular shapes to make the arrangement feel more dynamic.
Vary Board Dimensions
Varying board dimensions instantly gives your kitchen counter display more depth and personality. You can build a polished arrangement by pairing tall, medium, and petite boards so each one has room to stand out.
This approach works best when you balance Material variety with thoughtful Storage solutions, because different thicknesses and edge profiles help the grouping feel intentional, not crowded. Keep the mix streamlined and practical:
- Lean one oversized board at the back for height.
- Place a mid-sized board in front to create layered structure.
- Add a smaller board to soften the composition and fill gaps.
You’ll get a display that looks curated, stays functional, and makes your counter feel designed rather than cluttered.
Combine Round And Rectangular
When you combine round and rectangular cutting boards, you create a display that feels balanced and visually engaging. Place a round board in front of a taller rectangular one to soften sharp counter lines and add movement.
You can layer them against a backsplash, then tuck in decorative accents like a small bowl, vase, or linen towel to make the arrangement feel styled, not staged. Keep the look practical by choosing boards you use often, so your display doubles as easy storage solutions.
Varying shape helps your kitchen feel intentional without adding clutter. If you want a cleaner finish, repeat one wood tone across both pieces, or let contrasting grains stand out for extra depth and charm.
Lean Boards Against the Backsplash
Leaning cutting boards against the backsplash is one of the easiest ways to give your counter a relaxed, styled look. You can use this simple approach to improve kitchen organization while supporting space optimization, especially when you want your prep area to feel open and intentional.
Choose boards with different heights, grains, or finishes so they create visual interest without crowding the counter.
- Place taller boards in back and shorter ones in front.
- Mix wood tones to add warmth and contrast.
- Keep the arrangement tight, so it reads as decor, not clutter.
You’ll get a clean, layered display that feels effortless and practical. If you have a patterned backsplash, let the boards echo its tones rather than compete with it.
That way, your counter looks curated, and your cutting boards stay within easy reach when you need them.
Use a Tray or Stand for Stability
A stable tray can keep your cutting boards neat and secure on the counter. Or, use a display stand to hold them upright and give them extra support. Either option helps prevent slipping while keeping your setup polished.
Choose A Stable Tray
To keep your cutting boards from slipping or crowding the counter, place them on a sturdy tray or stand that gives them a defined base. You’ll improve kitchen organization by grouping the boards neatly, and you’ll add polish to your countertop decor without making the space feel busy. Choose a tray with enough weight to stay put, and make sure its surface fits the boards comfortably.
- Pick a tray with a flat, nonwobbly bottom.
- Match the tray’s finish to your kitchen style.
- Leave a little space around the boards for easy access.
A stable tray also helps you wipe the area quickly, so your display stays tidy and practical every day.
Use A Display Stand
If you want your cutting boards to look intentional, a display stand can do more than keep them steady. You can lean one board behind another to create height, shape, and a cleaner visual line.
Choose a sturdy stand with a low profile so it doesn’t steal attention from the wood grain or finish. This works especially well if you mix sizes, since the stand helps balance uneven edges and prevents slipping.
Think of it like artwork arrangements: the right support lets each piece stand out without crowding the others. A stand also makes your setup easier to move when you need counter space.
Unlike wall mounted displays, it keeps everything within reach while still feeling styled and purposeful.
Layer Boards With Cookbooks
Stacking a cutting board behind a few cookbooks instantly makes your counter display feel more styled and intentional. You can use this simple trick to Layer boards and create a Book display that feels curated, not crowded.
Choose cookbooks with attractive spines, then lean one or two in front of the board so both pieces support each other visually. Keep the arrangement tight so it reads as one thoughtful vignette.
- Place the board slightly taller than the books for balance.
- Mix a hardcover with smaller volumes to add subtle depth.
- Leave a little open counter space nearby so the grouping can breathe.
You don’t need many objects to make this work. A single board, a few cookbooks, and a clean surface can turn a practical item into a polished focal point that feels collected and easy to live with.
Group Boards by Material and Color
Grouping cutting boards by material and color gives your counter a cleaner, more intentional look. You can cluster wooden boards together for warmth, marble or stone boards for contrast, and plastic or composite pieces where they won’t interrupt the palette.
When you repeat similar tones, you create a calm rhythm that feels polished instead of crowded. If your kitchen leans toward Modern minimalism, stick with light woods, matte finishes, and neutral shades.
If you want Vintage charm, mix aged walnut, butcher block, and darker grains for a collected feel. You don’t need every board on display; choose the ones that match your style and let the rest stay stored away.
Keep Boards Easy to Reach
Once you’ve arranged your boards by material and color, place the ones you use most where you can grab them quickly. Keep them near your prep zone so you don’t waste steps during cooking.
Smart storage solutions let you tilt larger boards in a slim tray or stand, while smaller ones can rest in a divider that keeps them upright and stable. Choose a spot that stays dry and won’t crowd your counter, because easy access shouldn’t create clutter.
Use these cleaning tips to protect convenience: wipe boards after each use, let them dry fully before returning them, and check that the storage area stays clean too.
- Put daily-use boards in front.
- Store specialty boards a little farther back.
- Leave enough space to lift each board out smoothly.
Style Boards With Herbs or Fruit
Style your cutting boards with fresh herb bundles for a natural, kitchen-ready look. Add seasonal fruit for a pop of color and freshness. Mix textures and tones to create a display that feels balanced, lively, and inviting.
Fresh Herb Bundles
Fresh herb bundles can make a cutting board display feel lively and intentional without much effort. You can tuck a small tied bunch beside the board to add color, scent, and texture while keeping the arrangement tidy. Focus on Herb freshness by choosing stems that look crisp and vibrant, then trim them neatly so they feel cared for. The Bundled presentation works best when you keep the bundle simple and slightly relaxed.
- Tie basil, rosemary, or thyme with twine for a clean accent.
- Set the bundle near the board’s edge so it frames, not crowds, the display.
- Refresh the stems often so they stay attractive and fragrant.
This small touch helps your counter feel styled, natural, and refined.
Seasonal Fruit Accents
Seasonal fruit accents can add color, shape, and a fresh, easygoing feel to a cutting board display. You can place a few small bowls of citrus, apples, figs, or grapes near your boards to create simple fruit arrangements that feel intentional.
Choose produce that matches the season, so your counter reads as seasonal decor without looking staged. Keep the display tidy by using one or two fruit types, and repeat them across the space for a balanced look.
You’ll also want to leave enough open counter area for daily prep, so the setup stays practical. If you rotate the fruit weekly, your kitchen feels updated with very little effort, and your cutting boards remain part of a welcoming, lived-in vignette.
Color And Texture Contrast
Adding one or two herbs or pieces of fruit beside your cutting boards creates instant color and texture contrast. You can sharpen the look by pairing warm wood with glossy apples, citrus, or leafy basil. Keep your color coordination intentional so the accents echo your kitchen palette instead of competing with it. Texture variety matters too: smooth fruit, feathery herbs, and grainy board surfaces create depth without clutter.
- Choose one bright accent color.
- Repeat it in a nearby towel or bowl.
- Swap herbs and fruit weekly for freshness.
Place the items slightly off-center, and let them frame the boards naturally. This small styling move makes your counter feel curated, welcoming, and easy to maintain.
Rotate Your Display Seasonally
As the year changes, swap out your cutting board display to match the mood of the season. In spring, lean on light woods, fresh herbs, and airy linens; in fall, bring in darker grains, pumpkins, and warm ceramics.
This display rotation keeps your counter feeling current without a full redesign. You can also tie your boards to seasonal decor by pairing them with fruit bowls, candles, or small vases that echo the time of year.
| Season | Board Style | Accent |
|---|---|---|
| Spring | Pale wood | Herbs |
| Summer | Mixed tones | Citrus |
| Winter | Dark wood | Pine |
Move boards around every few months so you keep visual interest and protect finishes from constant sun exposure. If you store extras nearby, you’ll switch displays fast and keep your kitchen looking intentional.
Frequently Asked Questions
How Do I Clean Decorative Cutting Boards Safely?
You clean decorative cutting boards safely by wiping them with warm water, mild dish soap, and a soft cloth. For food safety, scrub both sides, rinse well, and dry immediately to prevent warping.
Use gentle cleaning techniques, and avoid soaking, bleach, or abrasive pads that can damage the finish. If the board’s decorative only, keep it separate from raw meat prep and periodically treat wood with food-safe oil.
Can I Display Cutting Boards in a Small Kitchen?
Yes, you can display cutting boards in a small kitchen if you make every inch count. You’ll want to use Counter organization and space optimization to keep things tidy, so pick slim boards and stand them upright in a rack or tray.
Don’t let clutter steal the show. Choose one decorative piece, then lean the rest nearby. This keeps your kitchen functional, open, and stylish without crowding your counters.
Which Wood Types Resist Warping Best?
You’ll get the best warp resistance from teak, maple, walnut, and cherry. Their tight wood grain and natural moisture resistance help them stay stable with daily kitchen use.
You should avoid softer, open-grained woods like pine or fir, since they absorb water faster and twist more easily. If you oil boards regularly and dry them upright, you’ll boost their durability and keep them looking great longer on your counter.
Are Decorative Boards Safe Near the Stove?
Not if you keep them too close; you’re inviting heat damage. You should place decorative accents away from burners, because stove heat can warp wood, fade finishes, and weaken glue.
For better kitchen aesthetics, display your boards on a wall hook or stand a safe distance from the range. Funny how the prettiest board can crack right beside the stove, so you’ll protect it by moving it just a few feet away.
How Often Should I Oil Wooden Cutting Boards?
You should oil wooden cutting boards about once a month, or whenever the wood looks dry or feels rough. Your Wood maintenance routine stays simple if you wipe the board clean, let it dry fully, then apply oil.
For Oil application, use a food-safe mineral oil and rub it in evenly. If you cook often or wash the board a lot, you may need to do it more often.
Conclusion
So, you’ve turned humble cutting boards into kitchen décor, proof that even the most practical objects can pull double duty if you stand them up, lean them nicely, and pretend you planned it all along. Choose boards you actually like, not the ones hiding a decade of onion scars, then mix them, group them, and rotate them like a tiny gallery with better snacks. Your counter stays useful, stylish, and just self-important enough to feel current. These tips for displaying cutting boards on your kitchen counter help bring it all together.