How to Remove Your Kitchen Sink in 10 Easy Steps
Removing a kitchen sink can feel like a bigger job than it looks, especially when you’re worried about leaks or damaging the countertop. You’re not alone—many people struggle to figure out where to start.
This guide to how to remove your kitchen sink walks you through the basics and helps you prepare for what comes next.
To remove your kitchen sink, gather tools, gloves, and a bucket, then turn off the hot and cold water. Disconnect the supply lines and drain trap, keeping the bucket underneath.
Score the caulk around the rim, then gently cut any remaining sealant. Lift the sink straight up, clean the opening, and check for leaks or damage.
Once the area’s clear, you’re ready to size up the new installation and the details that make it easier.
Key Takeaways
- Gather tools, wear gloves and eye protection, and place a bucket under the sink before starting.
- Turn off hot and cold water valves, then disconnect the supply lines and drain trap carefully.
- Cut all caulk and sealant around the sink edge with a utility knife or scraper.
- Loosen the sink gently with a putty knife or pry bar, then lift it evenly to avoid damage.
- Clean the countertop opening, inspect for leaks or damage, and prepare the area for a new sink.
Gather Your Tools and Supplies
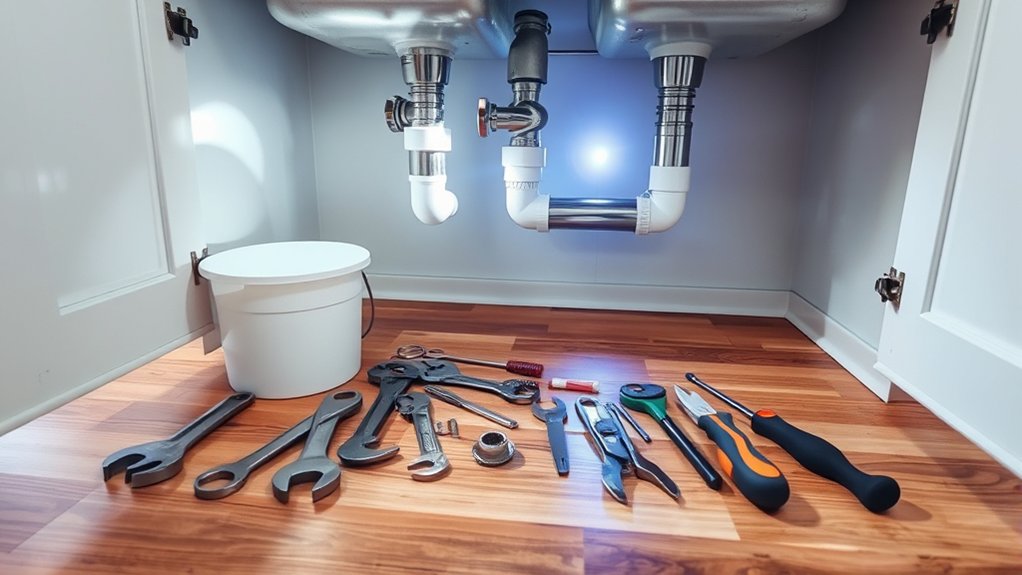
Before you begin, gather everything you’ll need so the job goes smoothly: a bucket, adjustable wrench, screwdriver, pliers, utility knife, plumber’s putty, rags, and a flashlight. Lay each item out within easy reach so you can work without hunting for supplies.
Good tool organization saves time and keeps you focused on the sink removal itself. Check that your wrench fits common nuts, your screwdriver matches the screws, and your pliers open smoothly.
Keep the utility knife sharp enough to cut sealant cleanly, and set the rags nearby for quick cleanup. You should also wear safety gear, including gloves and eye protection, to help guard against sharp edges and debris.
If you have extra plumber’s putty, store it where it won’t dry out. A flashlight helps you see under the sink and spot hidden fasteners. When everything’s ready, you’ll be set to work efficiently and confidently.
Turn Off the Water Supply
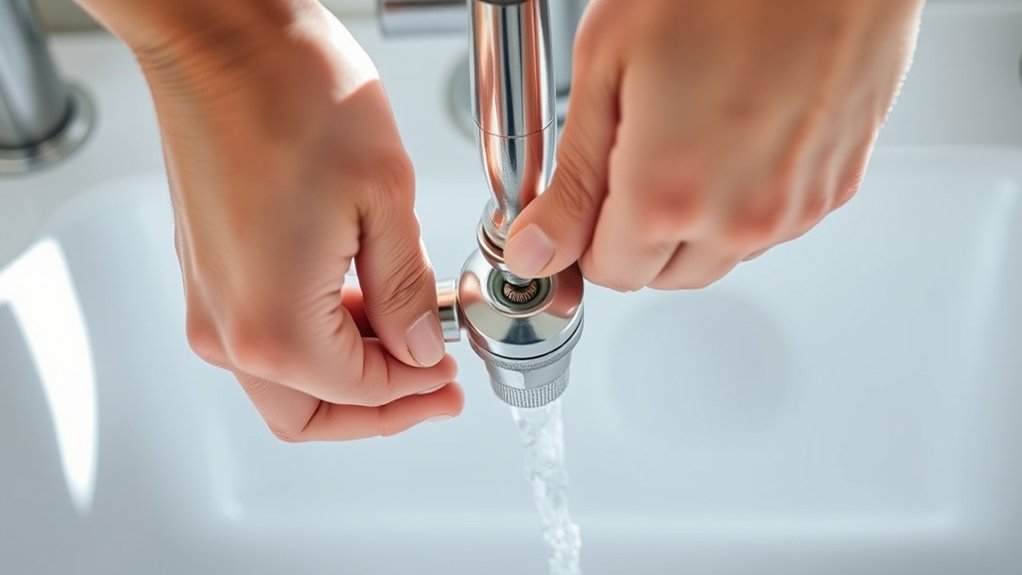
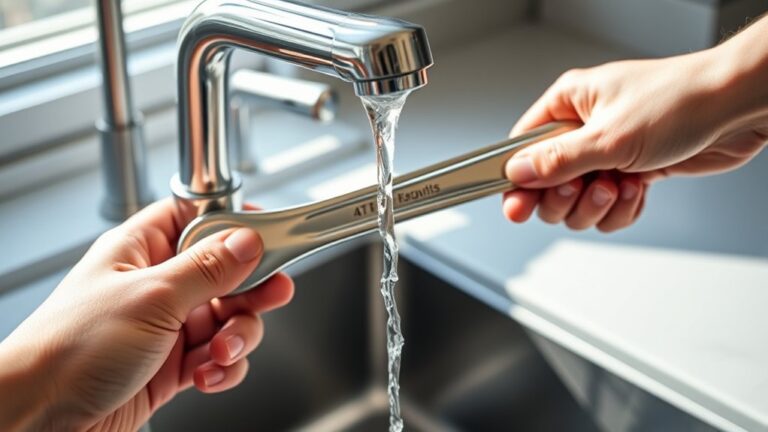
Locate the shutoff valves under the sink and turn both the hot and cold handles clockwise until they stop. If a valve feels stuck, don’t force it; work it gently or stop and replace it later. Open the faucet briefly to relieve pressure and confirm the Water shutoff worked. This quick test also helps you avoid surprises while you work. Keep a bucket or towel nearby in case a little water remains in the lines.
Check that both supplies are fully closed before you move on. Good Plumbing safety starts with knowing the water is off, because even a small drip can make sink removal messy and hazardous. If your home lacks individual valves, turn off the main supply for the house instead. Once the flow stops, you can continue with confidence and keep the area dry, controlled, and ready for the next step.
Disconnect the Faucet Supply Lines
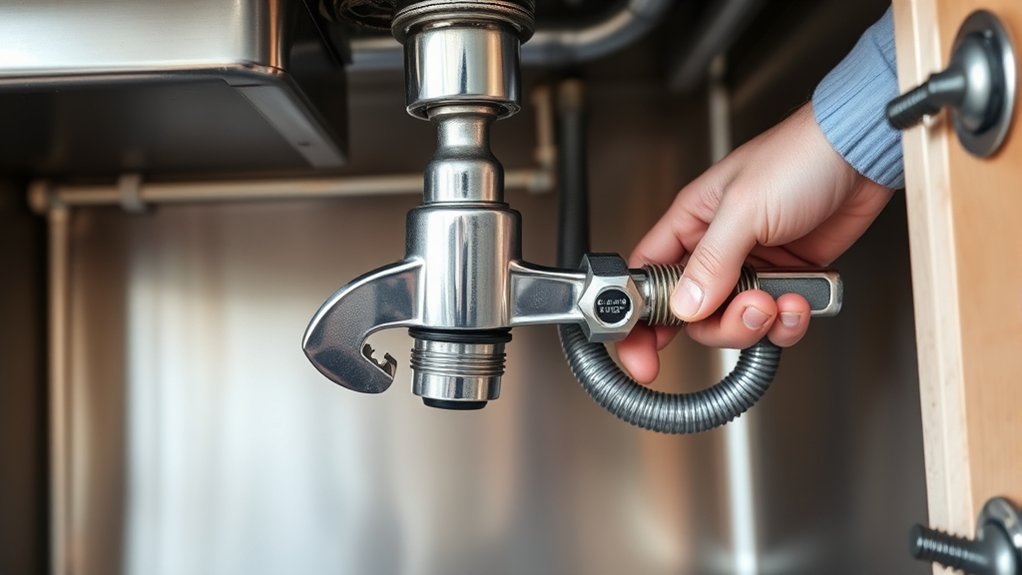
Before disconnecting the faucet lines, make sure the water supply is off. Place a bucket or towel underneath to catch drips, then loosen the supply line nuts with a wrench. As you remove the lines, keep a firm grip and be ready for any remaining water.
Shut Off Water Supply
Turn off the hot and cold shutoff valves under the sink, then open the faucet to release any pressure and drain the remaining water. Check that the stream stops completely, so you know the water pressure is gone.
If the valves feel stiff, don’t force them; gentle movement helps protect the pipe fittings. Place a towel or shallow pan beneath the supply area to catch any drips.
With the water off, you can safely disconnect the faucet supply lines without spraying the cabinet or floor. Keep the faucet open while you work so leftover water can escape.
This step prevents mess, protects your hardware, and makes the rest of the sink removal easier and cleaner.
Loosen Supply Line Nuts
With the water shut off and the faucet open, you can disconnect the faucet supply lines. Place a bucket and towel under the sink to catch any drips.
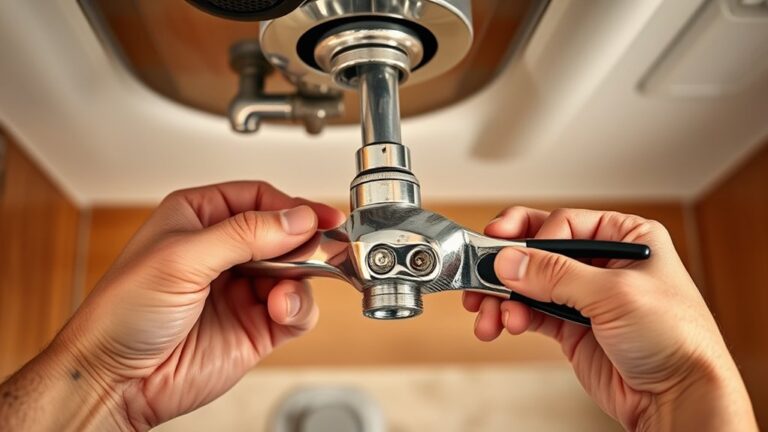
Use an adjustable wrench or basin wrench to loosen each nut where the supply line meets the faucet tailpiece. Turn counterclockwise and work slowly so you don’t twist the line.
If you spot supply line corrosion, spray a little penetrating oil on the threads and wait a few minutes before trying again. Hold the valve body with one wrench while you turn the nut with another to avoid strain.
Good nut tightening techniques help you understand how much force it takes to break the seal without damaging fittings. Once the nuts are free, pull the lines aside and keep them clear for the next step.
Remove the Kitchen Sink Drain
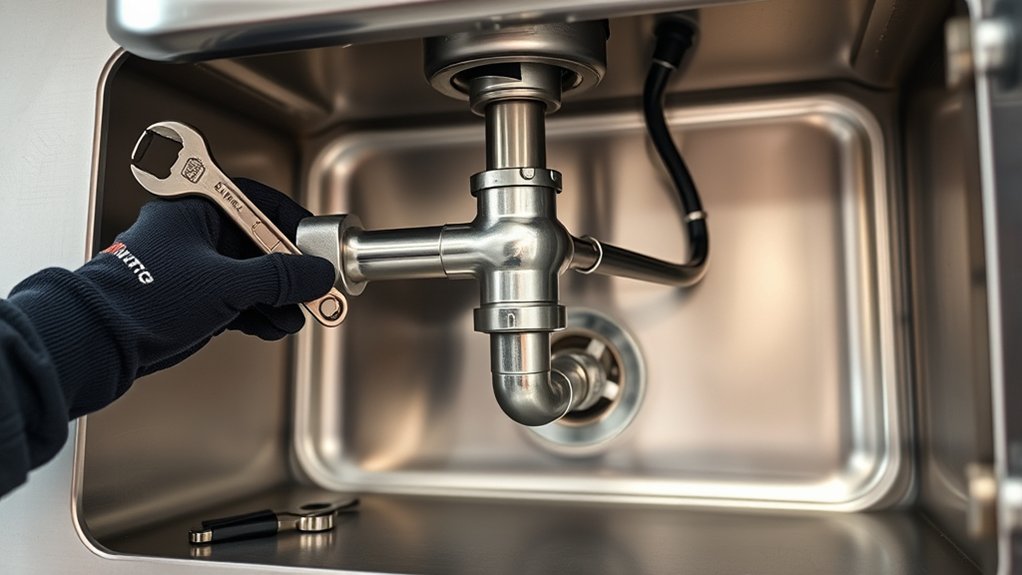
Next, disconnect the drain trap so the sink can separate from the plumbing. Use a wrench to loosen the drain assembly beneath the sink, then carefully set the parts aside. Once the drain is free, you’re ready to lift out the sink.
Disconnect Drain Trap
Before you free the sink, disconnect the drain trap so the basin isn’t still tied to the plumbing. Place a bucket under the trap assembly, then loosen the slip nuts by hand or with pliers if they stick.
Keep a rag nearby, because leftover water will spill when you separate the sections. If you’ve done drain cleaning before, you know this step can reveal buildup you’ll want to clear later.
- Support the trap with one hand.
- Unscrew the fittings and lower the trap.
- Cap or wrap exposed pipes to keep odors down.
Set the pieces aside in order so you can reinstall them easily. Check the washers for wear, but don’t start loosening the sink connection yet.
Loosen Drain Assembly
Now that the trap is out of the way, loosen the drain assembly under the sink so you can free the basin from the drain opening. Put a bucket beneath the work area, then use slip-joint pliers or a wrench to back off the retaining nut and any nearby pipe fittings.
Hold the drain body steady with one hand while you turn the nut with the other so you don’t twist the sink. If the parts feel stuck, spray a little penetrating oil and wait a few minutes.
Once the drain assembly loosens, separate it from the tailpiece and keep the washers and rings together for reinstallation or replacement. Check for old putty around the drain flange, then scrape it away so the sink can lift cleanly without snagging or leaking.
Cut the Caulk Around the Sink
Use a utility knife to score the caulk line where the sink meets the countertop, keeping the blade flat so you don’t gouge the surface. Work slowly and follow the entire edge, because clean caulk removal makes the next steps easier.
If the bead resists, slice it again from a slightly different angle, then lift loose strips with a plastic scraper.
- Cut along the front edge first.
- Trace the sides and back seam.
- Peel away any remaining bits by hand.
Keep the blade shallow so you don’t nick laminate, stone, or tile. Wipe the joint with a damp cloth to spot missed spots, then repeat as needed.
Good sealing techniques start with a clean, dry seam, so remove every trace of old caulk before you move on. Don’t rush; a careful pass now helps the sink release cleanly later and prevents damage that could complicate the rest of the job.
Loosen the Kitchen Sink From the Countertop
Next, cut through any remaining sealant around the sink to help loosen it. Lightly score the edge where the sink meets the countertop, then slide a putty knife or pry bar under the rim. Pry gently and work slowly to avoid damaging the counter.
Cut Sealant Bead
With the sink still in place, slide a utility knife or putty knife along the seam between the sink and countertop to cut through the sealant bead. Work slowly so your bead cutting stays even and you don’t tug the sink out of alignment.
If the sealant feels stubborn, make several light passes instead of forcing the blade. For clean sealant removal, keep the tool flat against the joint and follow the entire perimeter.
- Start at one corner and trace the seam.
- Recheck any spots that resist.
- Wipe away loosened residue as you go.
Once you’ve cut the full bead, the sink should release more easily in the next step.
Score Countertop Edge
Score the countertop edge where the sink meets the surface to help free it from the caulk and grime still holding it in place. Use a sharp utility knife and keep the blade flat against the countertop edge so you don’t nick the finish.
Work slowly around the entire rim, and score countertop seams a second time if you spot stubborn buildup. You’re not cutting deep; you’re just separating the sink from the surface bond.
Wipe away loose debris as you go so you can see where the seal still clings. If the sink has been set for years, make several light passes instead of one heavy cut.
This careful scoring reduces resistance and makes the sink easier to loosen without damaging the countertop.
Pry Sink Gently
Slip a putty knife or thin pry bar under the sink rim and lift gently to break the remaining seal. Work slowly around the perimeter so you don’t twist the basin or chip the countertop. If the sink resists, stop and check for missed caulk or clips before you apply more pressure.
Use controlled force for a safe sink pry, not a hard yank. Keep a helper nearby if the sink feels heavy, and support it as the bond loosens.
- Move the tool a few inches at a time.
- Listen for the seal releasing.
- Keep the sink level for gentle removal.
Once the edges free up, test the sink’s movement again and keep easing it up until it lifts cleanly from the counter.
Lift Out the Kitchen Sink
Once the sink is fully disconnected, you can lift it out of the countertop opening. Grip the rim on opposite sides and raise it slowly, keeping the sink level so it doesn’t scrape the cabinet edges.
Lift the sink gently by opposite sides, keeping it level to avoid scraping the cabinet edges.
If the basin feels stuck, stop and check for leftover sealant or clipped hardware instead of forcing it. For heavy cast-iron or stone units, ask someone to help you guide it out safely.
You should also think about how the sink’s shape fits your kitchen design, since a tight cutout can make removal awkward. Different sink materials, like stainless steel or composite, may flex or crack differently, so handle each one with care.
Once you clear the opening, set the sink on a padded surface to avoid dents, chips, or scratches. Move deliberately and watch your footing as you carry it away from the work area.
Clean the Countertop and Sink Opening
With the sink removed, wipe away any caulk, putty, or debris around the countertop opening using a putty knife and a damp cloth. Focus on the edge where the sink opening meets the counter so you can get a clean surface for the next step. Good countertop cleaning now helps you avoid grime buildup and makes the area look finished.
- Scrape gently to lift stubborn residue without scratching the countertop.
- Wipe the sink opening with a damp cloth to remove dust and loose particles.
- Dry the area completely so no moisture lingers along the edge.
If you spot hardened material, work slowly and rewet the cloth as needed. Keep your tools close, and clean as you go so debris doesn’t fall back into the opening.
When the surface feels smooth and clear, you’re ready to move on with the project.
Inspect for Leaks or Damage
Now that the sink opening is clean, check the exposed plumbing and cabinet area for leaks, water stains, mold, or rot before you install anything new. Use a flashlight to inspect supply lines, drain joints, shutoff valves, and the cabinet floor.
If you see moisture, trace it to the source right away. Dry surfaces can still hide slow drips, so wipe fittings and watch for fresh water. For better leak detection, wrap a dry paper towel around each connection and look for damp spots after a few minutes.
Do a careful damage assessment of the cabinet walls, base, and nearby drywall. Soft wood, swelling, peeling laminate, or dark staining can signal long-term water exposure. Tighten loose fittings only if needed to confirm the problem, and note any parts that need repair.
If you find active leaks or serious rot, stop and fix them before moving on.
Prepare for the New Sink Installation
Before you set the new sink in place, gather the manufacturer’s instructions, confirm the sink and faucet will fit the opening, and have all needed parts on hand. Clear the cabinet, wipe the rim, and check that the plumbing lines and drain parts line up.
Set aside your sink accessories, including clips, seals, and the mounting hardware, so you won’t pause mid-installation. If your new model changes the look of the room, compare it with your Kitchen decor before you commit.
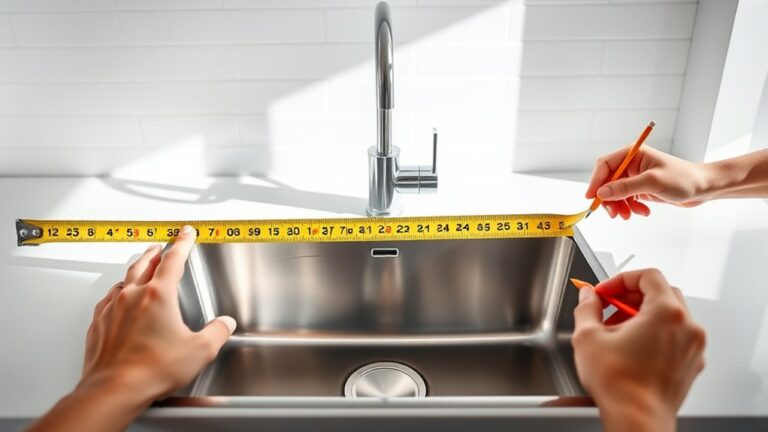
- Measure the cutout, depth, and countertop thickness.
- Dry-fit the sink, faucet, and drain assembly.
- Keep plumber’s putty, silicone, and a level ready.
You’ll work faster when everything is organized, and you’ll reduce the chance of leaks, gaps, or misalignment. Double-check the finish, bowl orientation, and clearance under the counter so the new sink fits cleanly and functions well.
Frequently Asked Questions
Can I Reuse the Old Sink After Removal?
Yes, you can reuse the old sink after removal if it’s still in good shape. You’ll want to inspect it for cracks, rust, or worn seals before reinstalling. If it’s damaged, consider sink refurbishment or recycling options instead. Clean it thoroughly, replace any hardware, and test the fit in your new space. With careful handling, you can give it another life and save money too.
What Should I Do With the Removed Sink?
You should either reuse, donate, or recycle it; about 70% of old sinks still end up in landfills, so you can do better. If it’s in good shape, sell it or save it for a future sink installation. If it’s damaged, cut away plumbing connections, then take it to a metal or construction recycling center. You’ll keep clutter down and help the planet, too.
How Do I Dispose of the Old Caulk Properly?
You should scrape the old caulk into a bag, then seal it before you toss it. For silicone or latex, check your local waste rules, since some areas let you put it in regular trash and others don’t.
If you used chemical caulk remover, let the residue dry first. Good caulking removal keeps scraps contained, and the right disposal methods help you avoid messes, odors, and plumbing problems.
Can I Remove the Sink Alone Safely?
Yes, you can remove the sink alone safely if you plan well and follow DIY safety basics. Shut off the water, disconnect the drain, and clear the area first. Use tool essentials like a wrench, putty knife, bucket, and utility knife.
Lift carefully, since sinks can be heavy and awkward. If it’s cast iron, oversized, or stuck firmly, ask for help to avoid injury or damage.
What Permits Are Needed for Sink Replacement?
You’ll usually need no permit for a like-for-like sink swap, but local rules can shift like sand. If you change plumbing lines, counters, or drain connections, you may need permits and Plumbing inspections.
Check your city’s Building codes before you start, because they steer what’s allowed. Call your building department first; they’ll tell you if your project needs approval, inspection, or just a simple replacement.
Conclusion
Removing your kitchen sink is easier when you take it step by step. You’ve gathered your tools, shut off the water, disconnected the lines, cut the caulk, and lifted the sink out. For example, if your old sink has hidden rust under the rim, catching it now can save you from bigger problems later.
Once you clean and inspect the opening, you’re ready for the new sink installation and a smoother kitchen upgrade. Removing your kitchen sink carefully helps set you up for a successful installation.