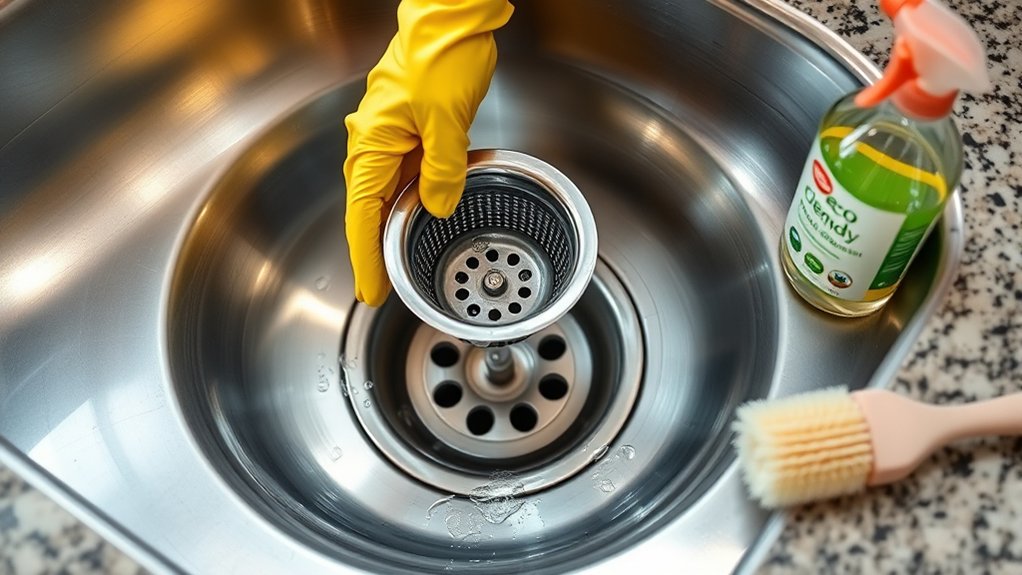
10 Easy Steps to Clean Your Kitchen Drain
A slow or clogged kitchen drain can turn everyday cleanup into a frustrating chore—and you’re not alone if you’ve struggled to keep yours clear. These easy steps to clean your kitchen drain can help you tackle buildup and get water flowing again.
Start by clearing grease, food scraps, and debris from the sink and drain opening, then gather gloves, a flashlight, a bucket, baking soda, vinegar, and a plunger.
Flush the drain with hot water, add baking soda and vinegar, and let it fizz before rinsing again.
If needed, clean the P-trap, then use a plunger or auger for stubborn clogs.
A few simple habits can keep your drain fresh, clear, and ready for more.
Key Takeaways
- Scrape food scraps and grease into the trash, then remove the sink stopper and visible debris from the drain.
- Clean the drain opening, stopper, and rim with warm soapy water and a small brush or toothbrush.
- Flush the drain with steaming hot water to loosen grease and wash away buildup and odors.
- Pour baking soda followed by vinegar, wait 10–15 minutes, then rinse with hot water to clear residue.
- For stubborn clogs, use a plunger or drain auger, and clean the P-trap if drainage is still slow.
What Causes Kitchen Drain Clogs?
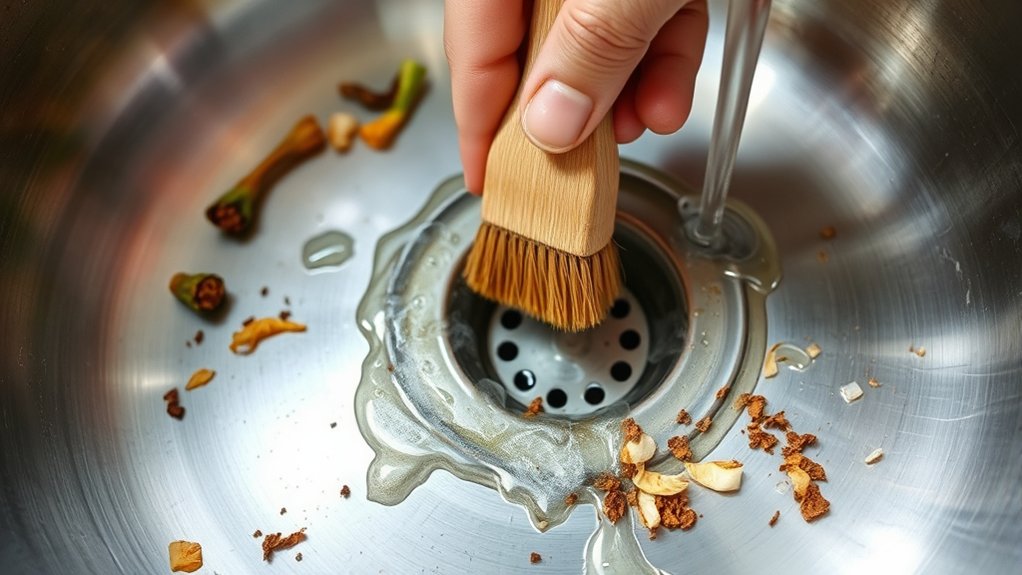
Kitchen drain clogs usually happen when grease, food scraps, soap residue, and other debris build up inside the pipes over time. When you pour cooking fat down the sink, it cools and hardens, trapping particles that should’ve gone away with the water.
Small bits of rice, coffee grounds, pasta, and fibrous peels can also snag on sticky residue and slowly narrow the drain. If you skip regular plumbing maintenance, these layers keep collecting until water drains sluggishly or stops altogether.
You might also notice a drain odor, which often means trapped waste is sitting in the pipe and breaking down. Hard water minerals can worsen the problem by adding scale that gives grime more places to cling.
Over time, even a well-used kitchen sink can develop a stubborn clog if you don’t watch what goes down it and clean it before buildup becomes a bigger issue.
Gather These Drain Cleaning Tools
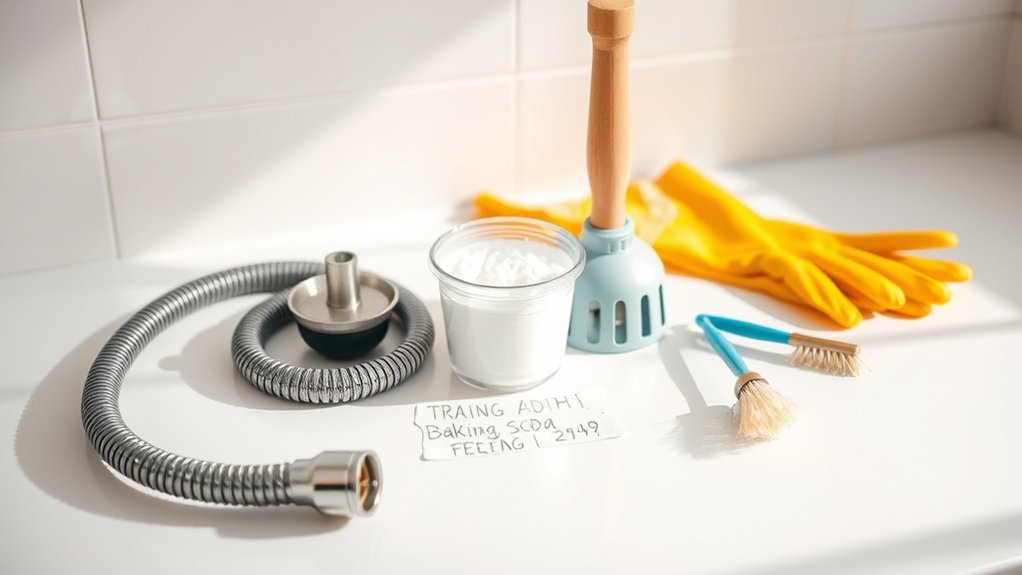
Before you start clearing the clog, gather the right tools so you can work safely and efficiently. Set aside your drain cleaning tools before you touch the sink, so you don’t waste time searching mid-task.
A sturdy pair of rubber gloves protects your hands, and a flashlight helps you inspect the drain opening. Keep a bucket or small bowl nearby to catch drips, plus a sponge or old towel for quick cleanup.
If you have a drain snake or plunger, place it within reach. You should also grab basic maintenance supplies like baking soda, vinegar, and dish soap, since they’re useful for routine care and light buildup.
Organizing everything first keeps you focused, reduces mess, and makes the whole job feel manageable.
- Rubber gloves
- Flashlight
- Bucket and towel
- Drain snake or plunger
Remove Food Scraps and Sink Debris
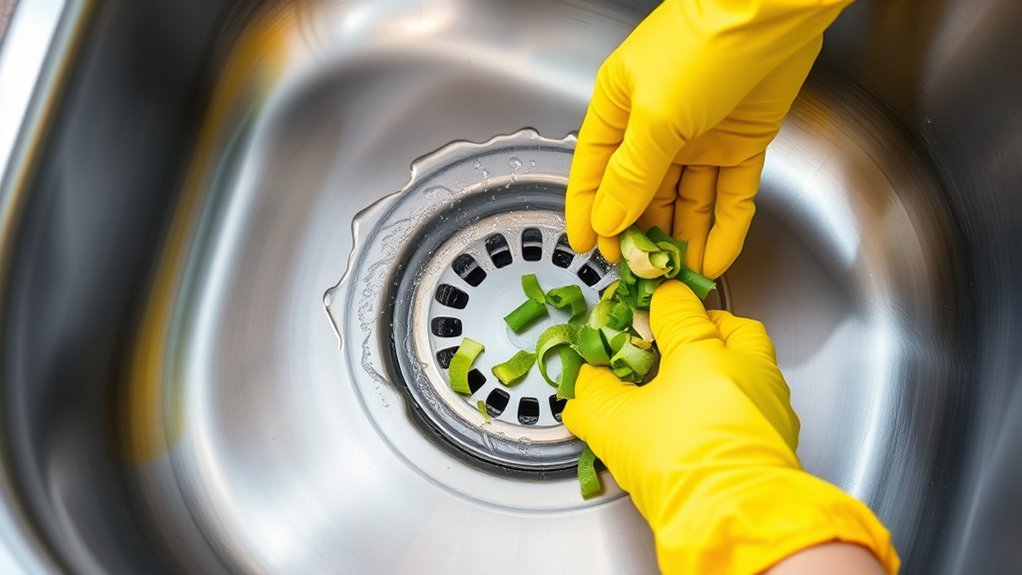
Clear any visible food scraps and debris from around the drain first. Scrape plates into the trash before rinsing them to keep food from going down the drain. This quick step makes cleaning easier and helps prevent clogs from getting worse.
Clear Visible Debris
A quick sweep of the sink can make a big difference, so remove any visible food scraps, grease bits, and other debris from the drain opening first. You’ll keep kitchen cleaning simple when you wipe the rim, lift out loose buildup, and toss it into the trash.
This small habit supports drain maintenance by preventing clogs before they start. Use a paper towel or sponge to catch soft residue, then check the strainer, stopper, and nearby sink edges for stuck bits. Keep the area clear so water can flow freely.
- Loose crumbs
- Greasy flecks
- Onion skins
- Bits caught around the strainer
Scrape Plates First
If you scrape plates into the trash or compost before rinsing, you’ll cut down on the food scraps that end up in your sink and drain. Use a spatula or rubber scraper to lift off rice, sauces, and bits of vegetables before water runs.
This small habit protects your plumbing and keeps drain cleaning easier later. It also helps you notice which foods stick after meals, so you can adjust plating techniques and improve dish presentation without making extra mess.
After scraping, stack plates neatly and rinse only what’s left. Don’t let scraps sit in the basin, where they can harden and clog the trap.
When you make this step automatic, you’ll save time, reduce odors, and keep your kitchen sink flowing smoothly every day.
Flush the Kitchen Drain With Hot Water
Next, flush the drain with hot water to help loosen grease and wash away any leftover grime. Make sure the water is hot, but not boiling, to protect your sink and pipes. If the drain still seems sluggish, repeat the flush a few times until the water runs smoothly.
Hot Water Benefits
Hot water can do a lot of the heavy lifting when you flush your kitchen drain. You help loosen greasy residue, wash away soap film, and move tiny food bits before they cling to the pipe walls. These hot water benefits support better kitchen hygiene because you’re clearing buildup before it turns into odor or slow drainage. A quick flush also freshens the sink after meal prep and keeps daily mess from settling in.
- It softens sticky grease.
- It carries loose debris downward.
- It helps reduce lingering smells.
- It keeps your drain working smoothly.
Use this simple step often, especially after cooking, and you’ll make the next cleaning easier while keeping your kitchen sink more pleasant to use.
Safe Water Temperature
Use water that’s hot, not boiling, when you flush your kitchen drain so you can loosen grease without risking damage to the pipes. You should aim for a steady, steaming temperature that feels very warm, but never scalding. This approach supports water safety because it reduces the chance of burns and helps protect older plumbing and PVC lines.
With good temperature control, you can soften residue and help it move through the drain more easily. Heat a pot or kettle, then let it sit briefly before you pour it slowly into the sink. Pouring too quickly can splash hot water back at you, so stay careful.
If your drain has fragile fittings, keep the water warmer than lukewarm, yet gentler than a full boil.
Repeat Flushing Steps
Pour more hot water down the drain, then wait a minute or two and repeat the flush to keep loosening grease and small buildup. You’re using steady heat to help clear residue without harsh chemicals, which supports routine plumbing maintenance. After each pour, listen for faster drainage and watch for fewer bubbles.
- Steam rising from the sink
- A smooth, quick swirl of water
- Grease breaking free from pipe walls
- Less drain odor after each flush
Keep repeating this simple cycle until the water runs clear and the sink smells fresher. If you notice slow draining after several rounds, stop and inspect for a deeper clog. This method works best when you stay patient and consistent, because each flush helps move debris farther down the line and keeps your kitchen drain cleaner longer.
Use Baking Soda and Vinegar
Once you’ve cleared out loose debris, sprinkle about a half cup of baking soda down the drain, then slowly add a cup of vinegar. You’ll see fizzing right away, and that’s one of the best baking soda benefits: it helps loosen greasy buildup and freshen the pipe.
The vinegar reactions create bubbling action that can break apart small residue without harsh chemicals. Let the mixture work for 10 to 15 minutes, then flush with a kettle of hot water to carry away the loosened grime.
| Step | What You Do | Result |
|---|---|---|
| 1 | Add baking soda | Targets odors |
| 2 | Pour vinegar | Triggers fizz |
| 3 | Wait briefly | Softens buildup |
| 4 | Rinse with hot water | Clears residue |
If your drain still moves slowly, repeat the process once more. Use this method regularly to help keep your kitchen drain cleaner and smelling fresher between deeper cleanings.
Clean the Sink Stopper and Drain Opening
Next, remove the sink stopper so you can reach the entire drain opening. Scrub both the stopper and the opening with a brush to loosen any buildup, then rinse away the debris with warm water.
Remove Sink Stopper
If your sink has a removable stopper, take it out and set it aside so you can clean both parts properly. Gentle sink stopper removal helps you reach the grime that hides underneath and keeps the drain area easier to freshen.
Rinse the stopper first, then use simple stopper cleaning techniques like wiping away film, food bits, and soap residue with a soft brush or cloth. Check the edges and underside for sticky buildup, since that’s where odors often start. While you work, keep your focus on the stopper itself and the opening it covers.
- Lift the stopper straight up.
- Place it on a nearby towel.
- Rinse away loose debris.
- Wipe every surface clean.
Scrub Drain Opening
With the stopper set aside, scrub the drain opening and clean the stopper itself to clear away grime, slime, and trapped food particles. Use a small brush, old toothbrush, or scrub pad with warm soapy water to reach the rim, underside, and threads.
Work gently but firmly so you lift buildup without scratching the finish. Wipe away residue from the stopper and check the seal for stuck debris or wear.
This quick Drain inspection helps you spot odors, stains, or rough spots before they become bigger problems. If the opening smells sour, focus on Drain deodorization by scrubbing the edges and hidden grooves where gunk hides.
When you’re done, the opening should look clear, feel smooth, and be ready for the next step.
Rinse Away Debris
Once you’ve scrubbed the stopper and drain opening, rinse everything thoroughly with warm water to wash away loosened grime, soap residue, and small debris. Let the stream run around the edges of the stopper, the lip of the drain, and any crevices where buildup hides.
If you use energy efficient appliances, keep the water flow modest and steady to conserve resources. For eco friendly cleaning, skip harsh chemicals and rely on warm water to carry away residue.
Wipe the parts with a clean cloth, then check for lingering grit before you reassemble them.
- Warm water clears stubborn suds
- The stopper looks clean and smooth
- The drain opening feels free of grit
- Your sink is ready for the next step
Clean Out the P-Trap
Next, place a bucket under the P-trap and loosen the slip nuts to remove it, since this curved pipe often traps grease, food bits, and other debris that block drainage. Keep the gasket in place if it’s still sound, and empty the contents into the bucket.
Place a bucket under the P-trap, loosen the slip nuts, and empty out any trapped debris carefully.
Use gloves and a bottle brush or old toothbrush to scrub the inside of the trap, then rinse it with warm water until it runs clear. This simple P trap maintenance step helps restore steady flow and lets you spot Pipe corrosion, cracks, or worn threads before they cause leaks.
If you see damage, replace the trap instead of forcing it back on. Reattach the pieces by hand first, then tighten the nuts just enough to stop drips. Wipe everything dry and run water to check the seal.
If the trap still feels clogged, clean it again before moving on.
Use a Plunger on Stubborn Clogs
If the clog is still hanging on, use a plunger to force it loose. Set a cup plunger over the drain opening and add enough water to cover the rubber edge. Press down gently, then pump up and down with steady force.
Keep the seal tight so your plunger techniques create pressure instead of splashing back. After a few strong pushes, pull the plunger away and check whether the water starts to drain.
- Keep the sink basin filled for a better seal.
- Block the second drain to help pressure build.
- Use short, firm strokes for stubborn clog removal.
- Repeat the motion a few times before you stop.
If the water clears, run warm water to flush away loose debris. If it only drains a little, try again with the same rhythm. Stay patient and controlled, because quick jerks can break the seal and slow your progress.
Clear the Drain With an Auger
When a plunger can’t break through, reach for a drain auger to pull the clog apart. Feed the cable slowly into the drain until you feel resistance, then crank the handle clockwise to break up or hook the blockage.
Keep steady pressure so the tip stays in the pipe, and don’t force it hard enough to damage the line. If the auger catches debris, pull it back out, wipe it clean, and run it again as needed.
After the clog loosens, flush the drain with hot water to clear remaining bits. If water still drains slowly, repeat the process once more.
Once you’re done, clean and dry the tool for proper auger maintenance, then store it so the cable doesn’t kink or rust. If you notice repeated snags, consider a quick drain pipe inspection to check for buildup or damage inside the line.
Prevent Kitchen Drain Clogs
To keep your kitchen drain flowing freely, be careful about what goes down it in the first place. Scrape plates into the trash, and let grease cool before you wipe it into a container. Use a sink strainer to catch food bits, and rinse dishes with warm water so residue doesn’t harden in the pipe. In smart kitchen design, you can reduce clog risk by placing the dishwasher and sink for easy access to cleanup tools, while thoughtful appliance placement helps you avoid awkward spills and drips.
- Empty pasta, rice, and coffee grounds into the trash.
- Wipe oily pans with a paper towel before washing.
- Flush the drain with hot water after heavy use.
- Check the strainer daily and clear buildup fast.
If you make these habits routine, you’ll protect your drain, cut odors, and spend less time on messy fixes.
Frequently Asked Questions
How Often Should I Deep Clean My Kitchen Drain?
You should deep clean your kitchen drain every one to three months, depending on how much you cook. If you use lots of grease, food scraps, or coffee grounds, stick closer to monthly. For lighter use, quarterly usually works.
A regular Cleaning schedule helps prevent odors and clogs, and solid Drain maintenance keeps water flowing smoothly. Don’t wait for a backup; stay ahead with simple, consistent upkeep.
Can I Use Lemon Juice Instead of Vinegar?
Yes, you can use lemon juice instead of vinegar, though it’s usually a milder cleaner. You’ll get a pleasant smell and some grease-cutting power, making it a handy Lemon alternative and Citrus substitution. If you’re tackling light buildup, it can help; for tougher clogs or heavy mineral deposits, vinegar often works better. You can pour it in, wait a few minutes, then flush with hot water for best results.
Is Boiling Water Safe for All Pipe Materials?
No, boiling water isn’t safe for all pipes. Imagine a blacksmith’s forge meeting a fragile vase: some pipe material can handle the heat, while others may warp, crack, or loosen joints.
You should check your plumbing first, because safety concerns vary by material. Metal pipes usually tolerate hot water better than PVC or older glued lines.
When in doubt, use very hot tap water instead of a full boil.
When Should I Call a Plumber for a Drain Clog?
Call a plumber when your clog keeps coming back, water drains slowly in multiple fixtures, or you notice gurgling, bad smells, or backups. You should also get help if plunging or cleaning products don’t work. A Plumbing inspection can reveal deeper pipe issues before they worsen.
If water’s overflowing, sewage appears, or fixtures stop draining completely, you need Emergency repairs right away to prevent damage and health risks.
How Do I Know if the Clog Is in the Main Line?
If your drains act like a traffic jam in every room, you’ve likely got a main line clog. You’ll notice multiple fixtures backing up, gurgling toilets, or water coming up in tubs when you run the sink.
To pinpoint the clog location, check whether only one drain fails or the whole house slows down. If several drains misbehave at once, the main line probably needs attention.
Conclusion
With these simple steps, you can turn your kitchen drain from a slow, gurgling grump into a smooth-flowing superstar. A little hot water, baking soda, and elbow grease can tackle most clogs before they become a full-blown sink disaster. And if the drain still throws a tantrum, you’ve got stronger tools ready.
Keep up the habit, and you’ll save yourself from nasty backups, weird smells, and way too much kitchen chaos. Follow these 10 easy steps to clean your kitchen drain, and keep it flowing smoothly.